
INSTALLATION AND TESTING
Test Setup
| Test Setup | |
| Case | SilverStone SG12 |
| CPU | Intel Core i7 4790K |
| Motherboard | ASUS Z97M-PLUS |
| Ram | G.Skill Ares DDR3 1866, 16GB |
| CPU Cooler | SilverStone NT06-PRO |
| Storage Drives |
|
| Optical | None |
| GPU | ASUS GTX970-MOC-4GD5 |
| Case Fans |
|
| PSU | SilverStone SST-ST55F-G |
Installing components into the SilverStone SG12 takes a little more thought than with larger non-SFF cases. Since the SG12 is a SFF case, the options for cable management are reduced, and a specific component installation order should be followed. Thankfully, SilverStone provides a nice installation guide with the SG12 that details the proper order of component installation. Thinking we knew better, we began our build without following the order suggested by SilverStone; halfway through, we had to start over and work through the build according to the recommended order. Shame on us.
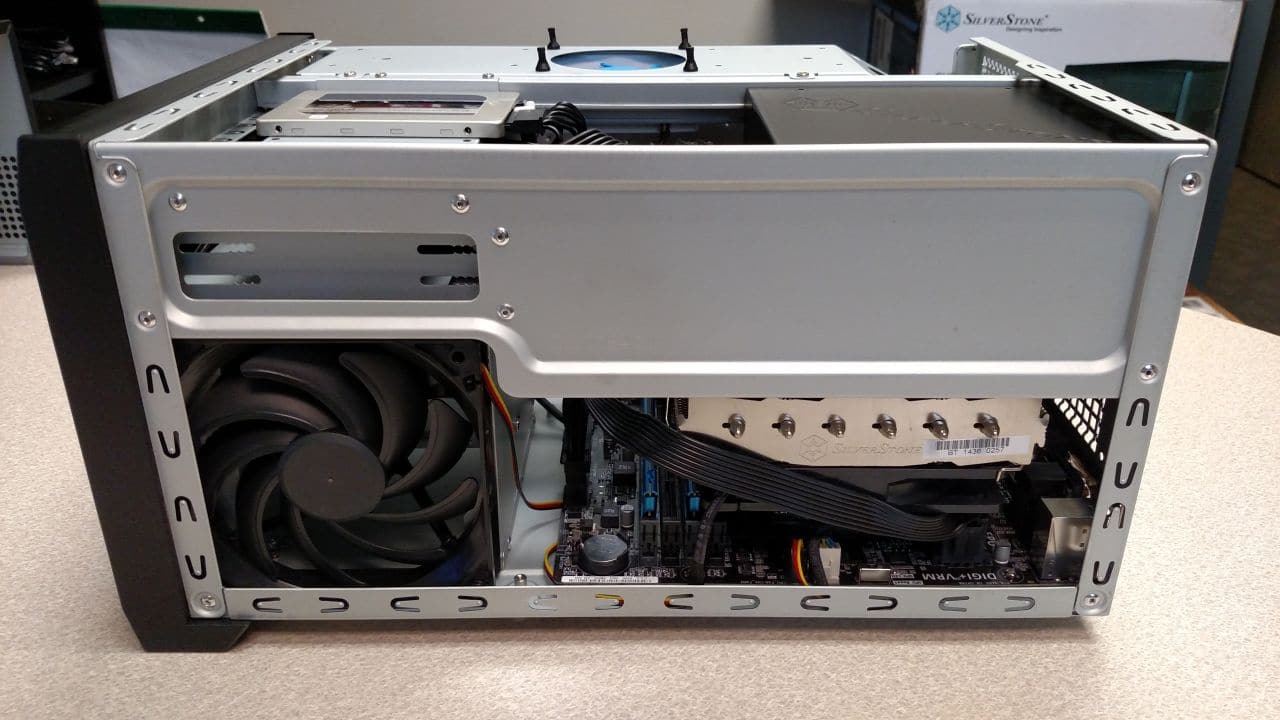
The SG12 does not feature an opening on the bottom of the case to assist with mounting a heat sink backplate to the motherboard, so this must be done prior to installing the motherboard. We chose to mount the heat sink to the motherboard prior to installation, as this allowed us to install without having to work around the various support brackets on the SG12. For this build, we are utilizing a SilverStone NT06-PRO heatsink, the model recommended by SilverStone themselves. With only 82mm of height allowed for heat sinks, it is important to take this into consideration when choosing how to keep your CPU cool.

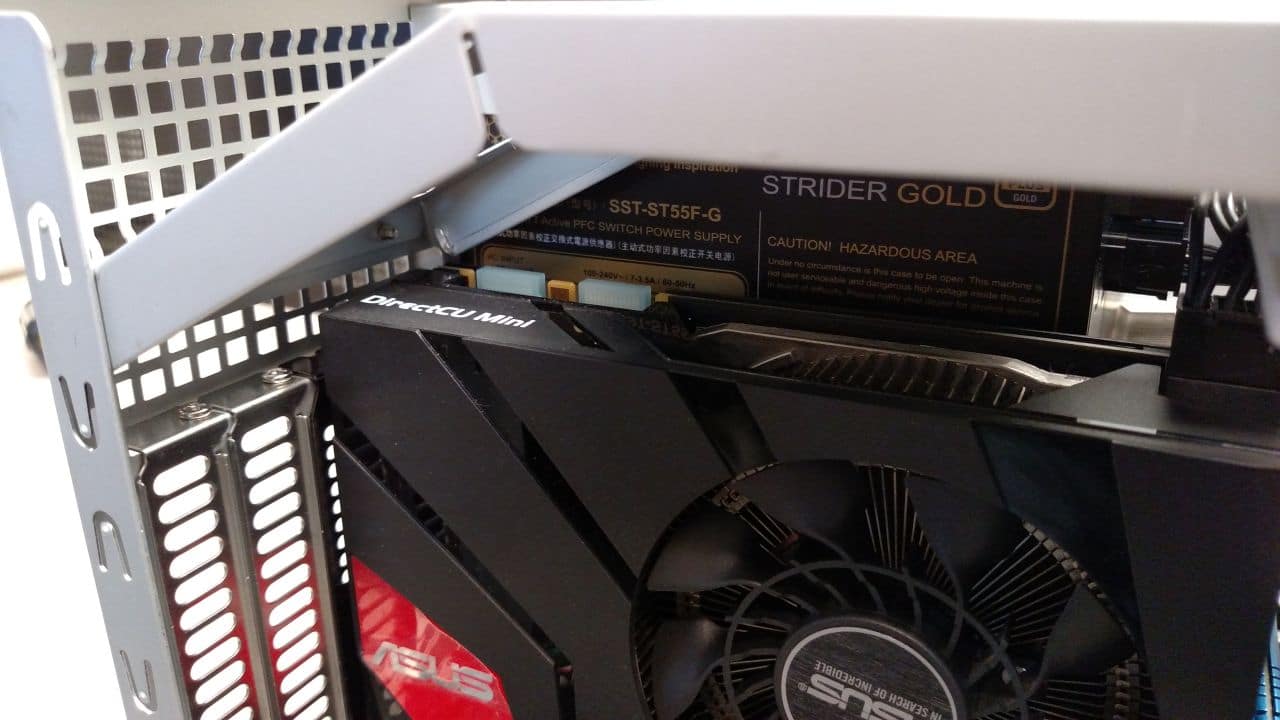
With the motherboard installed and secure, the next step was to install the PSU. SilverStone provided us with the SST-ST55F-G PSU, along with their PP05-E cabling kit, which will be featured in their own review soon. This model of PSU is 40mm smaller in length than traditional power supplies, and is fully modular. While a full-sized, non-modular ATX power supply will fit in the SG12, the smaller size and full modularity of the ST55F-G unit really helped with both installation and cable management.
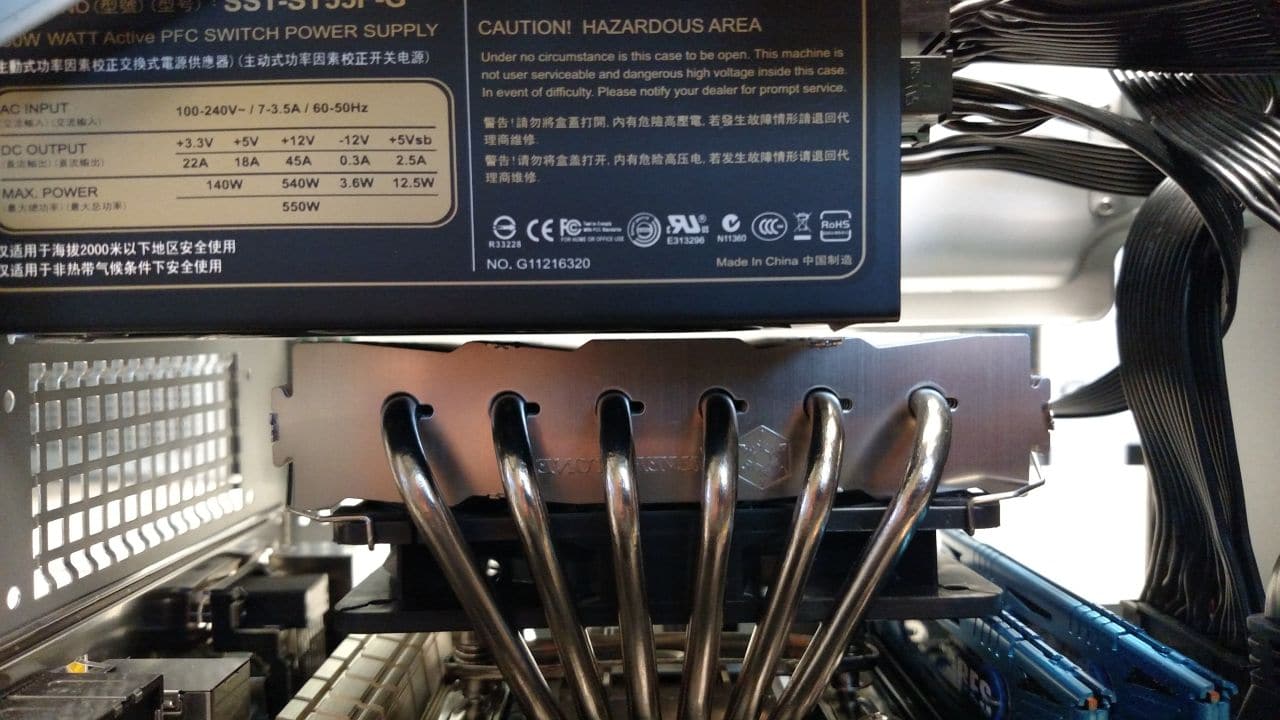
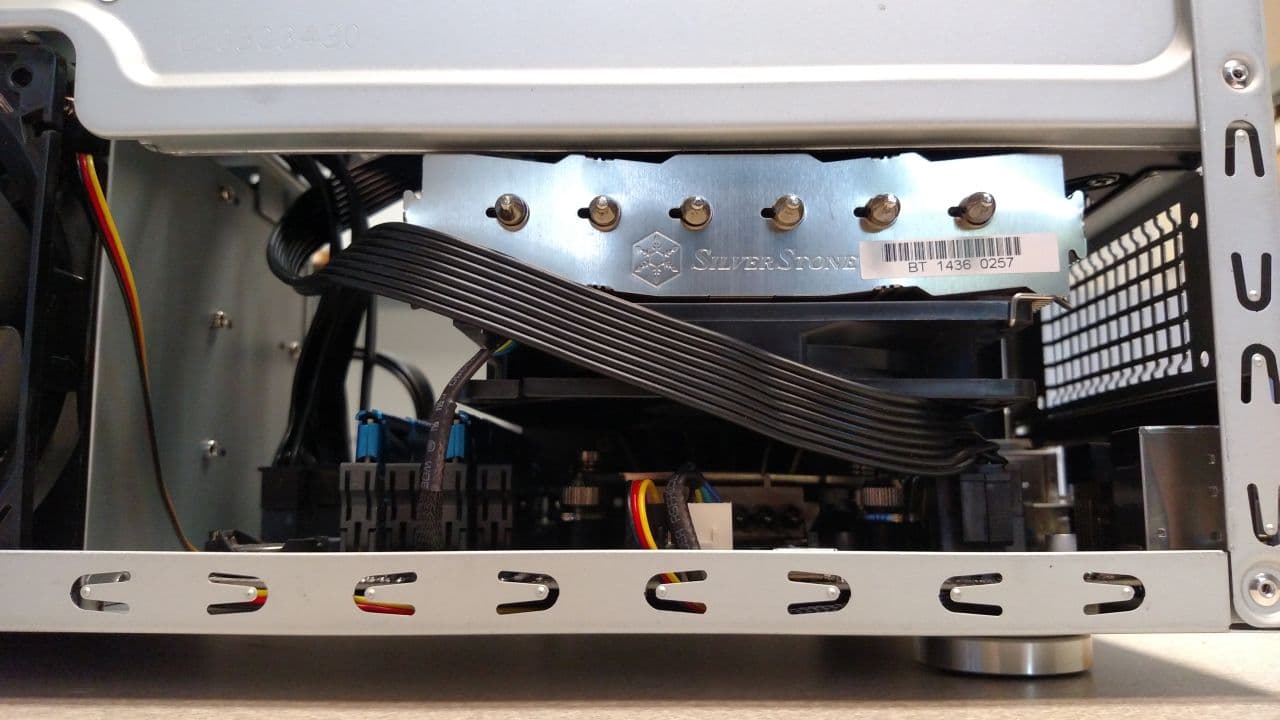
Here you can really see just how tight the tolerances are for the heat sink. Using a SilverStone PSU and heat sink together, we got just about as close as possible to the size limit. One thing to note is that with this configuration, the PSU will be pulling hot air up from the CPU’s heat sink and exhausting it out of the case using its fan. While this will add extra heat to the PSU during extended high CPU use, the ST55F-G we used showed now signs of trouble during our testing.
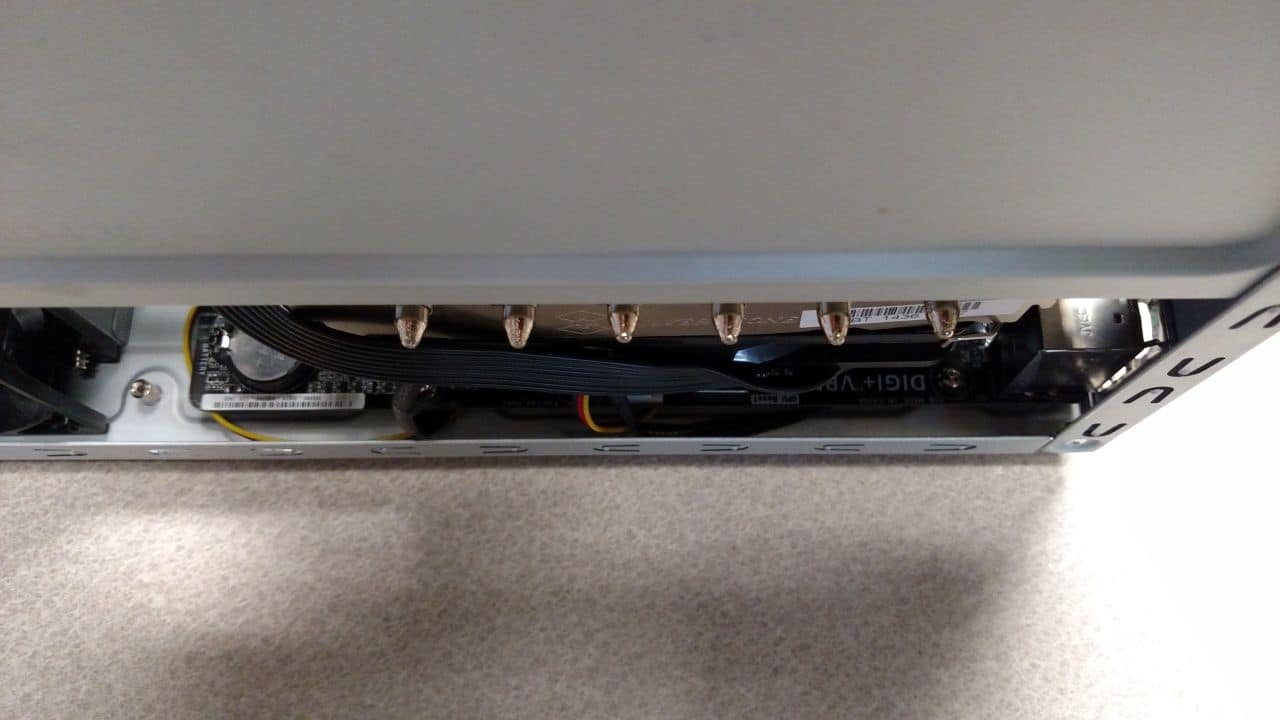
Another spot where tolerances are tight is with regards to the heat sink and the side panel of the case. Depending on the layout of the motherboard and the heat sink used on the CPU, there might be a tight fit between the side panel and the heat sink. We were a bit worried at first when putting the exterior back on the SG12, but the our heat sink was positioned just right to not be in the way.
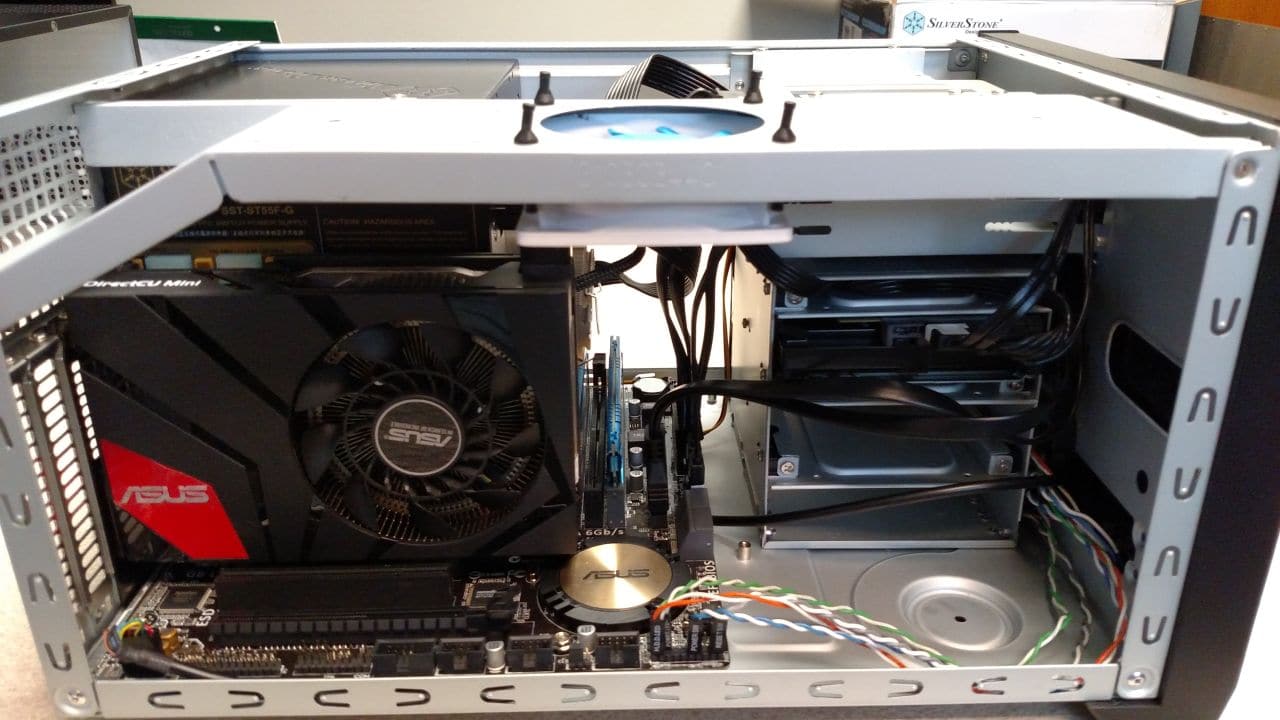
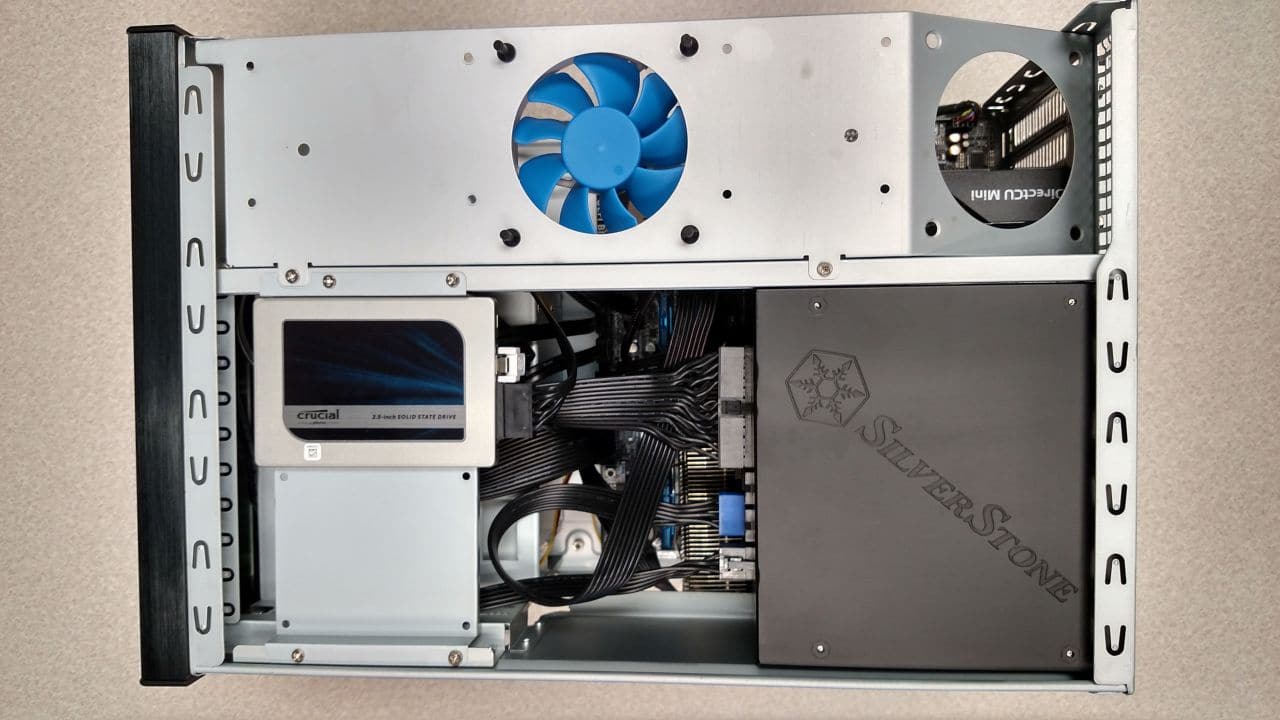
Since we are using a smaller GPU, the adjustment of the 3.5″ drive bay was not needed. We installed our 3.5″ hard drive in the top bay, and used one of the 2.5″ bays above the 5.25″ bay for our SSD. We completely removed the seven-slot 2.5″ bay to reduce the overall weight of the case, as well as to provide extra room for working inside the case. A single SilverStone FQ81 80mm fan was installed as an intake on the top fan mount.While the rubber mounting pins used to secure the fan protrude quite a bit above the fan panel, the exterior case cover was able to install with no issues.
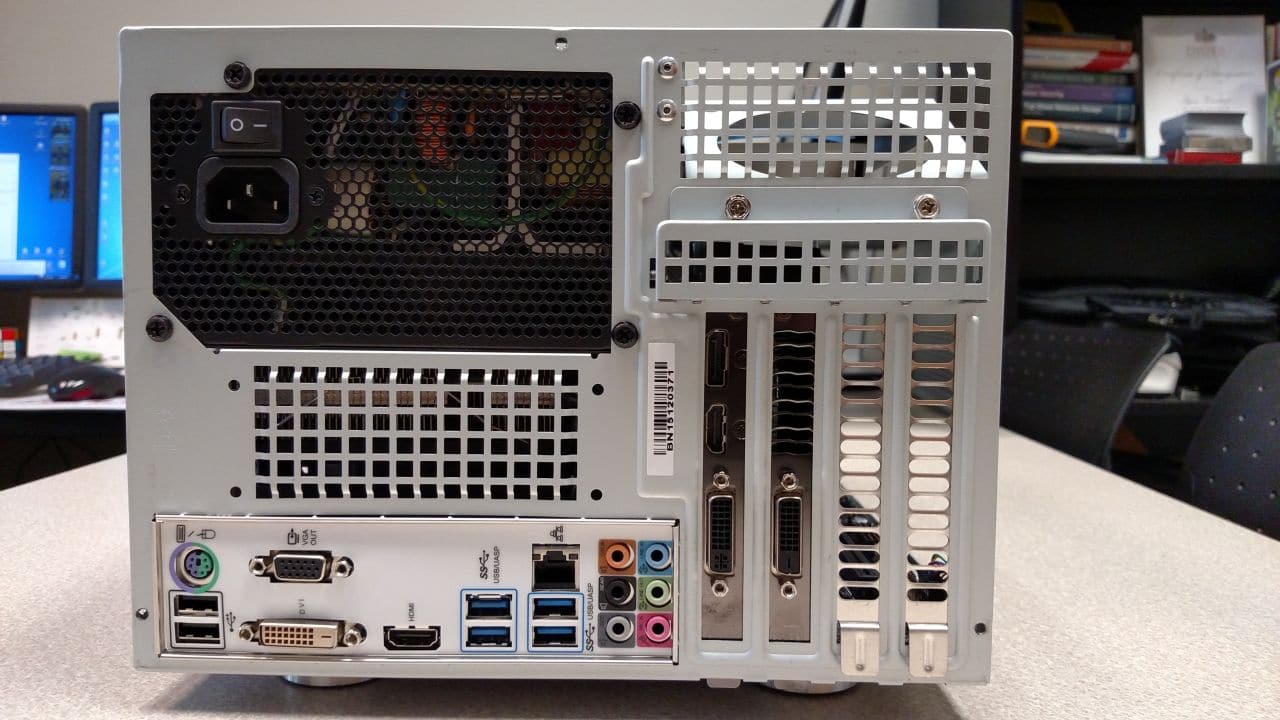
Since our GPU uses a non-standard height, we were unable to install a second 80mm fan in the rear fan position. This is something to keep in mind when planning a build, as so many GPUs now come with a custom cooling solution that may not fit into the official size specifications. In our case, we will be looking to install a slim 80mm fan to assist with exhausting the warm interior air.
With all of our components installed, it was time to fire up our brand new rig and see just how cozy our gear was in the SG12.
Since portability is one of the standout features of the SilverStone SG12, we will take a look at that first. With all of our components loaded up, the SG12 is a pretty dense box. Thankfully we only have a single traditional hard drive, as these add weight very quickly. With all of our connections empty at the back of the case, we were able to use the front handle to pick up and carry the SG12 around the house with ease. There is no flexing of the handle, and it feels very sturdy. When you start packing high-dollar gear in a PC that touts a handle for transportation, you expect it to be solid. No worries here, as the SG12 proved worthy. One issue we did have with the handle was that it was a bit of a tight fit to get our fingers behind the handle to get a grip. Anyone with large fingers or hands will probably have trouble using the handle. With a planned trip to QuakeCon 2015 coming up soon, we plan to really put the portability of the SG12 to test.
As mentioned earlier, we opted to remove the seven-bay 2.5″ drive cage to not only reduce weight, but to provide more working area inside the case. Even after taking this drive cage out, there are still two dedicated 2.5″ drive mounting positions, and three additional 3.5″/2.5″ bays. We would definitely consider removing the seven bay cage if you do not need it. This made our build go smoothly, especially when it came time to connect our 3.5″ drive’s SATA and power connectors, and when working with the front-panel I/O cabling.
The layout of our desk places the SG12 just to our right, and at desk level. At idle and during non-intensive use, the SG12 is very quiet. Under load conditions, our motherboard’s software package, AI Suite 3, increased the speeds of all of our installed fans to regulate temperatures. Since there is a lot of hardware packed into a small area, you can expect to see higher than normal temperatures when compared to the use of a mid-size or full-size ATX case. Most of the audible noise under load was from the GPU’s fan and the PSU fan. Since the PSU placement in the SG12 is directly above the CPU and its cooler, you can expect the power supply to operate a higher than normal temperatures under a load.


Is it just me or is the interior just like in the sg02 except for some modifications?
Its just as if someone did recycle the sg02 and named it sg12…