Overview of the Diamond HD7790
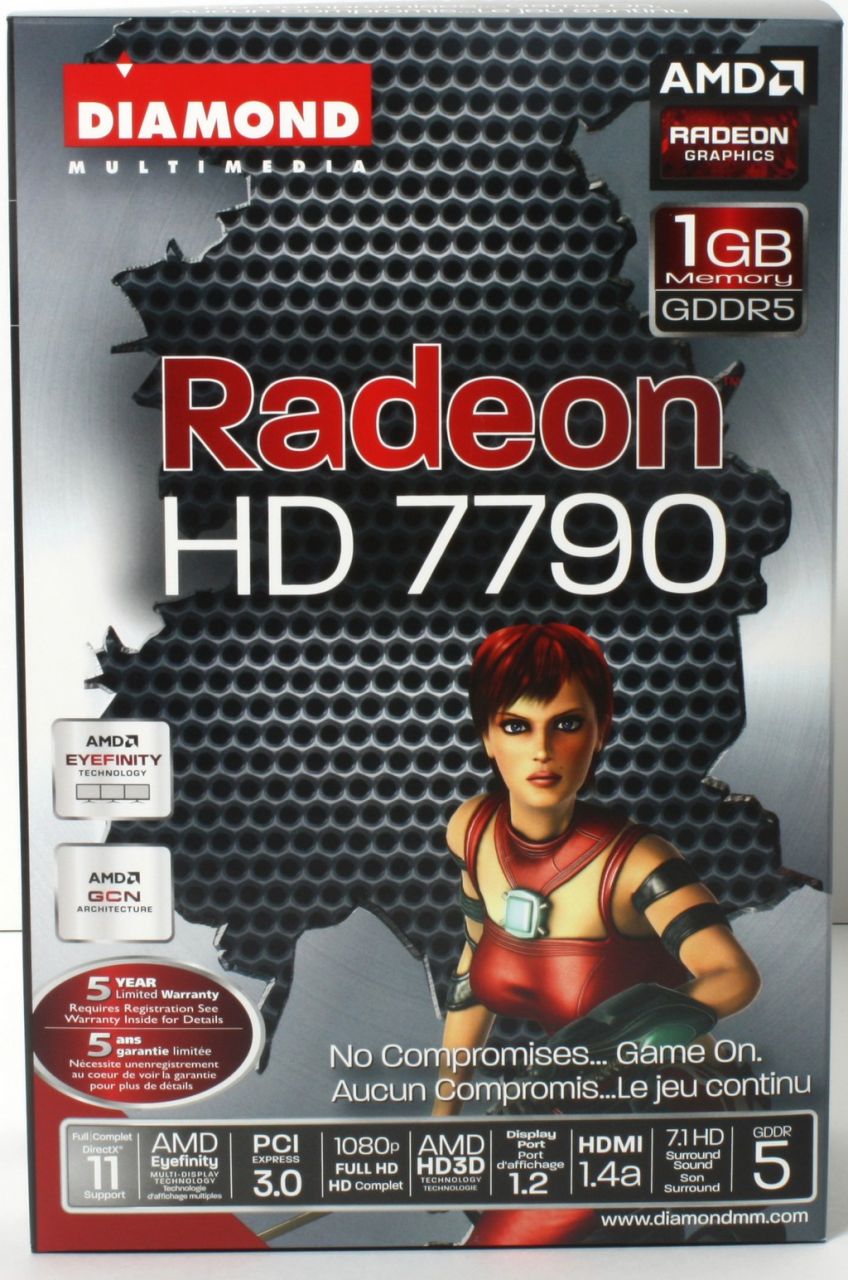

The packaging for the Diamond HD 7790 uses good ole Ruby which is nice to see show up here and there as she has been around as an AMD icon for some time now. The front primarily carries the new AMD logo scheme which brings a unified look to naming for both CPU and GPU products. Also across the bottom are some key feature mentions to show you exactly what you get.
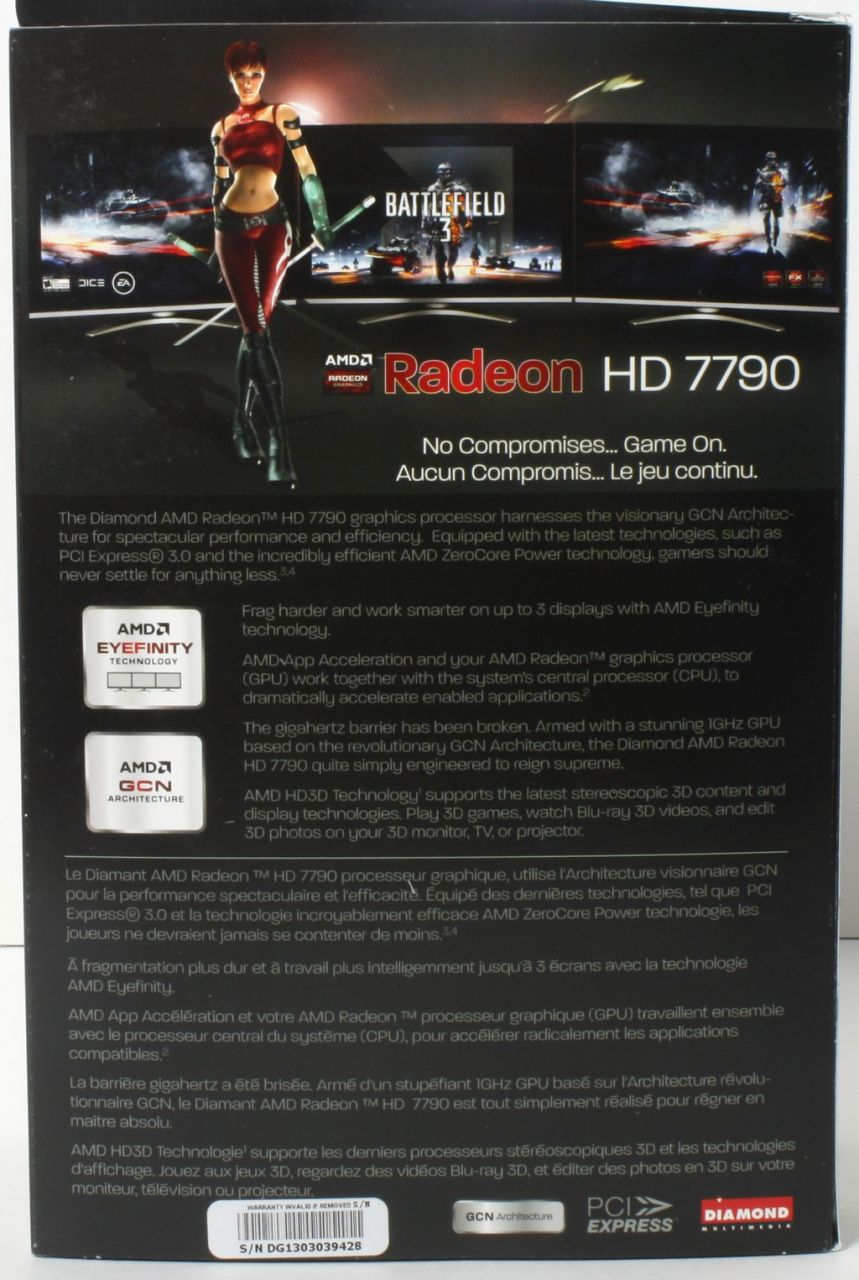
The rear touts info about the GCN architecture for the GPU and also the notation that the 7790 supports Eyefinity multi display setups which is definitely cool for those who need massive work spaces. Although I must say this being a 1GB card I would not recommend pushing gaming on triple displays as there simply is not enough framebuffer to support such a venture.
The side panel of the packaging is all about connectivity starting with the correct GPU slot being PCI-Express X16. You can install the card in a Gen 1, 2 or 3 slot but for maximum available throughput you’re gonna want to use a Gen 3 slot, although I think the 7790 would do just fine with the bandwidth of a Gen 2 slot should you have a slightly older system just looking for a nice graphics upgrade. also below the slot notation it also shows the display connector types which definitely shows that the 7790 is a very flexible card offering connectivity for most any display type.
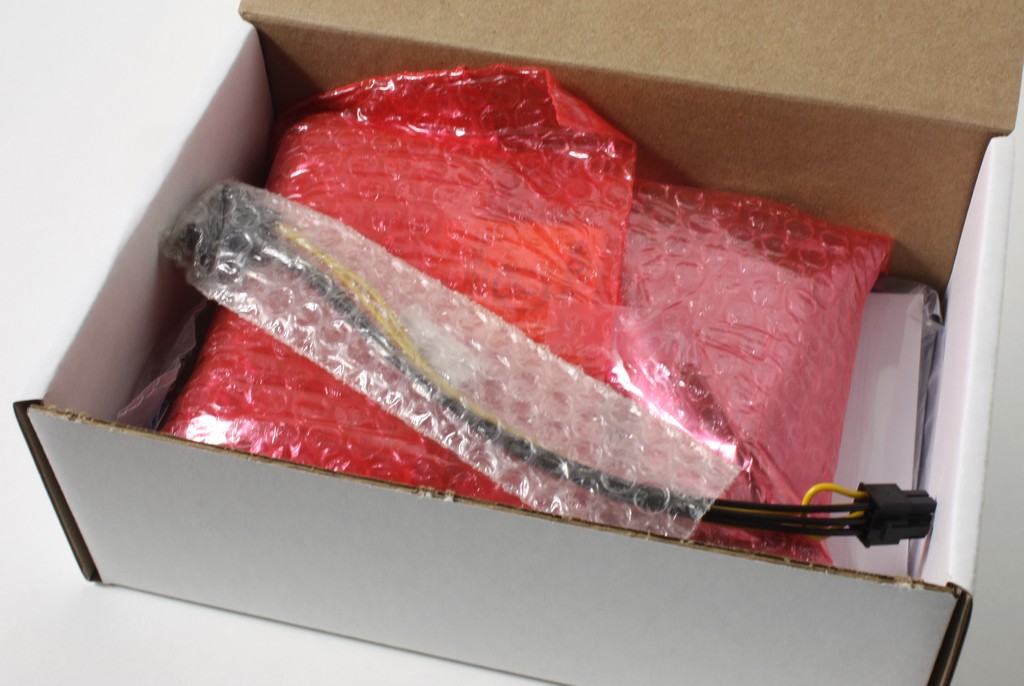
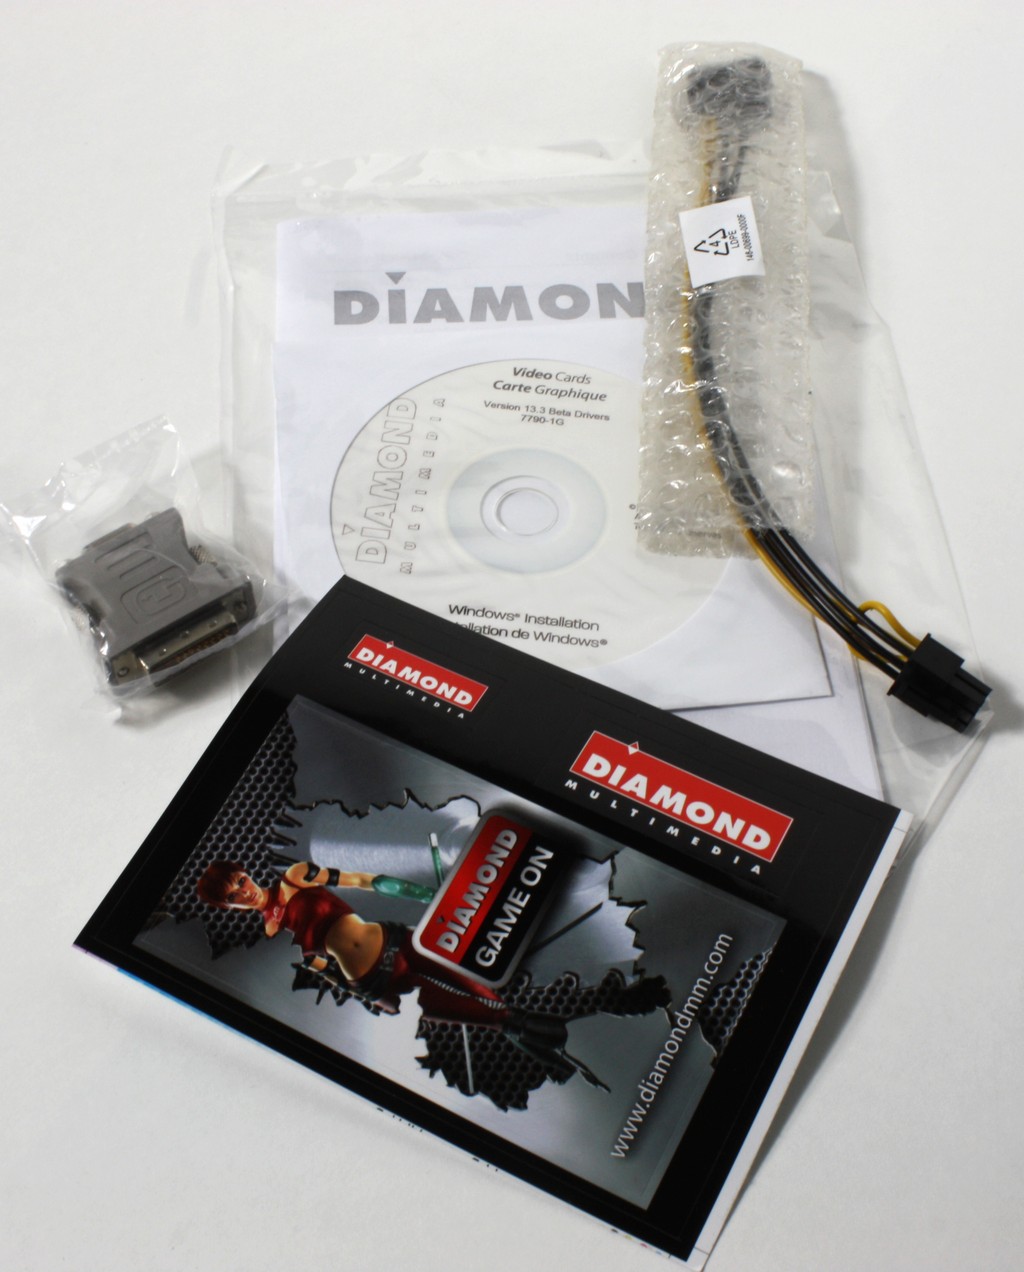
Here is a list of all items included in the accessory pack:
-
Installation Disc
- Quick Start Guide/Manual
- DVI to VGA Adapter
- Crossfire Bridge
- PATA 4 Pin connector to PCIe 6 pin adapter
The accessory package is everything needed to get the card connected up and running and it even includes a Crossfire bridge should you decide to push for even more performance by adding a second HD 7790 card.


Click Images to Enlarge
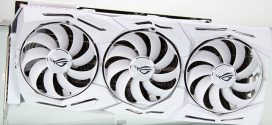
Here you can see the card as it is removed from the packaging and everything you have come to expect. The cooler is a more basic design. We were a little surprised to see such a basic cooler but the fact that it has two large heatpipes looks promising enough that it peaks my interest.
The VRM has a passive cooler which from my previous tests we can say that this will more than handle what the 7790 VRM needs as they simply do not get that bad when under load. We can definitely say that this card exhausts the GPU heat into the chassis so you will need some airflow through the case to exhaust this.
The rear of the card is very standard fare using a square spring steel style clip like we have seen on AMD cards before, and it simply helps keep tension on teh cooler forcing a nice solid contact with the GPU.
Click Images to Enlarge
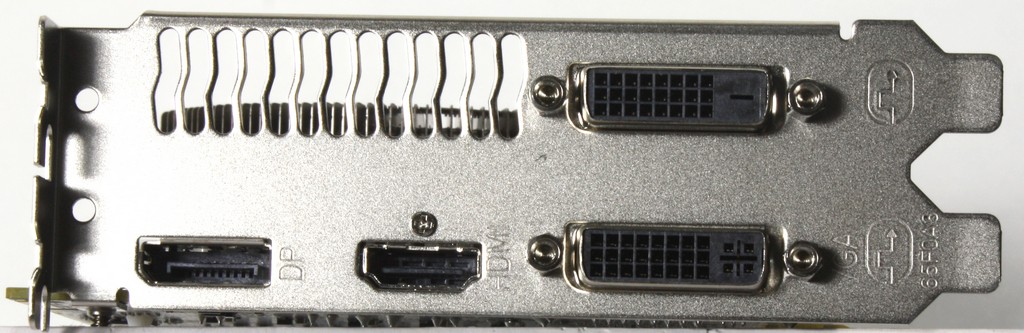
The rear IO supports multiple connectivity options including:
- DVI (x2)
- HDMI
- DisplayPort
This connector arrangement is pretty much standard for the 7790’s as all of them we have used to date have this same design.

Click Images to Enlarge
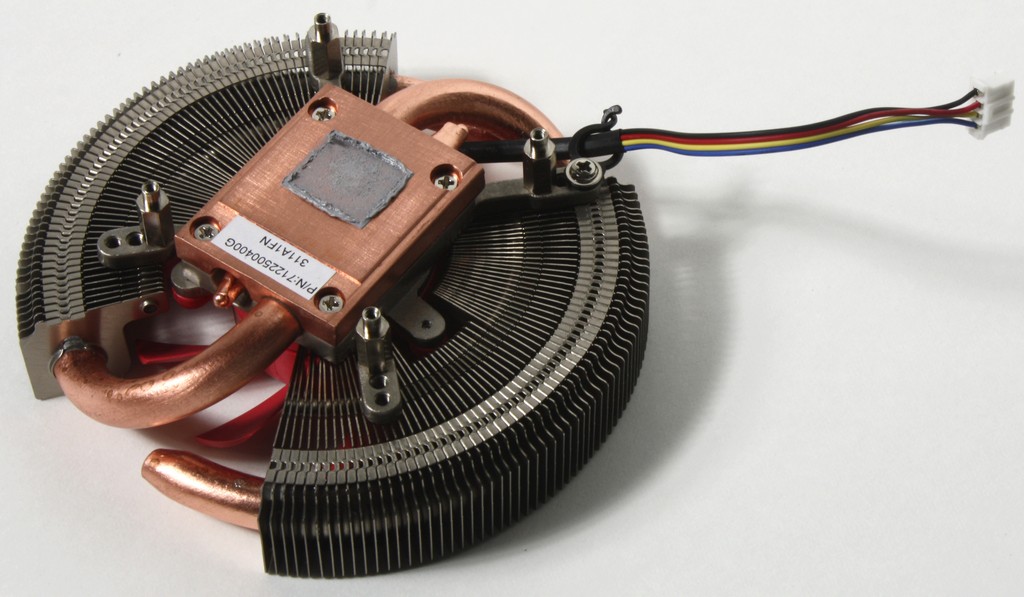
The card didn’t take much to get down to bare essentials with just four screws to remove the GPU cooler and two plastic clips for the VRM cooler. Once removed you can see the circular cooler is very simple with two quite large heatpipes meeting in the center at a large copper block of a base which is then connected to the circular fin array. The center mounted fan blows down and outward which is why the fan is recessed into the fin array to get maximum cooling potential from every revolution, now we just have to see how well this unit really cools as it is quite low on surface area when compared to others we have seen or tested.
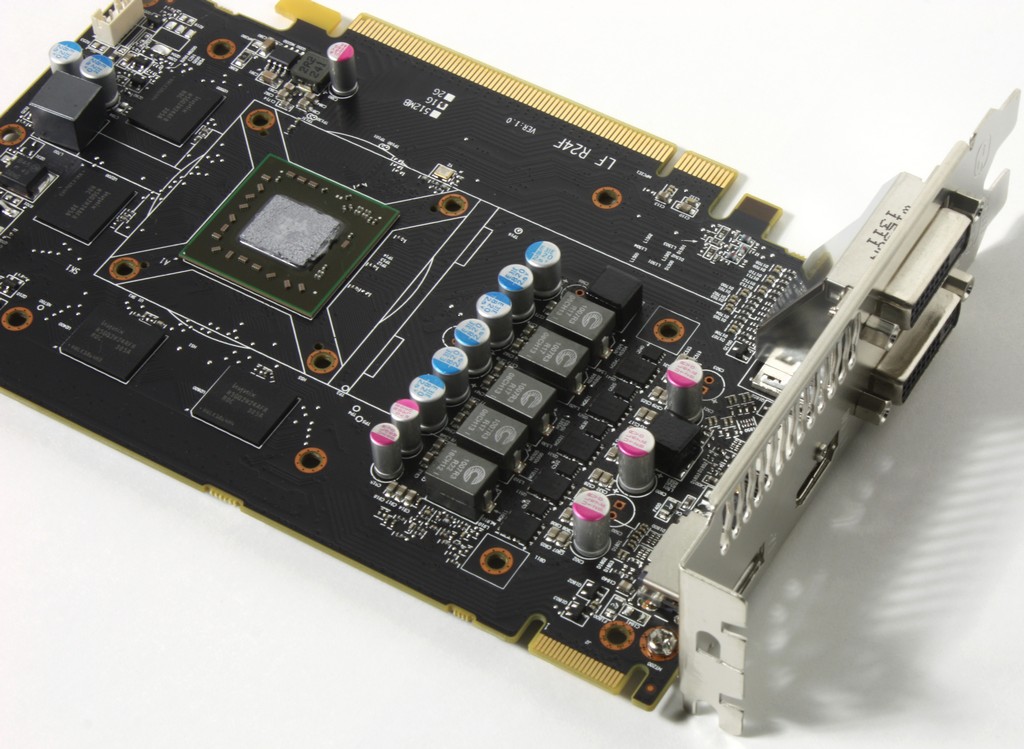
The card with the cooler removed looks like pretty much every other 7790 we have looked at so not a lot to talk about here besides how tiny the GPU is. It really is amazing that the graphics power we see out of this card comes from such a small GPU.
A closer Look at the HD7790
Click Images to Enlarge
Here you can see the card now with the VRM stripped and you can see it is a fairly standard 5 phase solution, which honestly is more than enough to power this GPU to pretty much the CCC limit.


Click Images to Enlarge
and here you get a closer look at the mosfet units and the chokes along with some of the caps in the power area all huddled together to help bring thsi micro beast to life. The Memory ICs used on this card are standard Hynix we have seen many times before at this point, and they do the job and usually give quite a bit of headroom in the process.