
INTRODUCTION
Raijintek may be a name you are not quite familiar with, and neither were we, before our recent review of their TRITON all-in-one watercooling kit. After a good first introduction, Raijintek is back with their STYX Micro-ATX case. The Raijintek STYX brings stylish looks and a nearly all aluminum construction at an affordable price. Does the lightweight STYX case provide an adequate home for our test rig? Read along to find out.
STANDOUT FEATURES
There are quite a few cool features found on the STYX, but a few of them really stuck out to us. First is the nearly all aluminum construction; something you don’t typically find on a case that currently has an $85 price tag. There is also room for a 240mm radiator at the top of the case.
- Aluminum Body – The entire outer body of the case is aluminum that has been hair-silk anodized in one of six available colors (Black, Silver, Gold, Red, Blue or Green). This not only give the STYX a nice, high-end look, but reduces the weight of the case quite a bit. The interior of the case features a steel motherboard tray and a few other steel mounting brackets. Thankfully, Raijintek took the extra effort and painted these pieces black to keep up with the high-end look.
- 240mm Radiator Support – While there isn’t a ton of space to work with inside the STYX, Raijintek provides enough room above the motherboard to install a 240mm radiator and fans. As you will see later on, we went ahead and installed the Raijintek TRITON kit in this case to take them up on the option. If you aren’t of the liquid-cooling persuasion, then there will be even more room if you choose to populate the top mounts with 120mm fans.
SPECIFICATIONS
Below are the specifications for the Raijintek Styx. Of note are the two variations of the STYX: the STYX and the STYX CLASSIC. While the STYX features a side window, the STYX CLASSIC has a solid aluminum side panel for a more traditional look.
CLOSER LOOK
Exterior
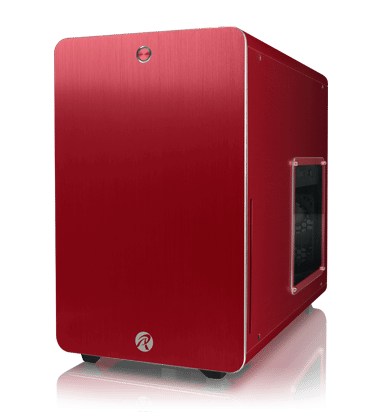
Available in six colors (Black, Silver, Gold, Red, Blue, Green), the STYX has a very smooth, brushed aluminum exterior surface. Our sample unit was the red version, and while it definitely looks red, it also has quite a bit of a pink tint to it at certain angles and in different lighting conditions.
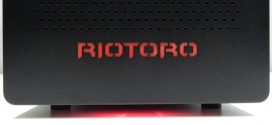
The front of the STYX is really quite bare, as there is just a single, illuminated power button at the top. Once powered on, the power button has a white LED glow to it, and when there is activity on the installed storage drives, the button flashes with a red LED. A simple and small Raijintek logo sits at the bottom of the front facade. This front panel is quite a bit thicker than the rest of the case, and gives the case a sturdy panel to build off of.
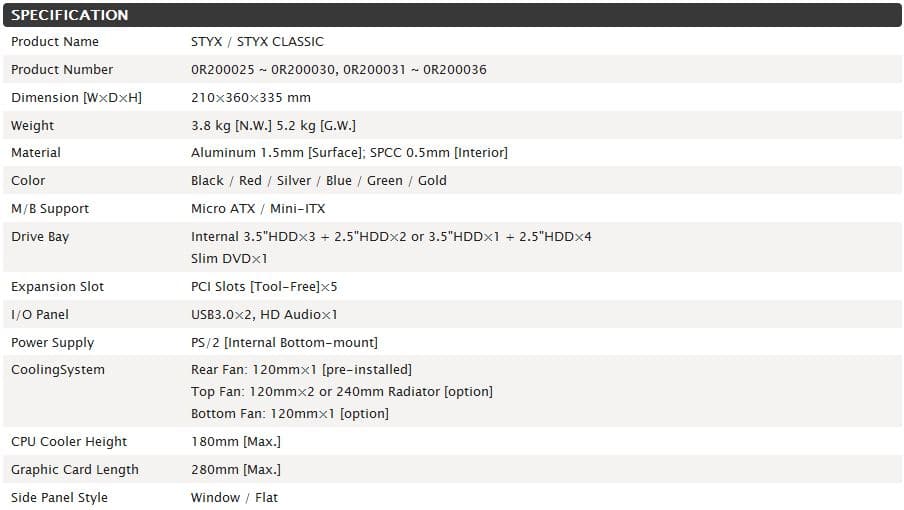
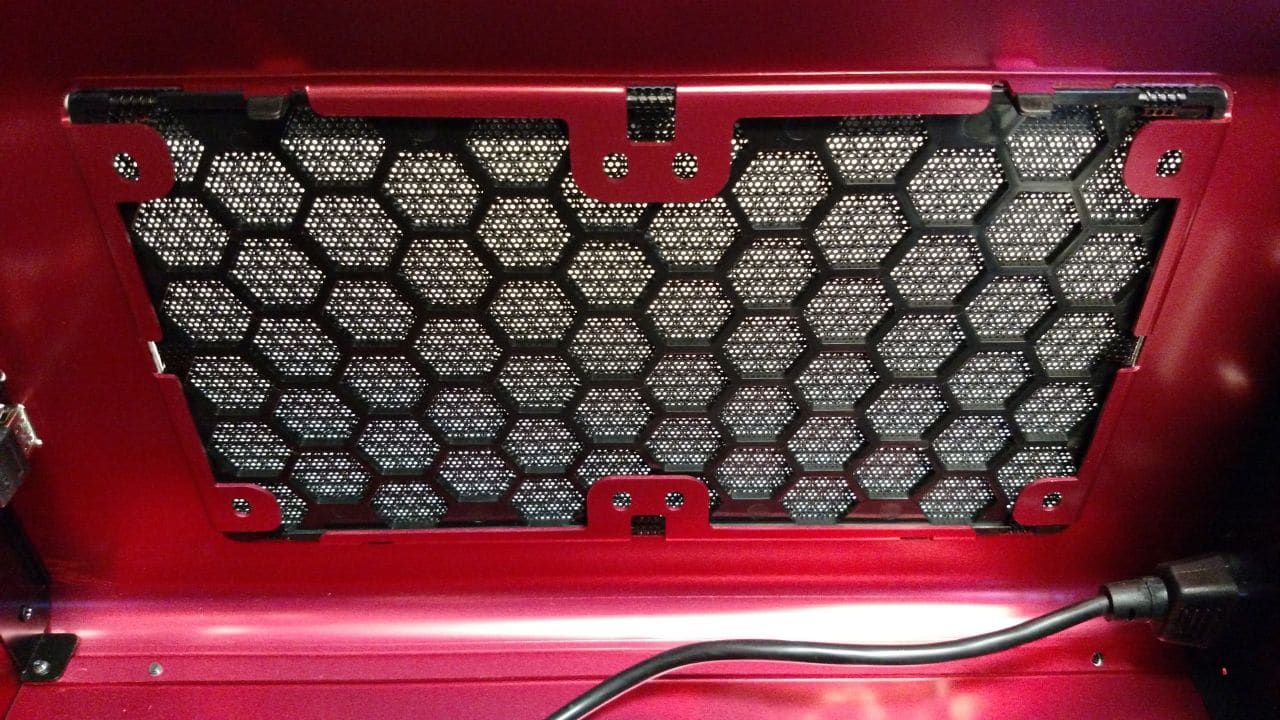
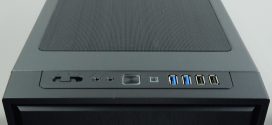
Moving to the top of the case we are presented with two USB 3 ports, as well as headphone and microphone connections. Taking up the majority of the top of the case is a removable mesh grille. While some case manufacturers may provide a permanent grille here to allow for active or passive cooling, Raijintek allows for the removal of the grille for easy fan or radiator installation. The grille is reinforced with a honeycomb-patterned plastic frame.

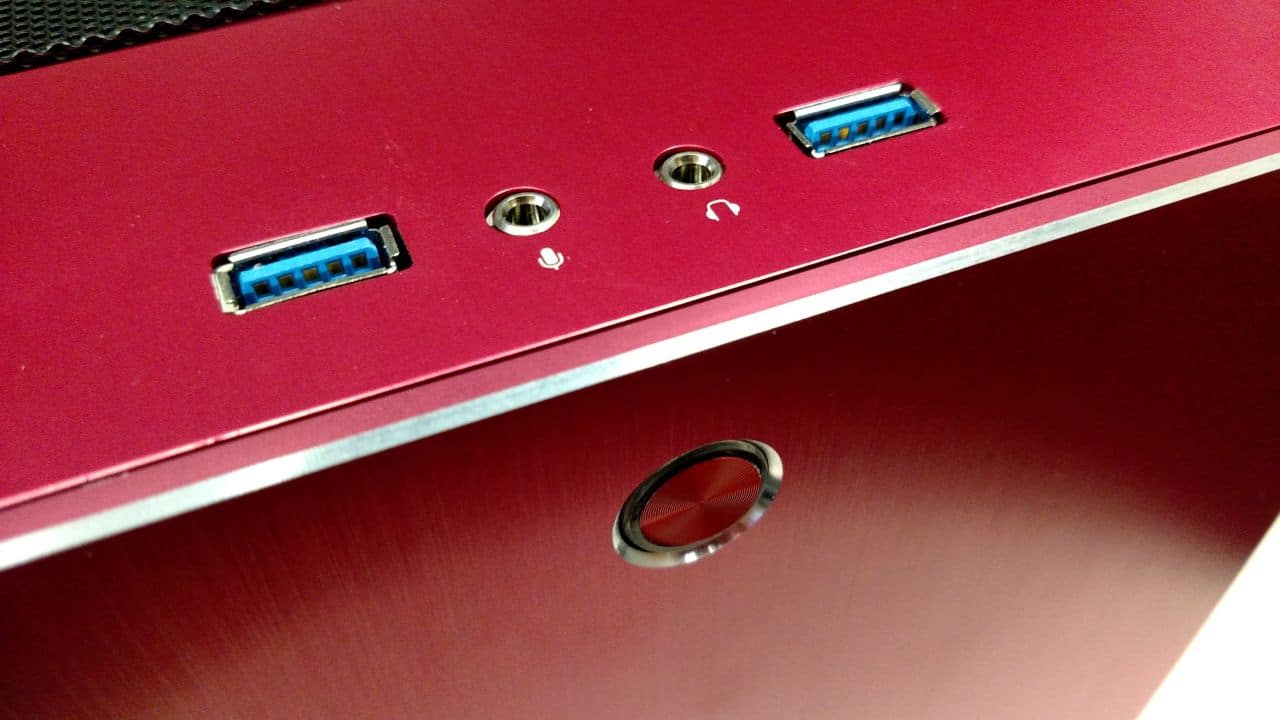
The right side of the case is home to a simple slot opening for those that still utilize optical media. While this is something that is becoming more and more uncommon, it is a nice feature that doesn’t distract from the good looks of this case.
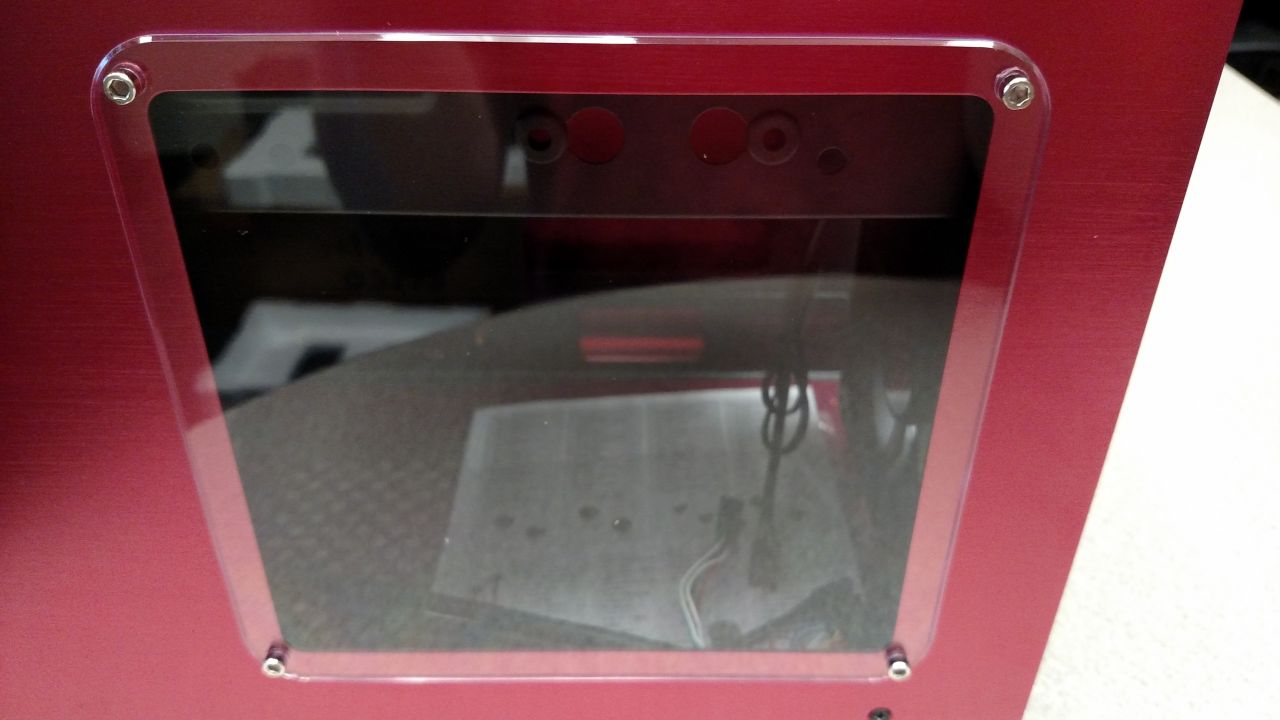
Also along the right side is a square window giving us a good look at the interior of the case. A window on the right side you say? Yes, the right side. While most cases with windows feature them on the left side, the STYX is configured to have the motherboard mounted upside-down on the left side, hence the window on the right side. Four silver screws keep the plastic window in its place. While we prefer our case windows to be without visible mounting screws, they really don’t detract too much from the overall look of the case. Keeping the side panel in place are four small screws. More on these later. The left side of the case is as plain as can be, with nothing but four screws breaking the smooth aluminum plane.
Around back we find our first evidence that the entire case is not constructed of aluminum. The steel interior construction finds its way to the back of the case, an offers the same black paint finish. Just to the side of the expansion slots is a large section that is perforated to allow for passive cooling. Rounding out the back of the case is a 120mm fan and the cut-out for the I/O ports on the motherboard.
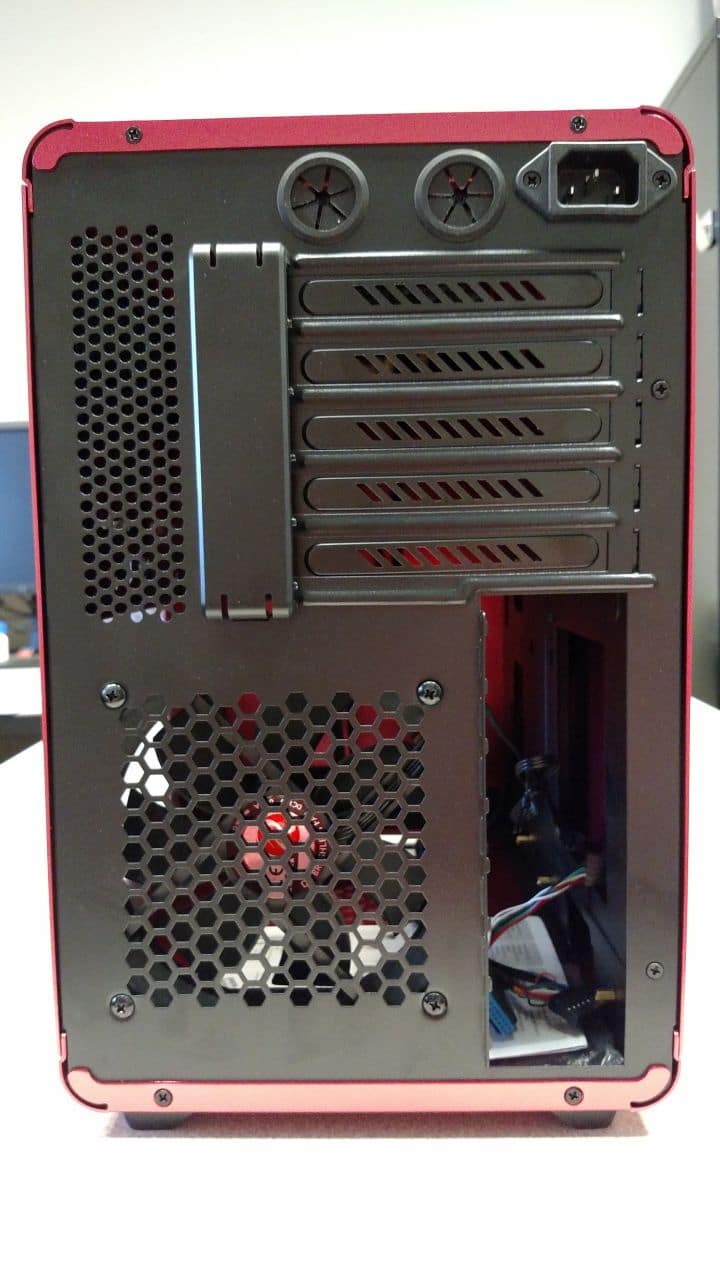
The top portion of the panel is home to two rubber grommets for exterior liquid-cooling options, as well as the power connection. This rear power connection is merely an extension that runs to the lower-front of the case where the power supply is installed. Moving down, we see five expansion slot covers, each being ventilated. Cleaning up the mounting for the slots is a removable plastic cover that simply clips into place.

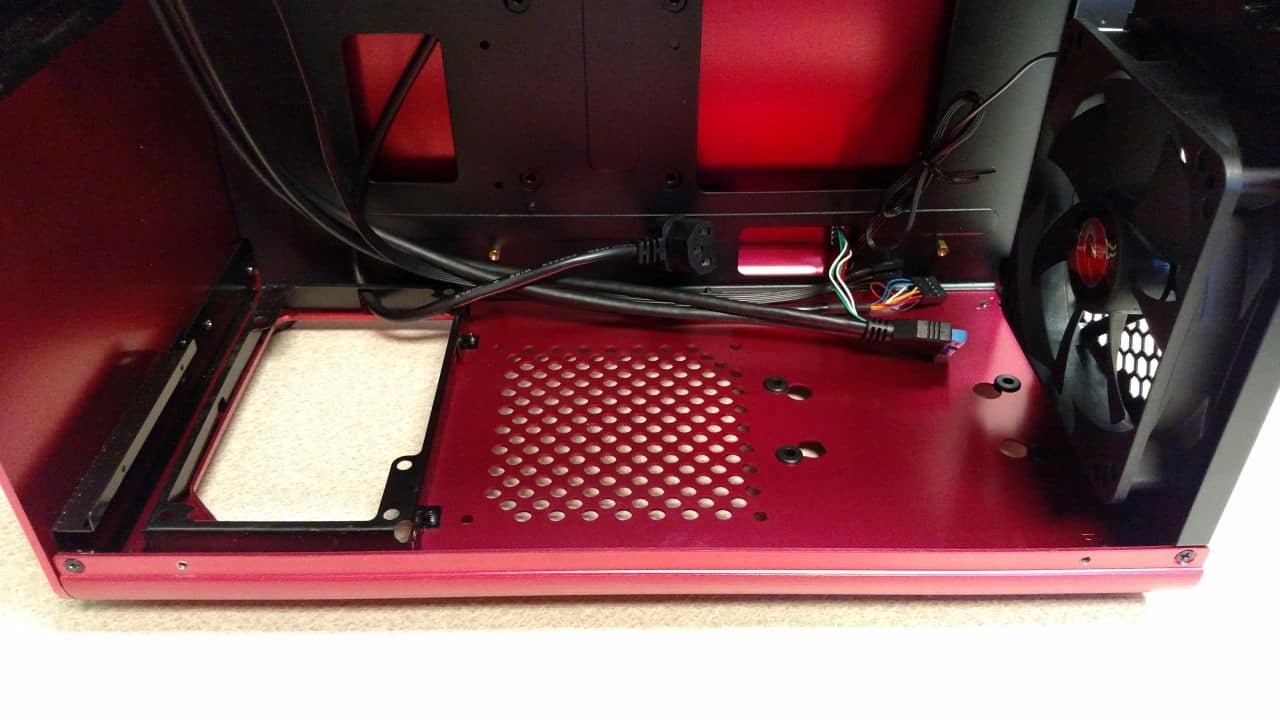
Flipping the STYX on its side gives us a good look at the underside of the case. This reveals the hidden home for the power supply. The middle of the bottom of the case is home to another 120mm fan mount, as well as an optional single 3.5″ drive mounting point. Four rubber feet at the corners of the base keep the STYX in place.

Interior
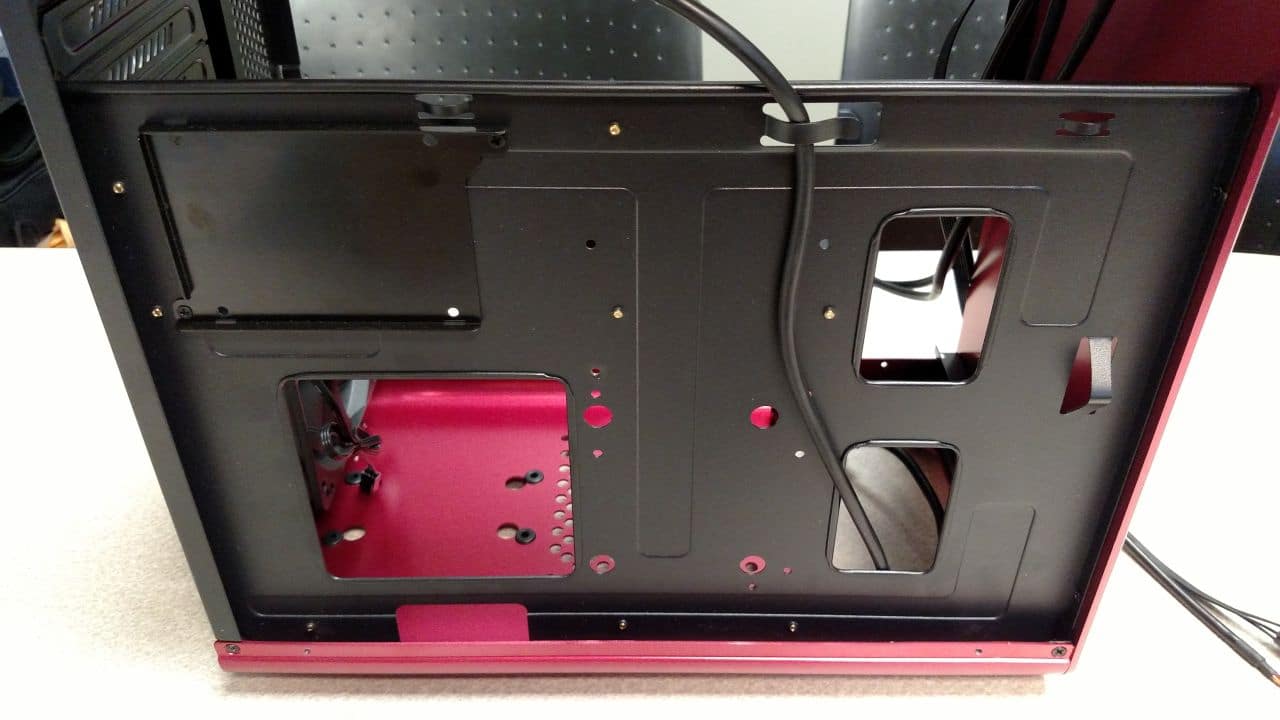
Once the side panel of the case has been removed, we are greeted with somewhat limited access to the interior of the case. We say somewhat limited, because there is a removable bracket that runs from the front to the back of the case that serves as a mounting point for either two 2.5″ drives, or two 3.5″ drives, or a combination of both sizes. Once this panel is removed, the entire case is open for business. The motherboard tray features multiple cutouts for cable management, as well as CPU backplate access. With the small amount of space afforded in most Micro-ATX cases, these cutouts really make not only installation easier, but help provide options for hiding cables and keeping things looking nice inside the case.

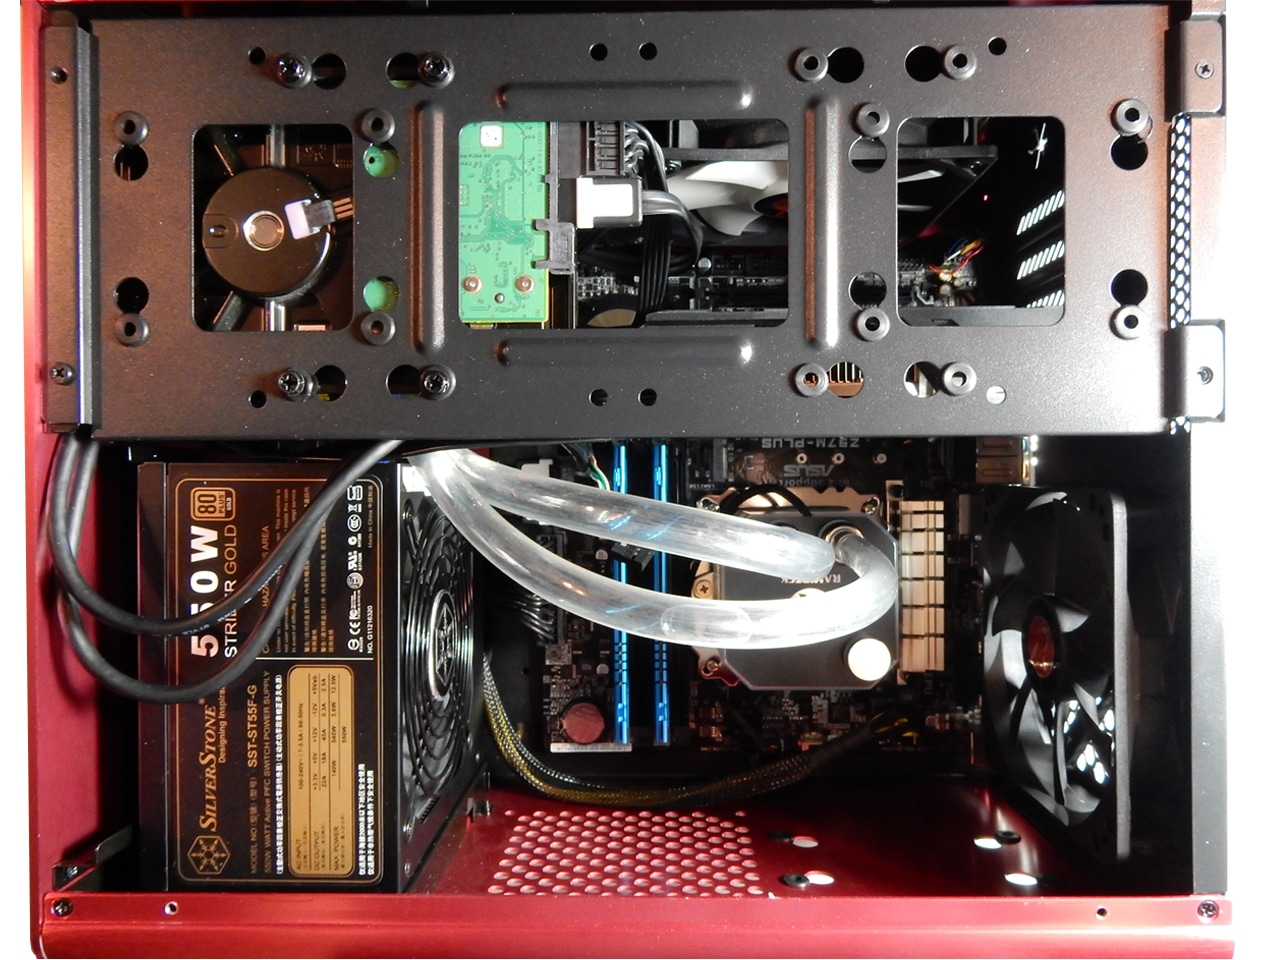
Along the bottom of the case is the mounting bracket for the power supply, along with the aforementioned 120mm fan and 3.5″ drive.The mounting bracket for the power supply orients it in a way that most units will be pulling air from inside of the case and pushing it out below the case.

Taking a look at the top of the case gives us a good view of the mounting options for either 120mm fans or a 240mm radiator. Being that the STYX is a little wider than some cases, there is plenty of room on all sides of the mounting positions to run wires, while at the same time providing plenty of room for the motherboard to fit.
Along the interior of the front panel are the mounting brackets for the installation of a slim, slot-loading optical drive. We really like the placement of this mounting option, as it keeps the front of the case tidy, and offers that “wow factor” when showing off that you still have access to an internal optical drive.

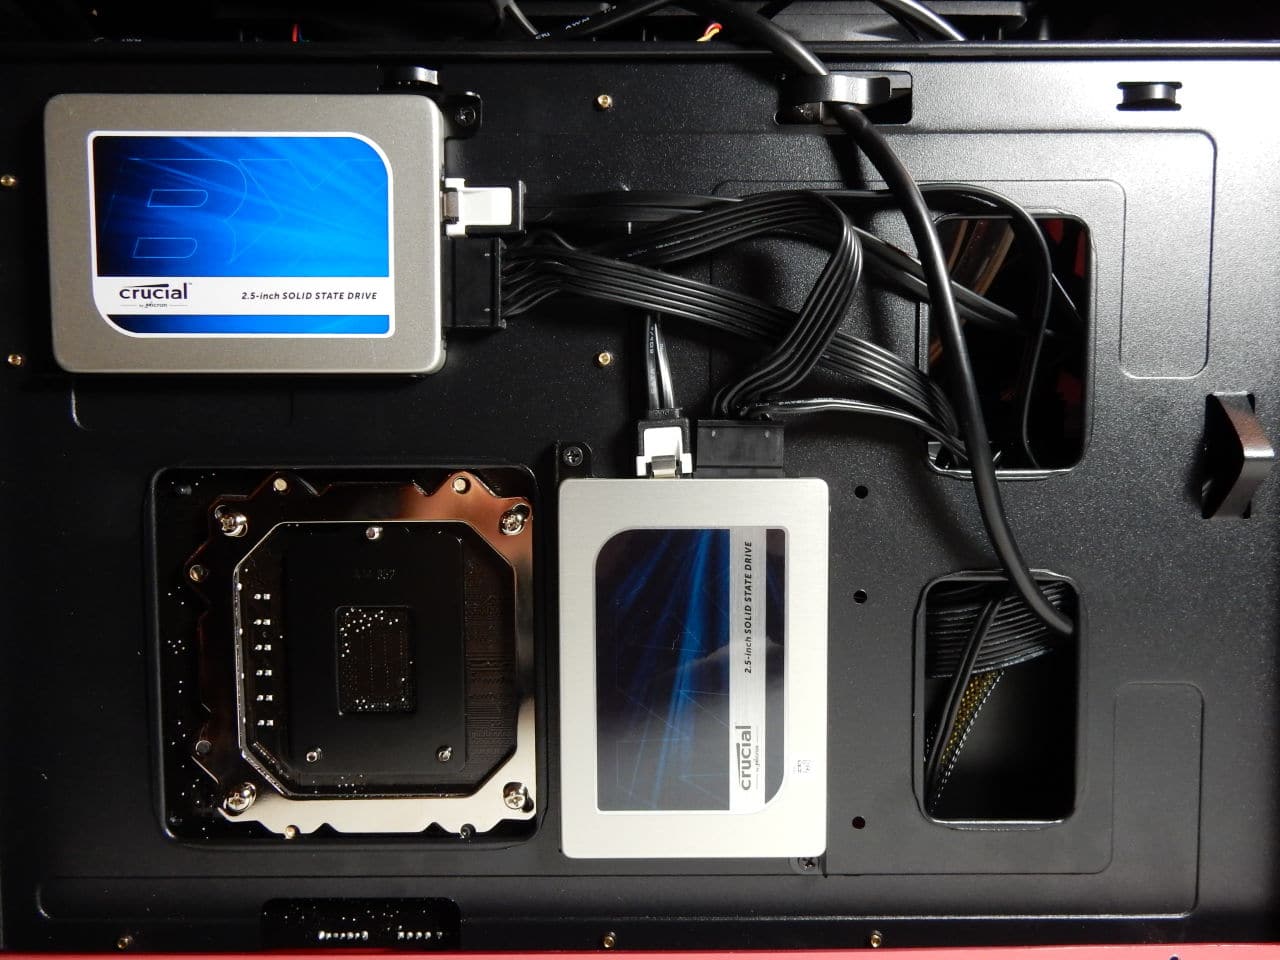
Removing the left panel of the case presents us with two additional 2.5″ drive mounting positions, each with their own removable drive tray. Since these two mounting options are behind the motherboard and this part of the case is without any kind of ventilation, we strongly encourage only using SSDs in these positions, due to their extremely low heat output. A large cutout is placed on the motherboard tray to allow users to install different CPU cooling options without the need to remove the motherboard from the case. While this is nothing new, it is nice to see this feature on a case of this size, as removing and installing a motherboard in such tight quarters can be tricky at times.
INSTALLATION AND USE
| Test System | |
| Case | Raijintek STYX |
| CPU | Intel Core i7 4790K |
| Motherboard | ASUS Z97M-PLUS |
| RAM | G.Skill Ares DDR3-1866, 16GB |
| GPU | ASUS GTX970-MOC-4GD5 |
| CPU Coolers | Raijintek TRITON AIO |
| Storage Drives |
|
| PSU | SilverStone SST-ST55F-G |
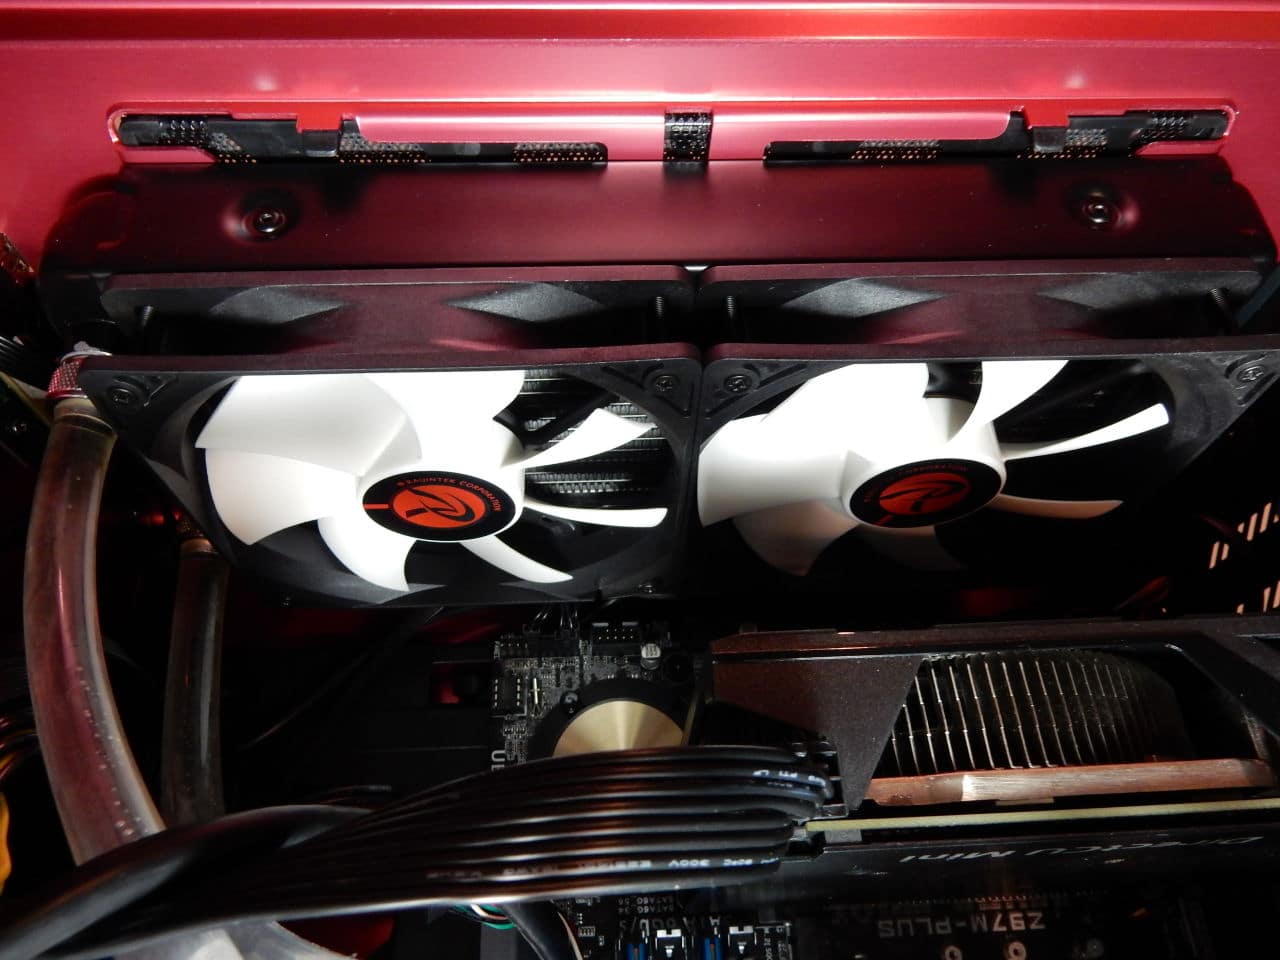
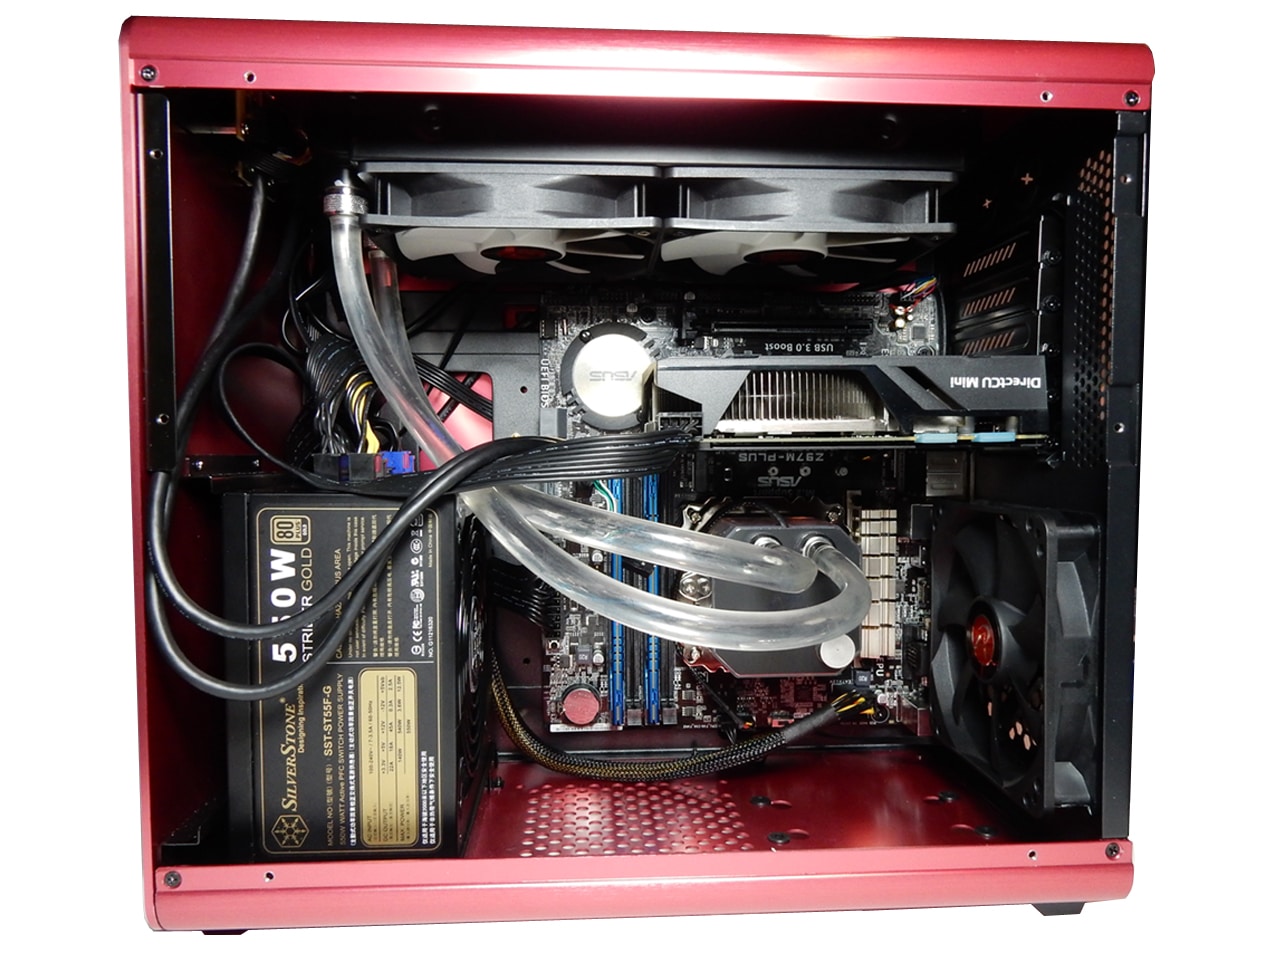
Installation of our system in the STYX was pretty straightforward. We had plenty of room for all of our components, and we were even able to successfully install Raijintek’s TRITON AIO water cooling kit. While cutting down the tubing lengths would have helped us just a bit, there was still plenty of room for the unaltered kit. We had plenty of room between our video card and the dual radiator at the top of the case.
While we didn’t have any major issues in the process, we did come across a few things of note. The first is that while there is a 3.5″ drive mounting position on the bottom of the case, it is more than likely not usable for most users, due to the I/O ports on the motherboard taking up part of that area.

The second issue is more dependent upon the power supply being installed in the case. Our SilverStone ST55F-G has a power switch directly below the power cord connector, and the supplied power extension that runs from the back of the case to the front where the power supply is installed is molded in a way that could easily switch the unit on or off. While we haven’t had any issues with this yet, it is something to keep in mind when choosing a power supply for this case.

Besides those two items, installation was a breeze, thanks to the multiple cutouts in the motherboard tray that allowed for easy routing and hiding of things like SATA and power cables, as well as top-panel USB and audio leads. We chose to install our SSDs on the two mounts on the backside of the motherboard tray, and had no issues routing the necessary cables.
Another nice addition to the STYX is Raijintek’s inclusion of rubber grommets on all of the 3.5″ drive mounting positions. Keeping vibrations to a minimum really helps thanks to these grommets, and their use keeps the sound output from mechanical drives to a minimum.The build quality of the Raijintek STYX is great, and at no point did the case feel flimsy, or weak. All of the seams lined up well, and the mounting points for the top fans/radiator are quite robust.
Aesthetically, we think the STYX looks great, but there was one item that bugged us a bit. Mentioned earlier, the removable bracket that spans the length of the case and is used to mount additional drives, blocks part of the case’s window. So instead of getting an unobstructed view of the great looking gear you decide to show off in this case, you get a bracket in the way. Thankfully this bracket can be removed, which gives you the full, unobstructed view into the case.
One thing to watch out for on this case is the possible wear and tear of the mounting holes used for the side panels. Threads that have been threaded into aluminum, being the soft metal that it is, can be prone to stripping if care is not taken when installing and removing the side panels.
CONCLUSION
 Coming in at around $85 USD on Newegg, the Raijintek STYX has provided us with a great example of how to combine Micro-ATX support, good looks, and advanced features into an affordable package. First off, we have the nearly all-aluminum construction, which not only reduces the overall weight of the case, but gives it a high-end look. Add in the fact that the STYX is available in six different colors, and this case is becoming a good choice for users wanting to have a build based around a certain color. Another great feature about the STYX is the support for 240mm liquid cooling radiators. The internal layout supports this type of cooling setup thanks to the additional width and height that provides enough clearance for the motherboard, without the radiator getting in the way. Add in support for not only standard ATX power supplies, but also video cards up to 280mm in length, and the STYX becomes more and more capable of housing a powerhouse system.
The only issues we experienced with the case were either due to personal preference with regards to the visible drive bracket obstructing the view of the case interior, or just something to look out for when considering the components for your case, specifically the power supply we used in our test rig. While not enough to sway our opinion one way or another, these small items should be taken into consideration if you are looking to make the STYX your next case.
While it is just the second Raijintek product that we have taken a look at, the STYX has really helped solidify our opinion of this company’s position in the PC component market. Bringing together features like aluminum construction, full-size video card support, as well as 240mm radiator support and bundling them up into the STYX, makes this case a clear-cut example of providing users what they want. Toss in a going rate of right around $85 USD, and you have a case that we are happy to award with the Bjorn3D Seal of Approval.
| Raijintek STYX Pros | Raijintek STYX Cons |
|
|


Stunning looking case. Getting it for my next build.