Like most programmable peripherals, the Ventus Z’s software can be downloaded directly from www.ttesports.com. On the directions given on with the box it says to only go to the website and that the download should be readily apparent but in reality you may end up looking around for a while if you’re not familiar with how companies tend to format their websites in regards to the location of software downloads. In this case, all you must do is scroll to the bottom of the page and there will be a link under “Support” called “Downloads and FAQ”, after clicking this you will then click on “Mouse” and find the Ventus Z and download the Driver. Once downloaded and installed the Ventus Z’s software is quite user friendly.
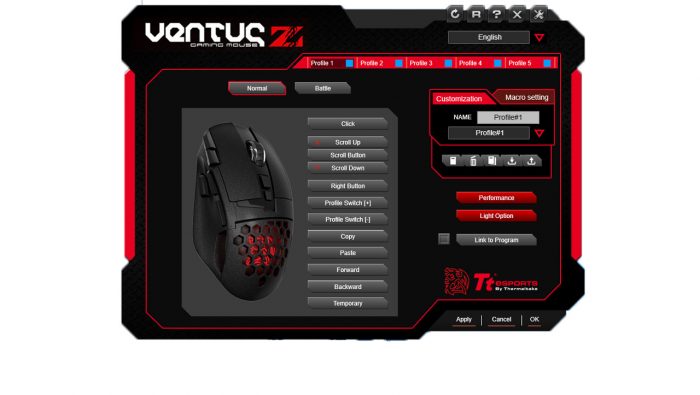
Upon opening the Software you will be brought to this screen. From this screen you have the options to change the LED lighting settings, customize button functions as well as change the sensor performance. These changes can then be saved to 5 different profiles which can then be renamed, imported and exported.
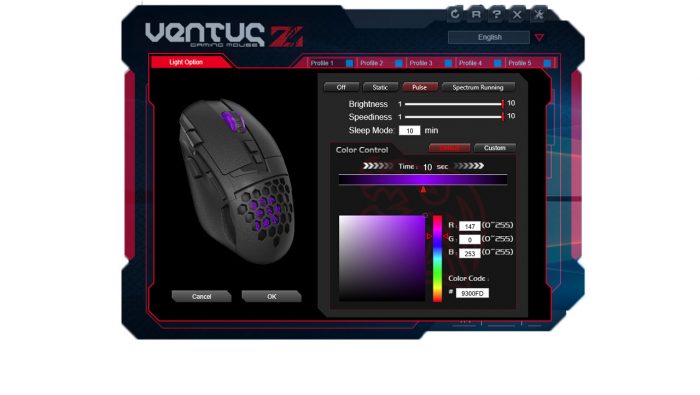
The Ventus Z’s lighting effects are straight forward and fairly basic. You have three options for the lighting settings; Static, Pulse and Spectrum Running. Beneath those options you can adjust the Brightness, Speediness and select a Sleep mode timer. In the bottom right hand corner you have the option to customize the color you want displayed by the mouse. Keep in mind that the colors displayed by the Mouse wheel and the dragon logo are synced together so they cannot display different colors.
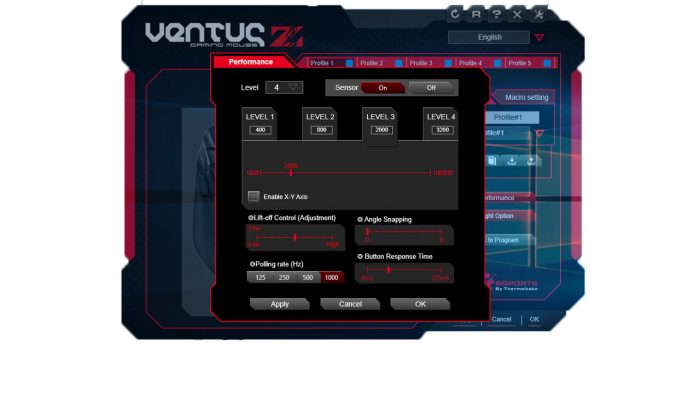
Next up we have the Performance menu. Starting from the top of the menu, there is an option to flip the Sensor off or on. Just below this, the DPI can be adjusted either by selecting one of the 4 preset levels or adjusting it manually using the slider from a minimum of 100, to a maximum of 11,000 or anywhere in between in increments of 100. Lift off control, angle snapping and button response time can also be adjusted using sliders and the polling rate can be adjusted to 125,250,500 or 1000 Hz.
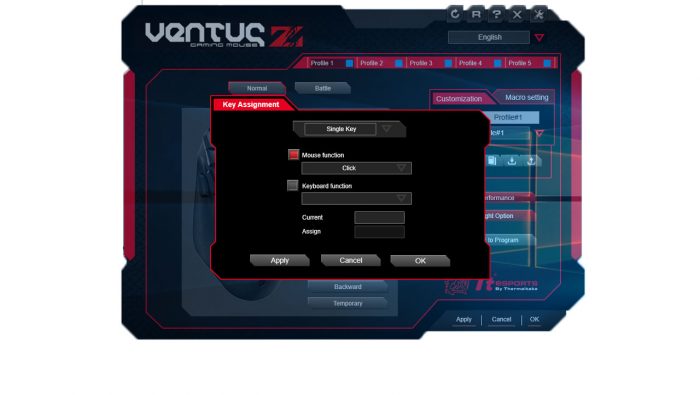
Now, from the original menu displayed after opening the software you have the option to reassign button functions by clicking on the desired button name listed on the right hand side of the mouse. From here you are able to assign a single key, a mouse function or a keyboard function for the desired button.
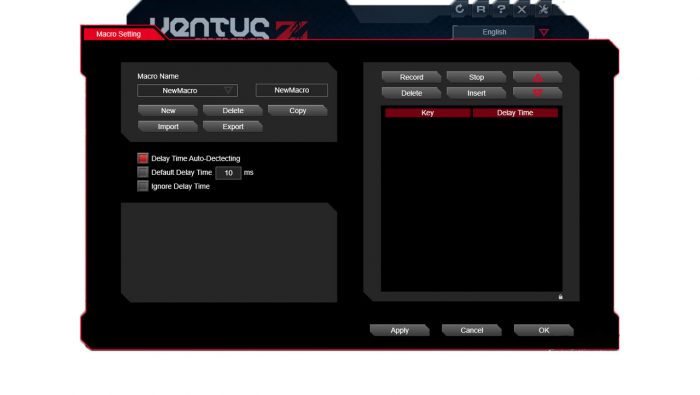
Lastly, we have the Macro setting menu. Mouse and keyboard keystrokes can be recorded, inserted and deleted using the buttons in the top right hand corner. In the top left hand corner you have the options to create, delete, copy, import and export your macros. The Ventus Z supports up to 5 different profiles and can store up to 50 different macros to its 256K onboard memory and its ARM based 32-bit microcontroller.