The heyday of the plain, beige PC is over. The Apple iMac opened the eyes of consumers and manufacturers to the fact that it’s OK for PC’s to look different from one another. The result is that today you can buy a PC from Dell, Compaq, or Gateway and actually tell it apart from a competing brand.
However, there remains a hard-core group of PC owners that need more individuality than you can buy off the shelf. These people have a deep need for self-expression and/or performance that can only be sated through Dremel tools, water cooling, and enamel paint. A small cottage industry supporting these PC hot rodders is flourishing and growing rapidly, just like the custom import car scene did a few years ago.
Bjorn3D understands this need for speed and looks, and we want to honor this movement. So we’re having a contest! Show us your case, and you could win a new eVGA GeForce4 MX 440.
FINAL UPDATE! The winner is Hendrik Fries! Congratulations to him and thanks to all of our contestants!
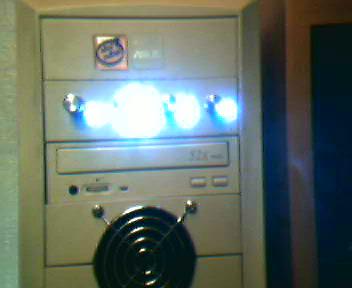
reyawn is kicking things off with a “before” shot and a concept sketch:
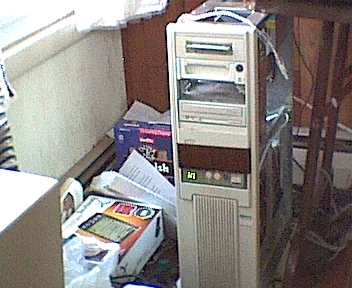
Hmmm, room for improvement, I think (dude, clean your room!).
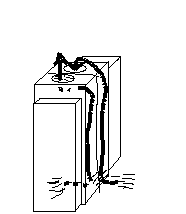
Is it a PC, or a dynamite detonator?
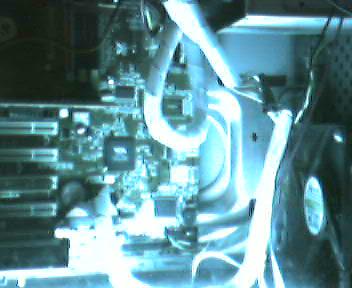
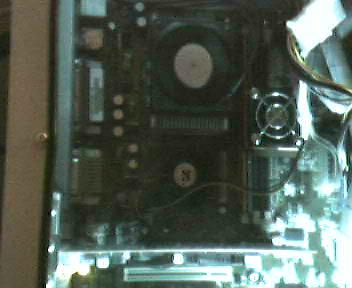
Now his work is underway – we’ll let him describe the action:
I decided not to paint the cd-rom drives and all, because I swap devices in and out too much. Anyway, I enjoyed this all greatly, I’ve always wanted an excuse to mod my comp. Thanks for the contest!
 |
 |
 |
 |
 |
 |
 |
 |
 |
 |
 |
 |
 |
 |
 |
 |
 |
 |
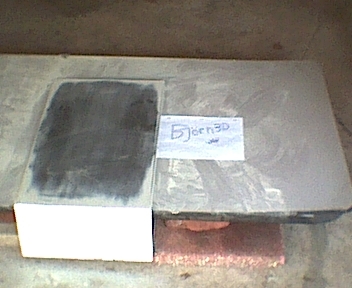
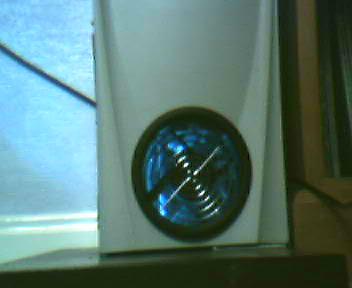
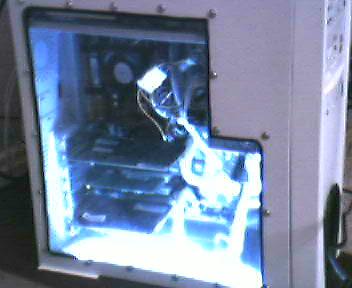
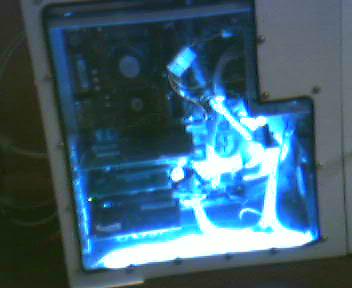
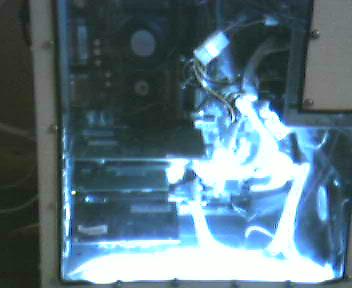
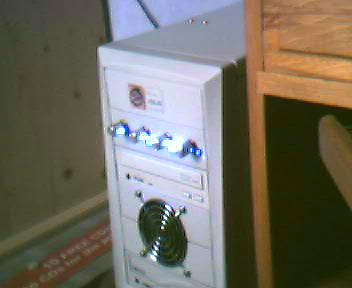
Entrant ‘henf’, from Germany, has his rig ready for judgement:
Everything on these pictures was made by me, even the waterblock and the water reservoir, the aluminum case, the red paint job on the front…every single hole was personaly bored by me :). This was a whole bunch of work to do, believe me that! But it runs perfectly quiet, rock stable and quite fast for such an old proc (duron800 with 1124MHz and 2,14Vcore). The Vcore mod was of course done by me :). The switches on the front are to control the lights and fans…
Now here’s a slew of pictures for you:
|
|
|
|
|
|
|
|
|
|
|
|
|
|
|
|
|
|
|
|
|
|
|
|
|
|
|
|
|
|
|
|
|
|
|
|
|
|
|
|
|
|
|
|
|
|
|
|
|
|
|
|
|
|


James Palmer has some mods he wants to share with the B3D community:
I added a large case window, front and rear 120mm YS-Tech fans, front ducting, an 80mm YS-Tech fan fitted into 2 spare 5.25″ bays and a blue cold cathode light, and the fan controller (rheobus) in the 5.25″ bay at the front.

Mike Nackel’s machine is truly impressive looking, as you can tell from the pictures. Let him tell you about it:
This is Malus Apperatus (latin for evil machine). The machine is an 800 Athlon running at about 30 celcius (actual processor temp, not the crappy onboard thermocouple. That one reads much lower which is obviously wrong). 32meg ATi All-In-Wonder Pro and it has all the other fancy things that go with a nice machine. It’s my first case mod and I’m pretty proud of it.
 |
 |
 |
 |
 |
 |
 |
 |
 |
 |
 |
 |
 |
 |
 |
Sal Leno (not his real name) must be one sick dude by the looks of his mod. But that’s OK with us, we have a great appreciation for sickness! Here’s his rig in his own words:
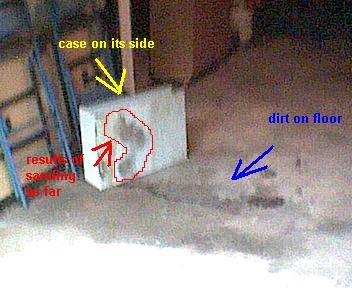
Ok, here is my entry. I took me a whole month to complete, but I finally finished. I finished it on the night of May 13 at 10:30. I finished so late because on May 10 after the install I had to search for a new hard drive because both my 40 gig drives died out. Good bye my 48 gigs of *weep, sob* MP3s :O( The bad news, I also lost the first pictures I took when I started my mod. The good thing, my room mate had a few on his computer he took with his digital camera. Those are the earliest pictures which managed to be saved. More good news, the good people over at Maxtor will be replacing both of my hard drives free of charge. :O) Anyway, enough chit-chat lets move along with the mod!!!
Original Concept
About 4 years ago a friend of mine and I were watching ALIENS. We commented how cool it would be if we could give the computer an ALIENS look. We got to work and between the both of us we did it. Unfortunately, he paid for the case and he got to keep it. As time would have it, I moved on as did he. We graduated high school and went off on our separate ways. About 2 months ago he wrote to me telling me how a whole bunch of dorm people had commented on the case we built. I paid little attention to his comments until I came across your web site contest via Virtual Hideout. When I saw the contest prize, the idea dawned on me again. To Gigerfy a case (again)!!! The original was a small generic mid-tower and we had painted it flat black. A while back I had received a huge case from my aunt. She was going to throw it away but I decided to keep it .just in case (no pun intended). Bingo, I had a case, the basic idea, all I needed was the time and resources.
The Drawing Board
I had decided to use the case my aunt gave me. The problems were:
1) It was a case that housed a blazingly fast 486 processor
2) It was not atx form factor
3) It was one of those old U shaped covers
4) Two bay slots were being occupied by power/reset/turbo switches
5) Poor ventilation
Solutions
1) Put in my current system
2) Drill new holes and cut out back panel to fit
3) Cut to make it open up like wings and attach hinges to allow for easy access.
4) Cut to turn it into six instead of four
5) Cut a blowhole on top

Piece cut off from front panel.
After all the above was done came the hard part. Deciding how I would artistically design the case to look different. I decided to put a skull on the top and try to blend it in with the case to make it look seamless. I went to a hobby shop, purchased a skull and got to work cutting it. I decided to go with fiber glass as the primary bonding tool. After applying the fiber glass and allowing it to dry I noticed that it was still flimsy and not as hard as I would have like. I still decided to put primer on it and did so. My room mate suggested I add bondo so I added a little bondo. What a difference a little bondo makes. Solid as a rock. When I rubbed the bondo on I noticed it left a really cool pattern after sanding it down to a smooth surface. It was almost the same effect I had done on my friends computer, except we achieved that with hot glue. I was pleasantly surprised. I rushed back to the hardware store and picked up some more bondo. I got out on the balcony of my apartment and mixed and applied on. WOW!!!

It looked awesome on one side. I then cut some wire wrap and held it in place while I added bondo to hold it in place. This gave it a very basic biomechanical look.
|
|
|


Cool!!!!
The Painting
After sanding down the bondo I had originally decided to paint it in a metallic black color. So I did and these were the results.
|
|
|
|
|


Not bad. I had finally finished. ..or so I thought.
A New Idea
A neighbor of mine came in and saw my case and commented on how great it looked. He said if he had it he would have painted the bondo parts like if it were bleeding skin. I thought that was an awesome idea so I decided to try it (with his permission to use his idea of course Thanks Brandon!) I took to my parents for the weekend and worked on it there. Here were the first attempts at getting the bleeding skin effect.
|
|
 |

I thought it looked great at the time, so I sprayed some semi-gloss finish on the red parts to give it a wet look and went to sleep. I came back home from work the next day and noticed the red now looked like a purple color. My case had gone from bleeding to bruised. LOL. I went back home to my apartment after mothers day weekend and sat outside on the balcony. I went to the hardware store and picked up some red enamel spray paint. BINGO!!!!! I sprayed it on and it was just magic. Mixed in with the glossy finish, the purple and metallic black had an awesome effect. I allowed it to dry to make sure it would not turn purple. To my amazement, it turned it even more life like. The pictures I took actually make the case lose detail. It looks bright red, but in reality it is dead on with dead, bleeding skin (pun not intended) I tried my best to make it show up as close to its actual appearance on camera with different lighting.
 |
 |
 |
 |
 |
Finally, THE TEST
Having finished the outside now came the inside. Migrating my computer. I put it in and waited to see the effects. ITS ALIVE!!!!!! Great, it worked and I decided to finish it all of by taking some more pictures of it running. By the way, I also painted my monitor to match my new case and added a small bay door to the front of the case.
Finally, after a month of dremmeling, sanding, painting, dead hard drives, thinking, worrying, mid-terms, exams, homework, trips to FRYS, etc, etc I finally finished. Time to go to bed. No wait ..Time for Counter-strike and Quake 3. Hehehe. Thanks for the opportunity to enter this contest, it was fun, and good luck to all those other modders out there. KEEP ON MODDING!!!!!!!!!!!!
 |
 |


