Thinking about water cooling your CPU but haven’t built your first water cooling loop yet? Getting your feet wet can be a bit scary. Thermaltake has released the Water2.0 Performer and Water2.0 Pro all-in-one water cooling solutions. Both are reasonably priced and fit most existing Intel and AMD boards. So get your feet wet!

Thermaltake Water2.0 Performer
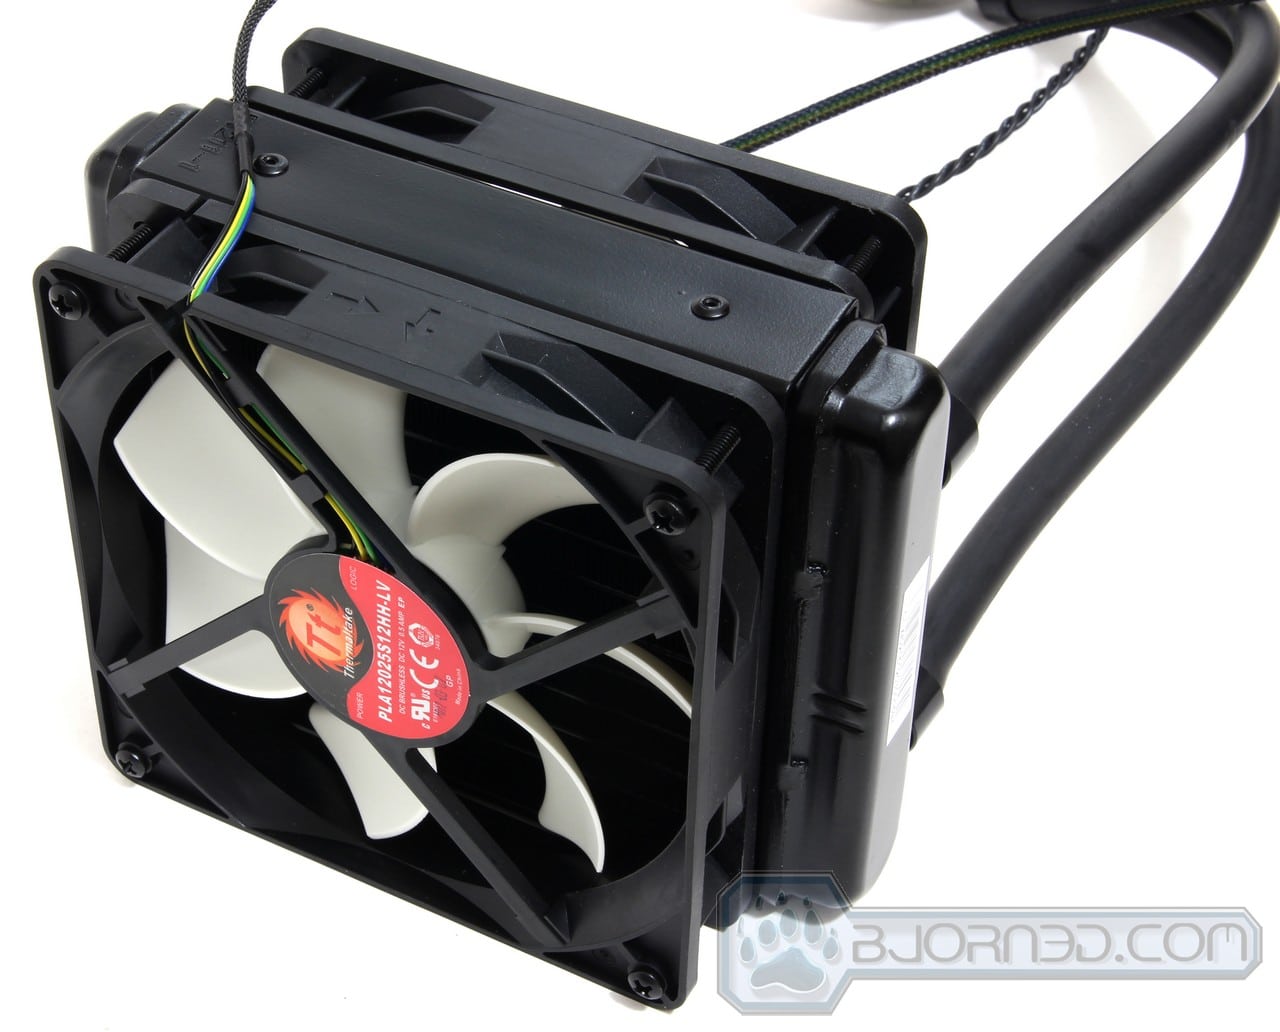
The Water2.0 Performer comes in at a very reasonable $79.99, and at first glance we see a single 120mm Radiator with Dual 120mm Fans in a push pull configuration. The setup bolts onto the 120mm exhaust fan on the back of your chassis. Black rubber hoses lead to a combination CPU block with a pump built into the block. These hoses are fairly short, so plan your build accordingly. The entire unit is pre-filled and sealed, and except for air dusting the fan and radiator occasionally, the unit should be maintenance free.
Features & Specifications
As we mentioned earlier both the Water2.0 Performer and Pro cooling solutions cover all modern sockets. Thermaltake wants the product to cover as many types of sockets as possible to maximize the market. It’s going to take a few minutes to figure out the assembly of the hardware for your particular socket but that shouldn’t be horribly hard. A self-built water cooling loop often involves a couple days research, another day or two designing and pressure testing the loop, and another day actually installing it. These closed-loop pre-built coolers save users a lot of time.
Sockets the Water2.0 Performer and Water 2.0 Pro fit:
Intel: LGA2011, LGA1366, LGA1156, LGA1155
AMD: FM1, AM3+ AM3, AM2+, AM2
|
|
Water2.0 Performer | Water2.0 Pro |
| Radiator | 25mm, Aluminum | 49mm, Aluminum |
| Radiator Size | 120mm | 120mm |
| Cooling Surface | 1385 cm2 | 3730 cm2 |
| Internal Maintenance | None | None |
| External Maintenance |
Clean Fans, Vanes |
Clean Fans, Vanes |
| Fan Control | Dual PWM fans 4 Pin Header | Dual PWM fans (4 optional) 4 pin Header/Windows Software |
| Max # Fans | 2×120 (push/pull) | 4×120 (2 Optional, not included) |
| Fan Speed | Adjustable 1200 ~ 2000 RPM | Adjustable 1200 ~ 2000 RPM |
Product Overview
Water2.0 Performer
Click Images to Enlarge
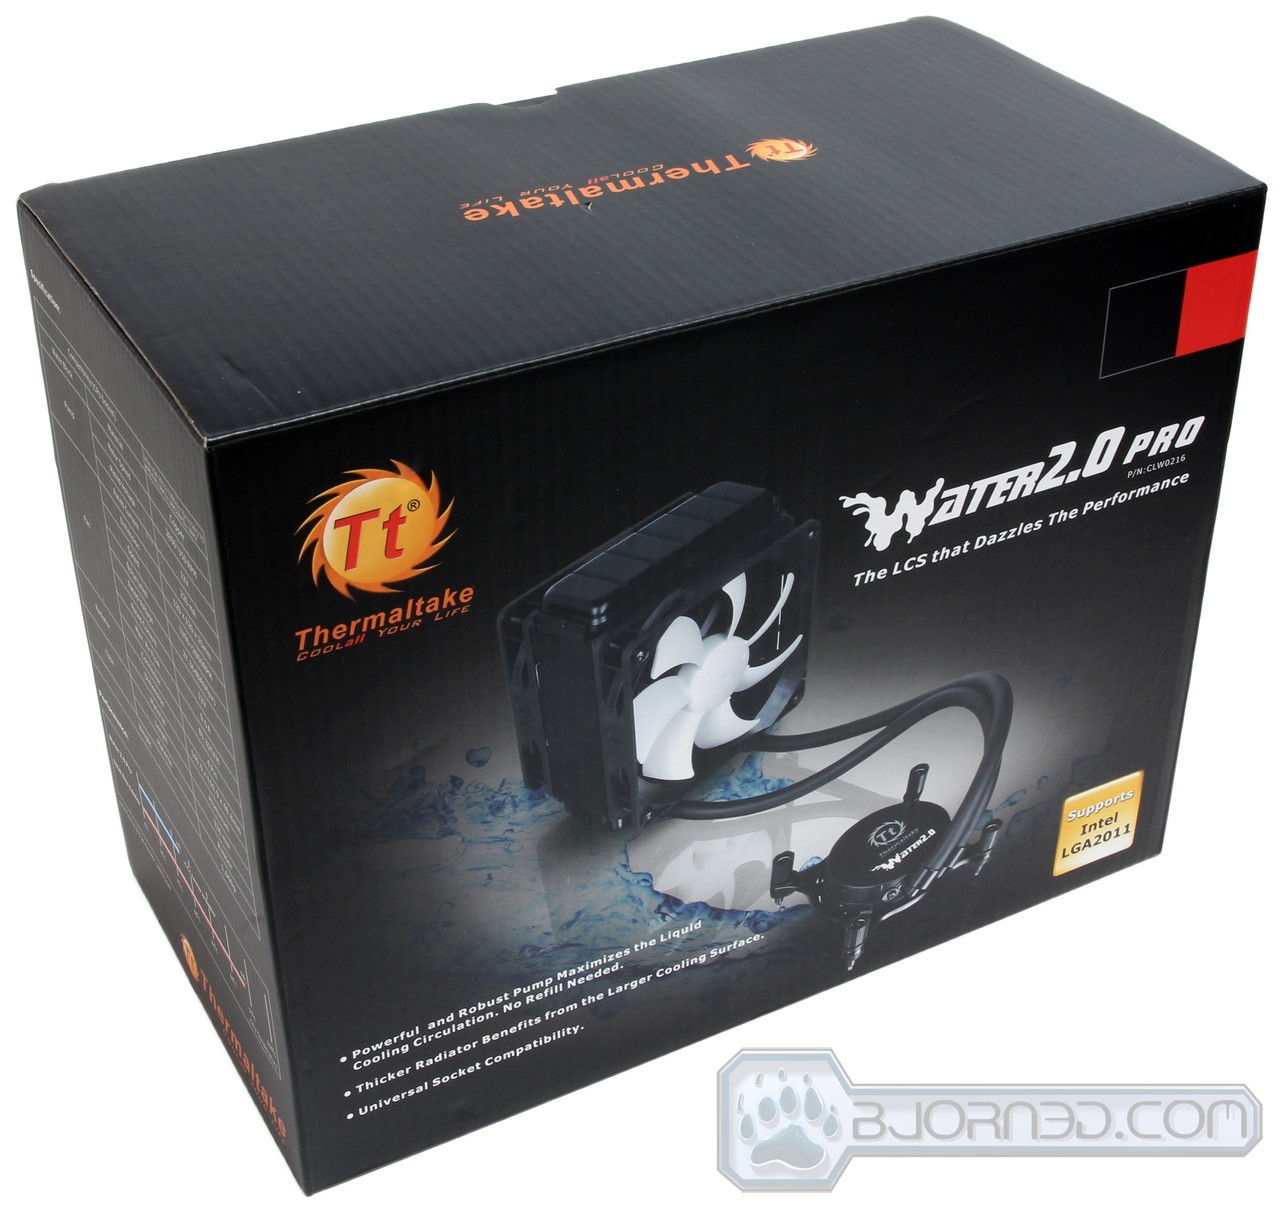
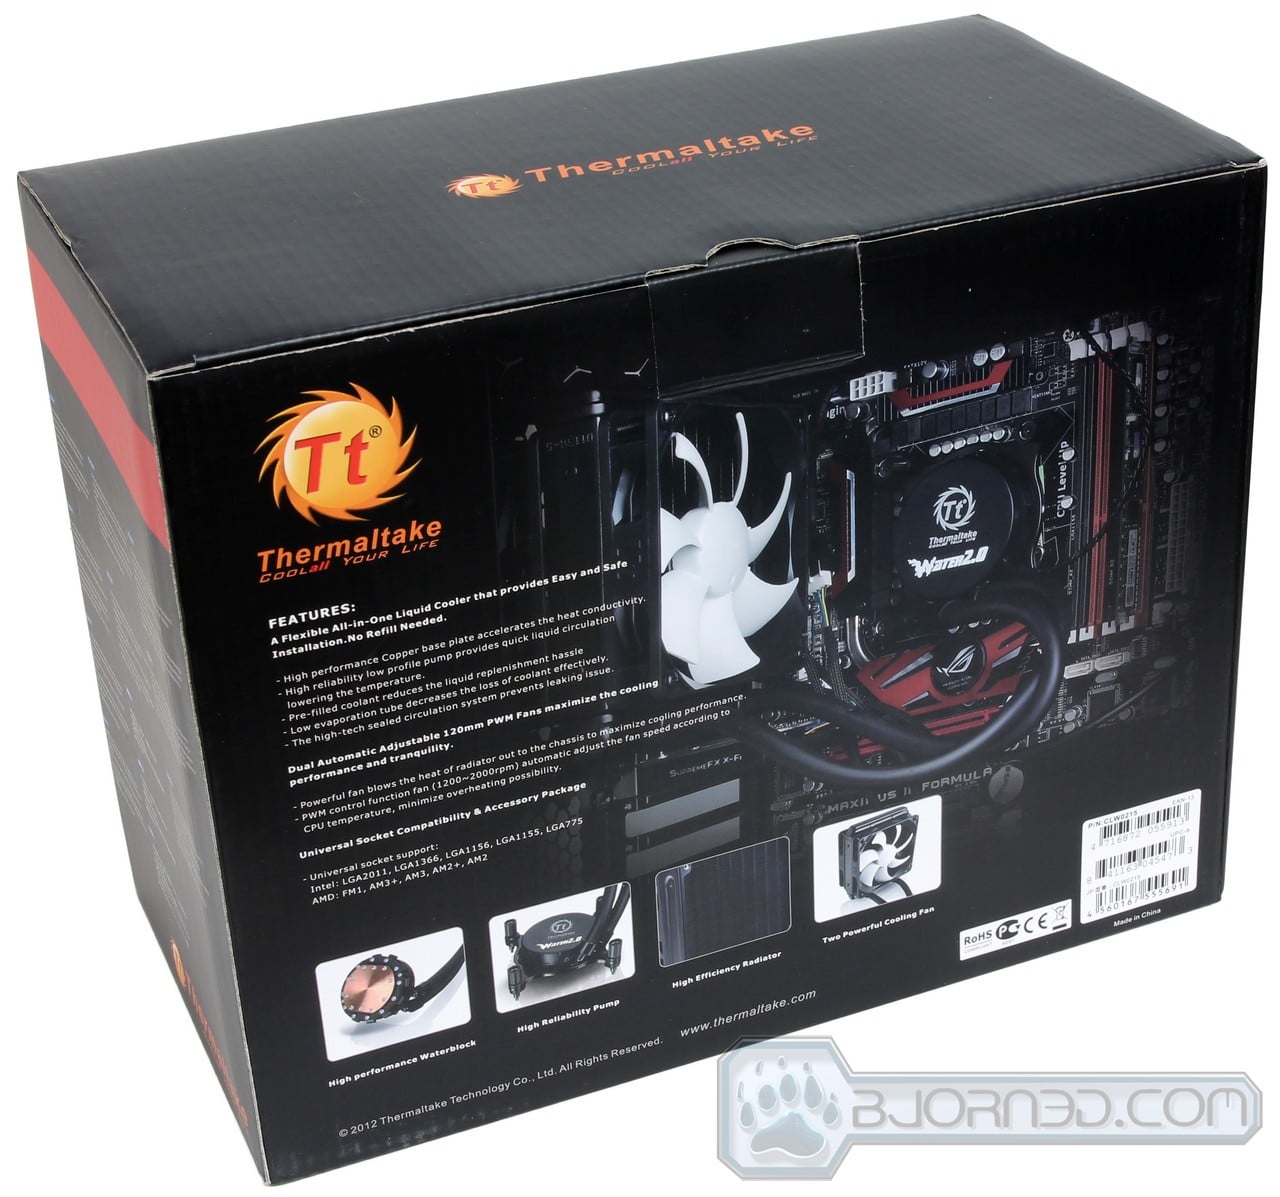
Thermaltake has always been big on black and red boxes, and the product is well pictured and the list of features are overshadowed by the images. If you go over the box well there is enough information to make an informed decision about the purchase of the product.
Click Images to Enlarge
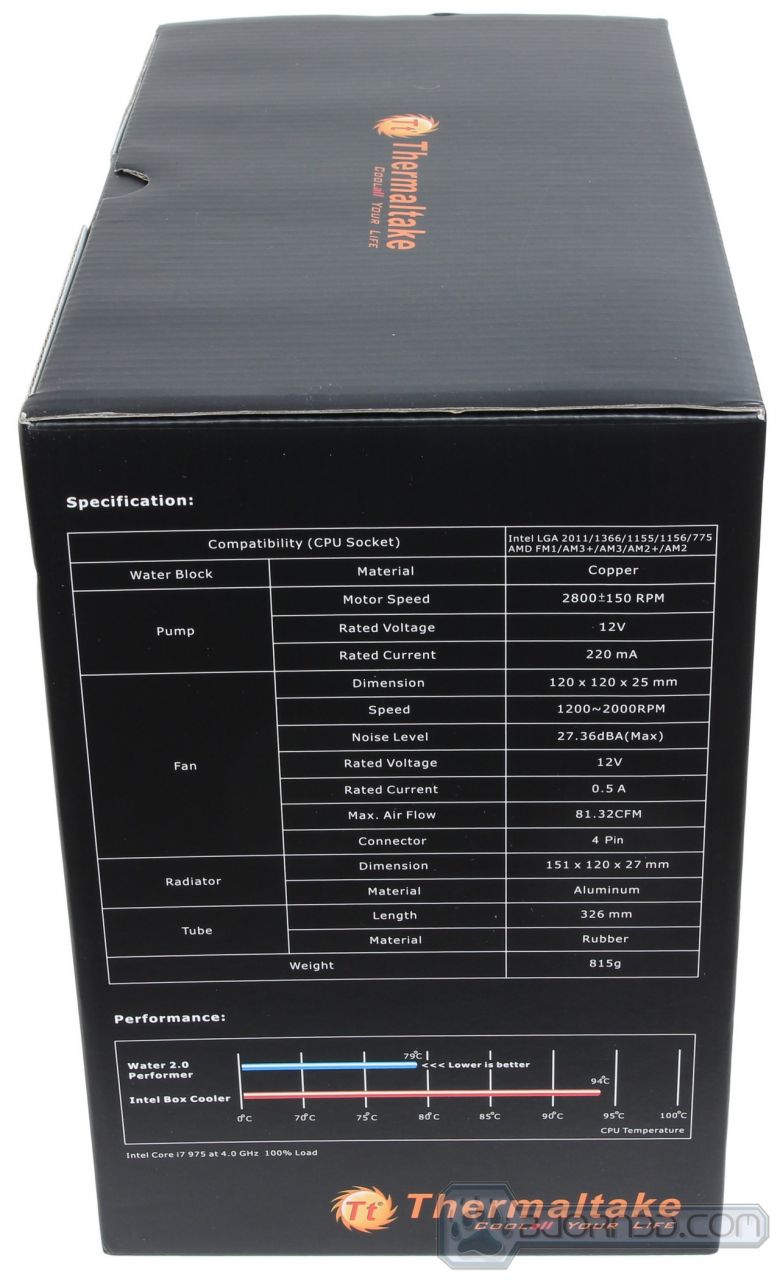
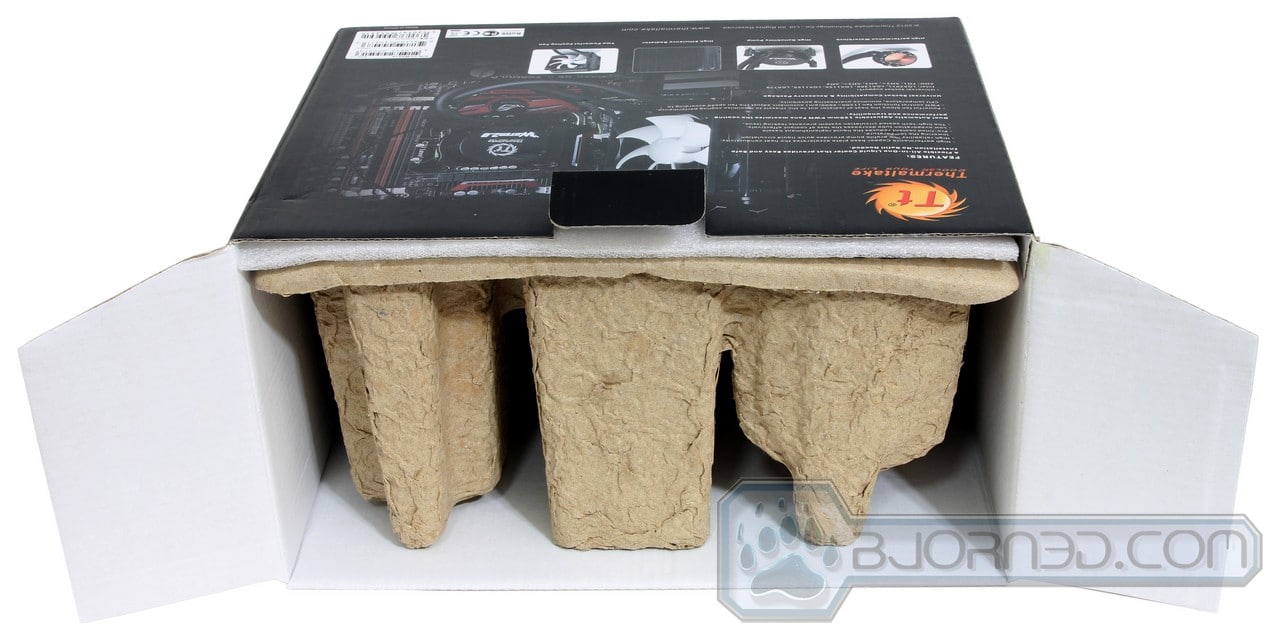
The side of the box has a specifications table with enough information to cross your eyes. The interior is well packaged but we would really prefer to see molded foam instead of molded cardboard.


Click Images to Enlarge
All the contents were neatly packaged and survived the trip without incident. Notice the number of socket adapters and bags. That’s what we mean about taking a few minutes to sort out what socket adapter you will need.
Click Images to Enlarge
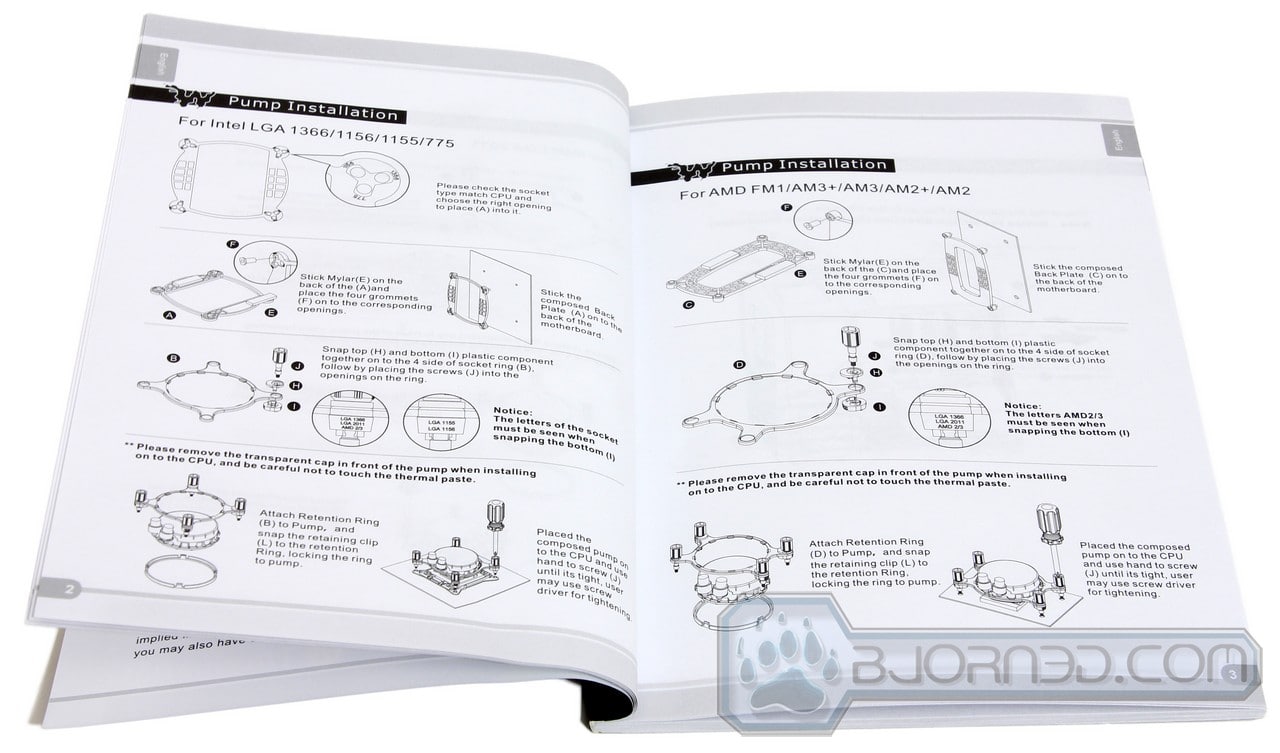
The book is well illustrated, and Thermaltake does a great job with the illustrations. We suggest your read over these carefully, as they are absolutely useful in installing the cooler.


Click Images to Enlarge
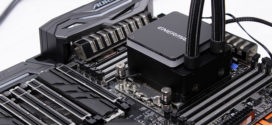
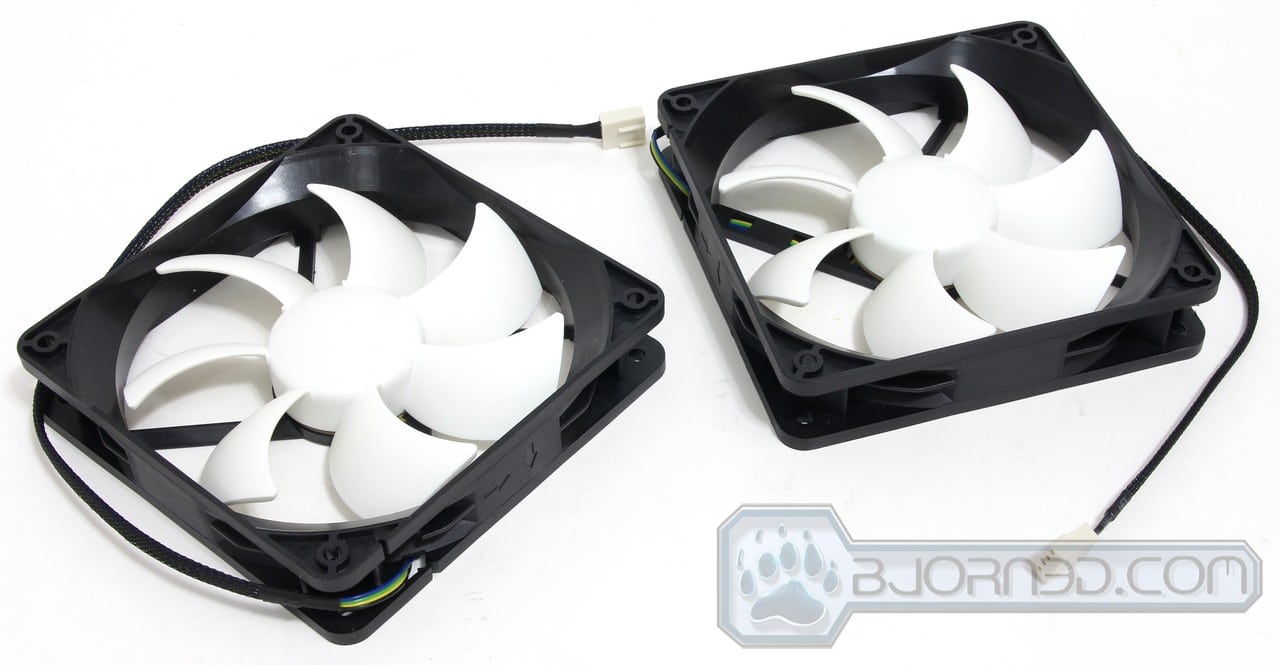
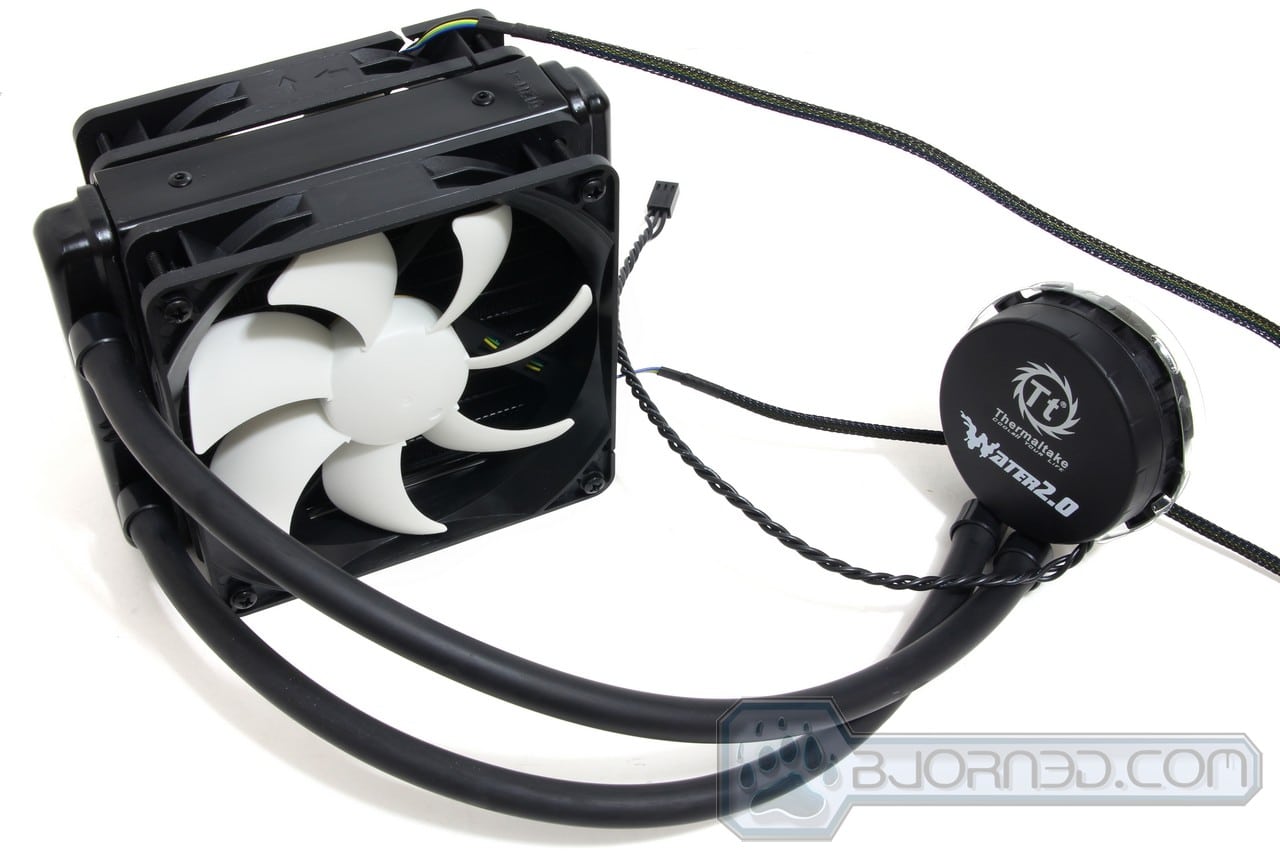
You’ll need one 4 pin header for each Fan, which leaves us wondering if there was just no way to run both fans off one header. If there’s one thing we hate it’s wires running willy nilly through our chassis. Of course we were pleased to find a “Y” connector for both the included fans saving us one motherboard header. The Block itself is one piece copper; the pump wires run right off the head of the block and we would have liked to have seen some wire sheathing instead of bare twisted insulated wire.

Click Images to Enlarge
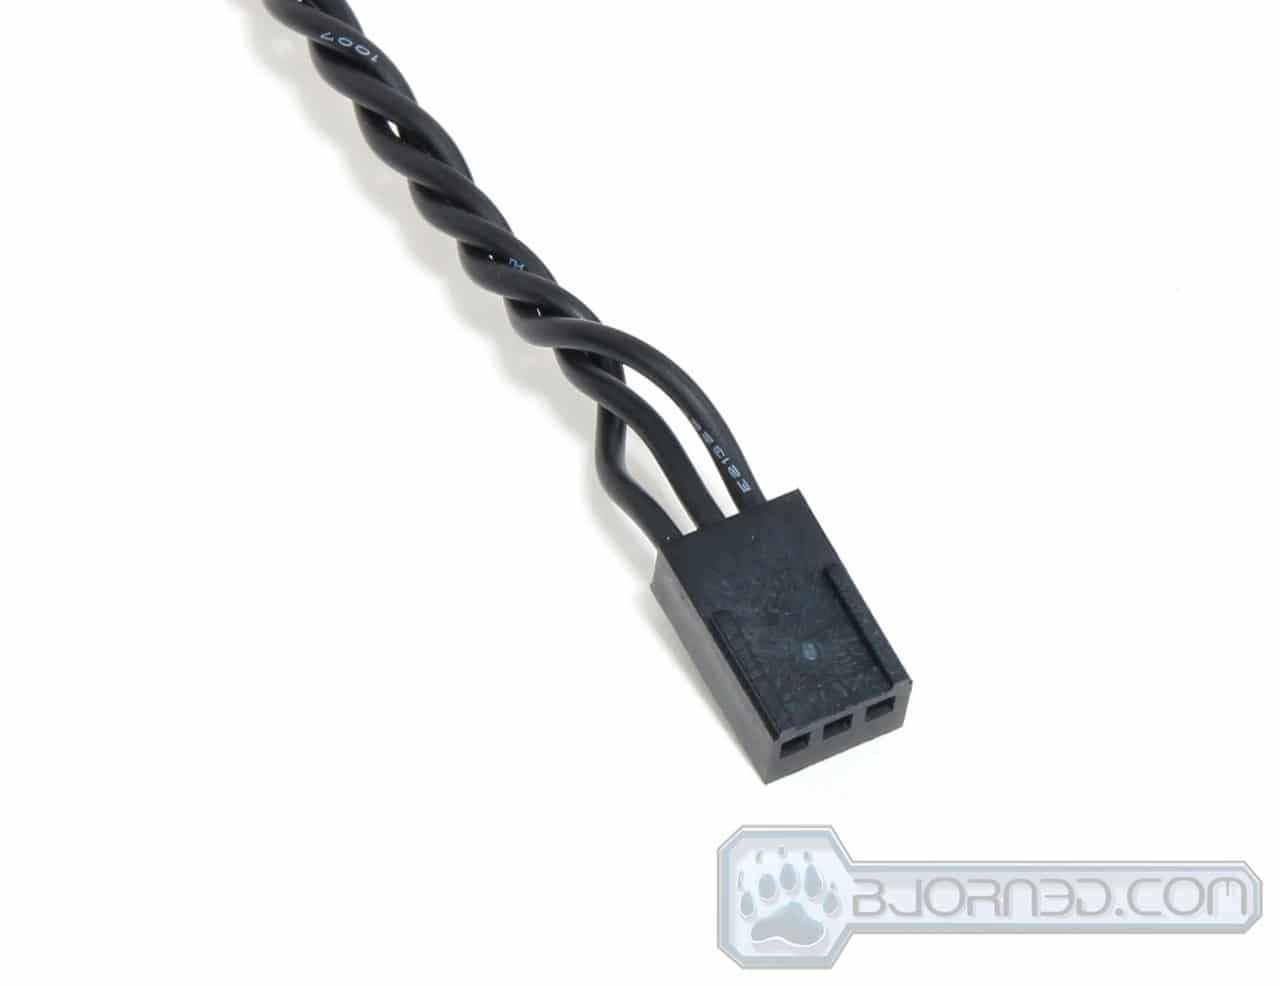
The pump is non-adjustable, so you’re looking at a 3 pin motherboard header. The block connects to two black rubber hoses. Though it’s rarely seen, we would’ve liked these to be a tad more decorative, possibly either colored or clear with colored fluid.. Who wants to open the chassis and say “Here’s my ugly black water cooling system”.

Click Images to Enlarge
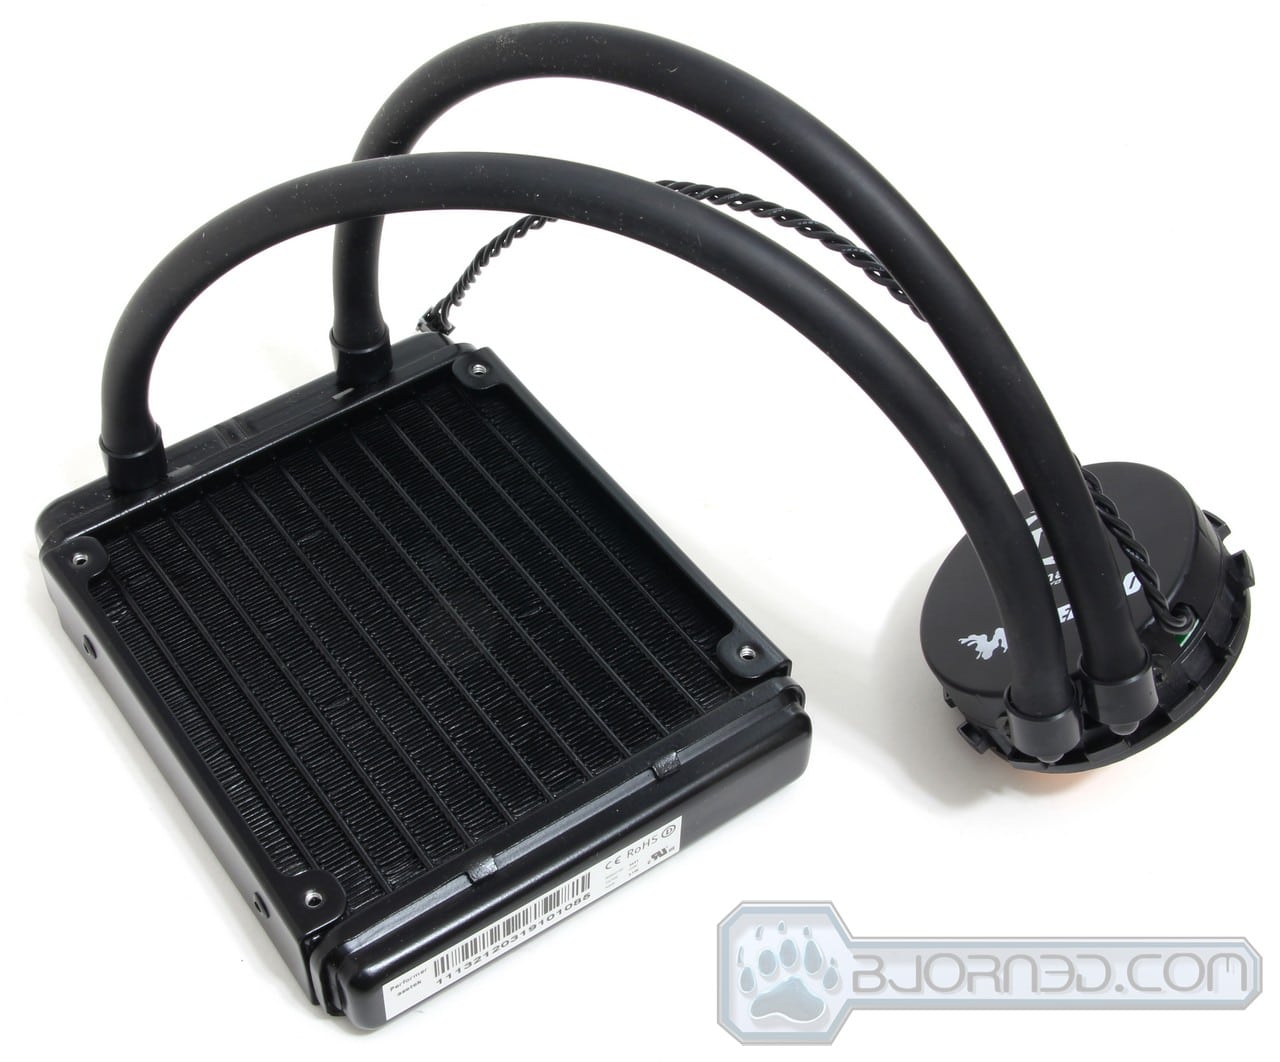
Here’s the entire unit without the fans mounted to the single 120mm Radiator: it’s small, lightweight, and ergonomically designed.
Click Images to Enlarge
There you have the entire unit completely assembled and with the exception of the socket adapter ready to install.