To some, the “guts” of a computer are the components that make up the entire computer itself. You have your core components like the CPU, motherboard and RAM that make up the vital organs. But they all have to live inside a body; the case. Sentey has provided us a review sample of their Eagle Plus case with which to encase all of our “guts”. Lets take a look at how Sentey goes about keeping everything together.
STANDOUT FEATURES
The Eagle Plus is not a high-end gaming case; you won’t find any lightweight aluminum here. At the same time however, the Eagle Plus does provide most of the creature comforts that have become standards in today’s PC case market. USB 3.0? Check, Plenty of fan mounting positions? Check. Enough room for large power supplies and videocards? Check.
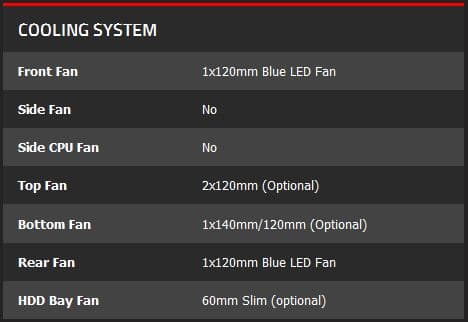
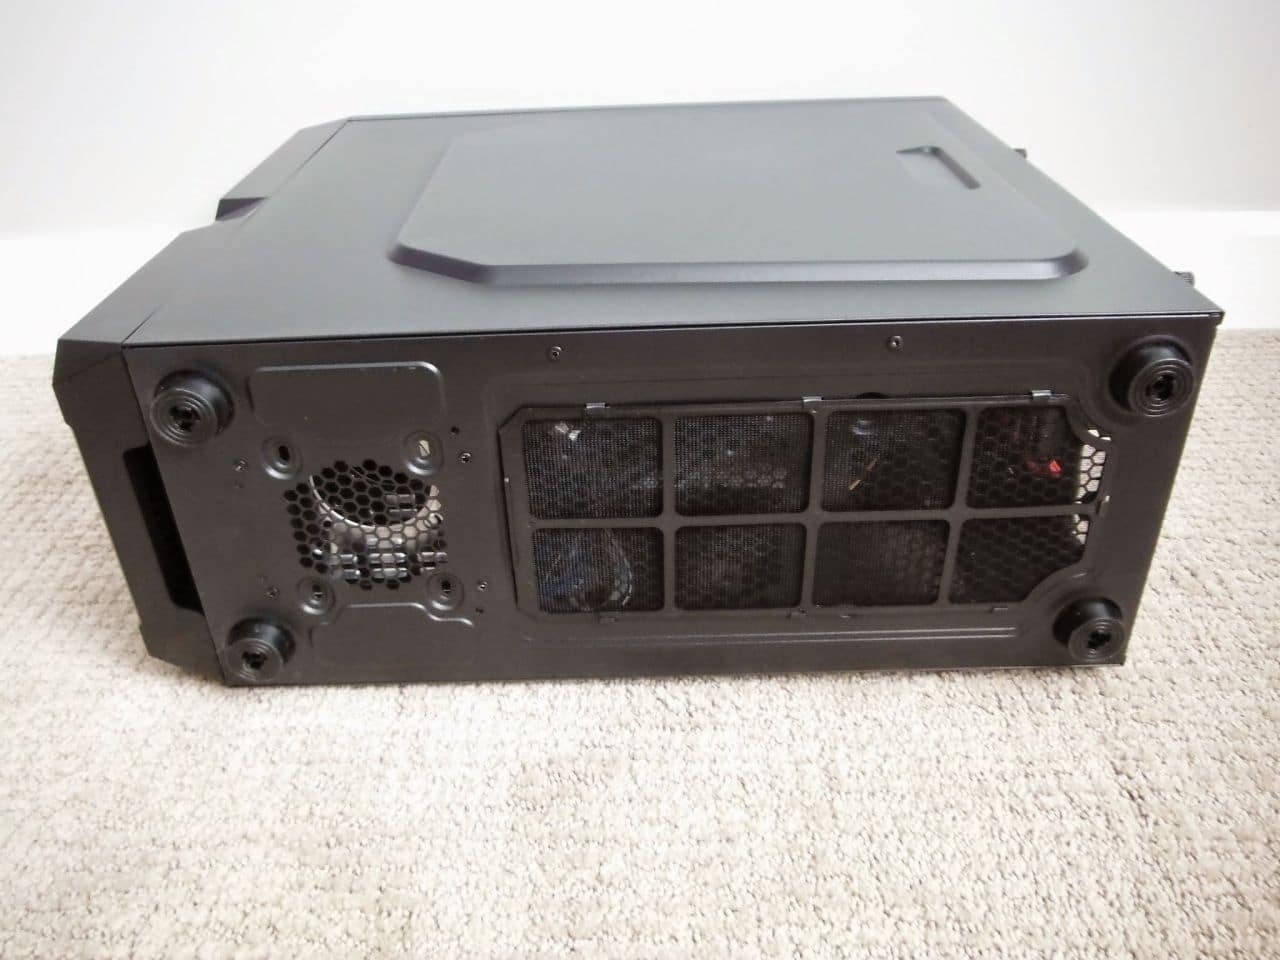
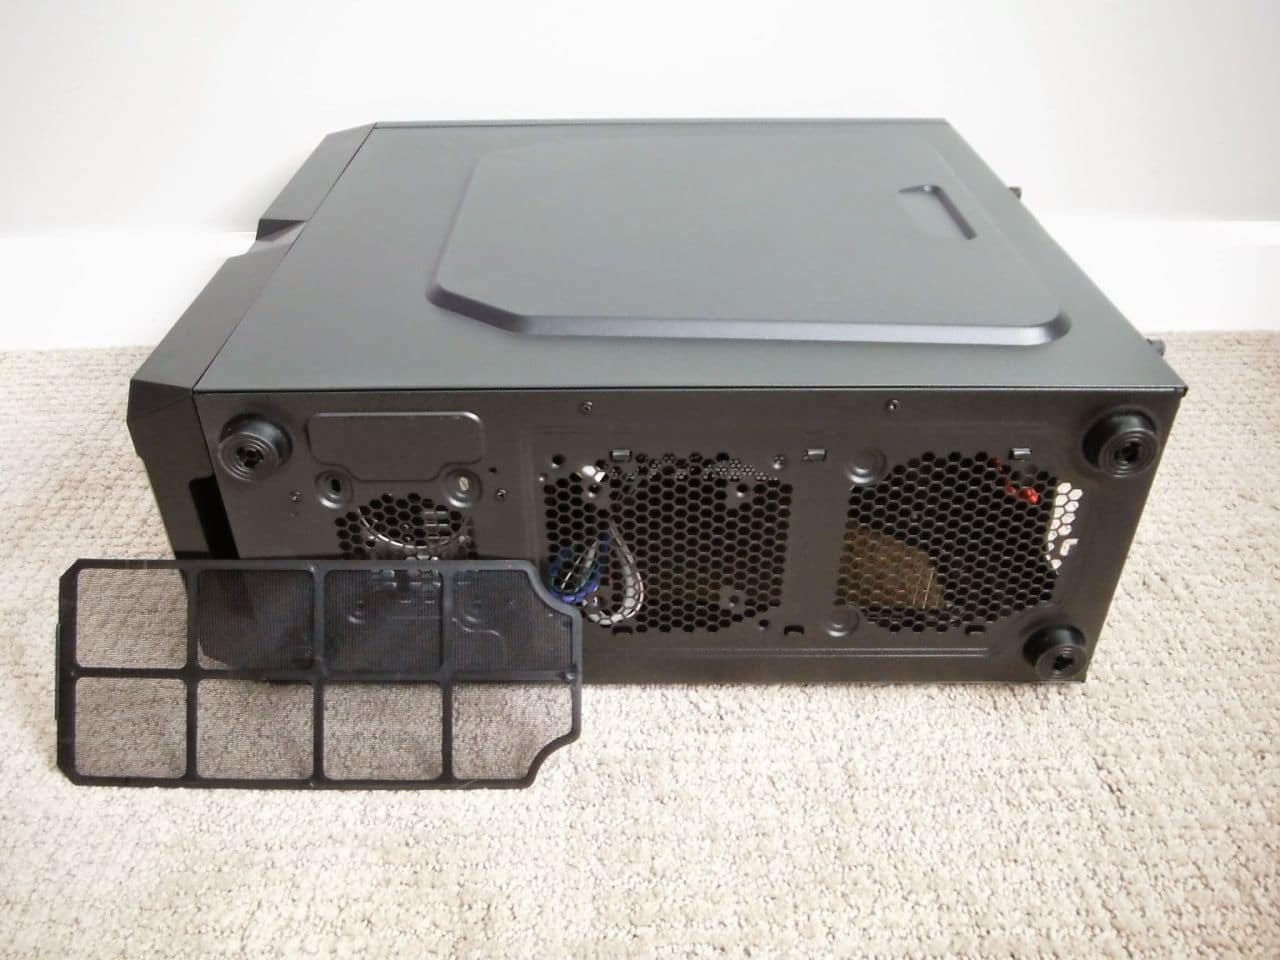
- 5 Fan Mounting Positions: Sentey includes two 120mm blue LED fans with the Eagle Plus; one at the front and one at the rear. There are an additional two 120mm mounts at the top of the case, and one more at the bottom. The bottom mount also has a removable dust filter that also covers the intake vent for the power supply.
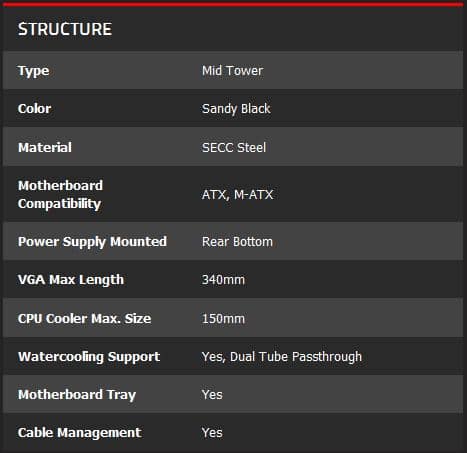
- Large GPU Support: The Eagle Plus is large enough to accommodate videocards up to 340mm in length.
- 150mm High CPU Cooler Support: CPU coolers up to 150mm in height will fit just fine in the Eagle Plus.
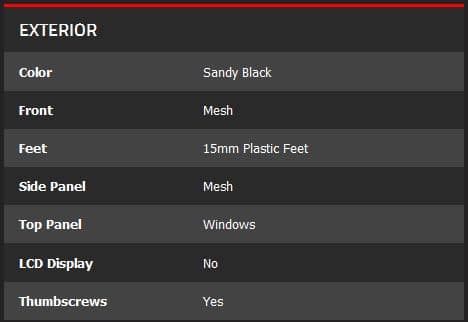
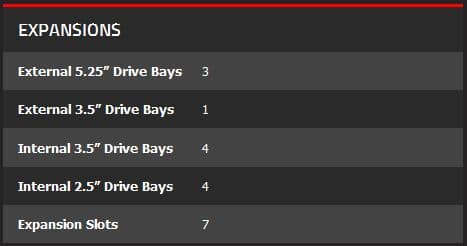
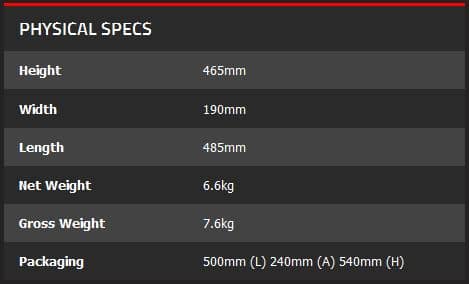
Below is a look at all the specifications that Sentey lists on their site for the Eagle Plus.


CLOSER LOOK
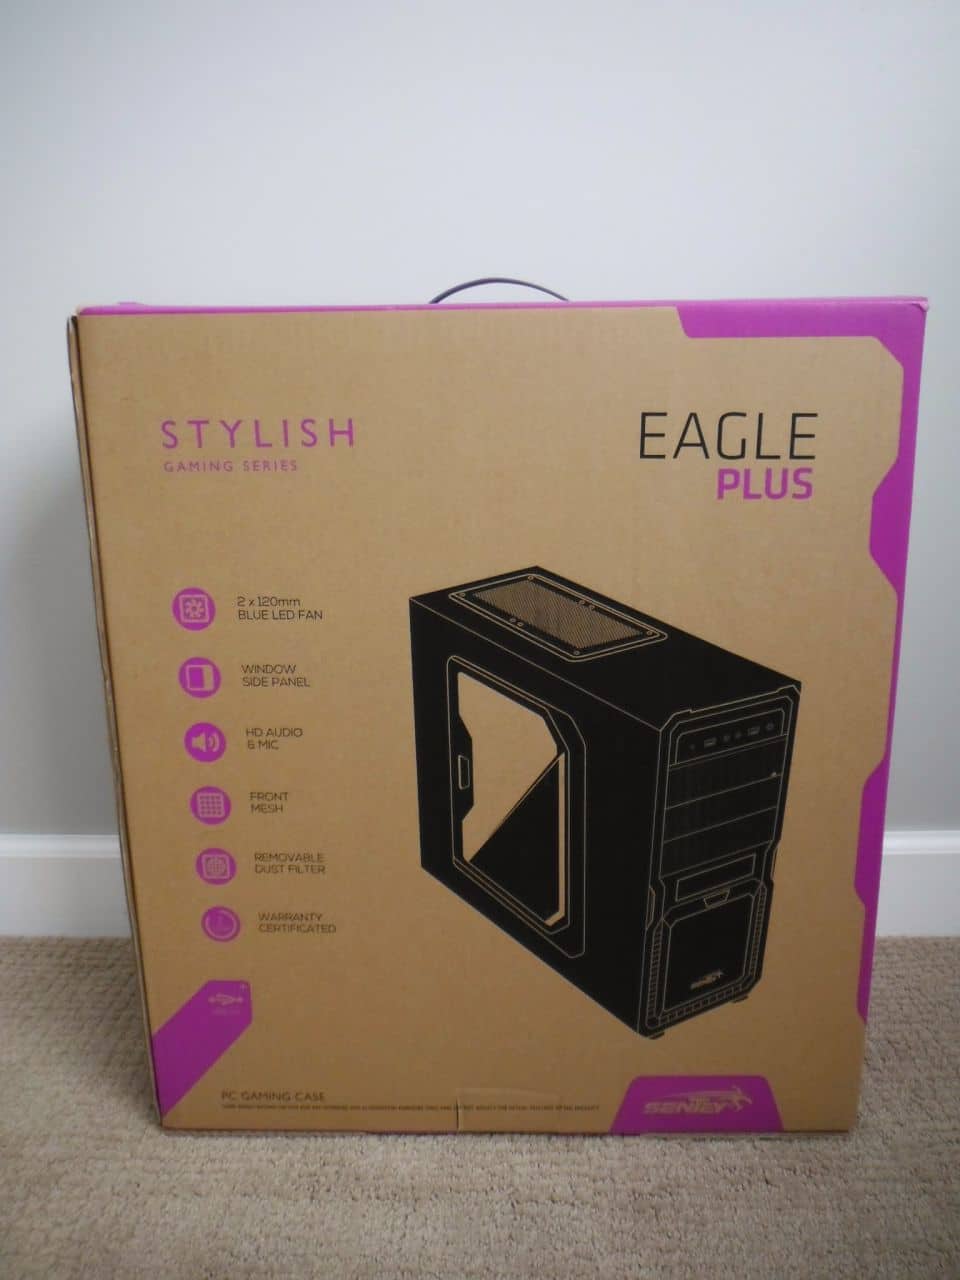
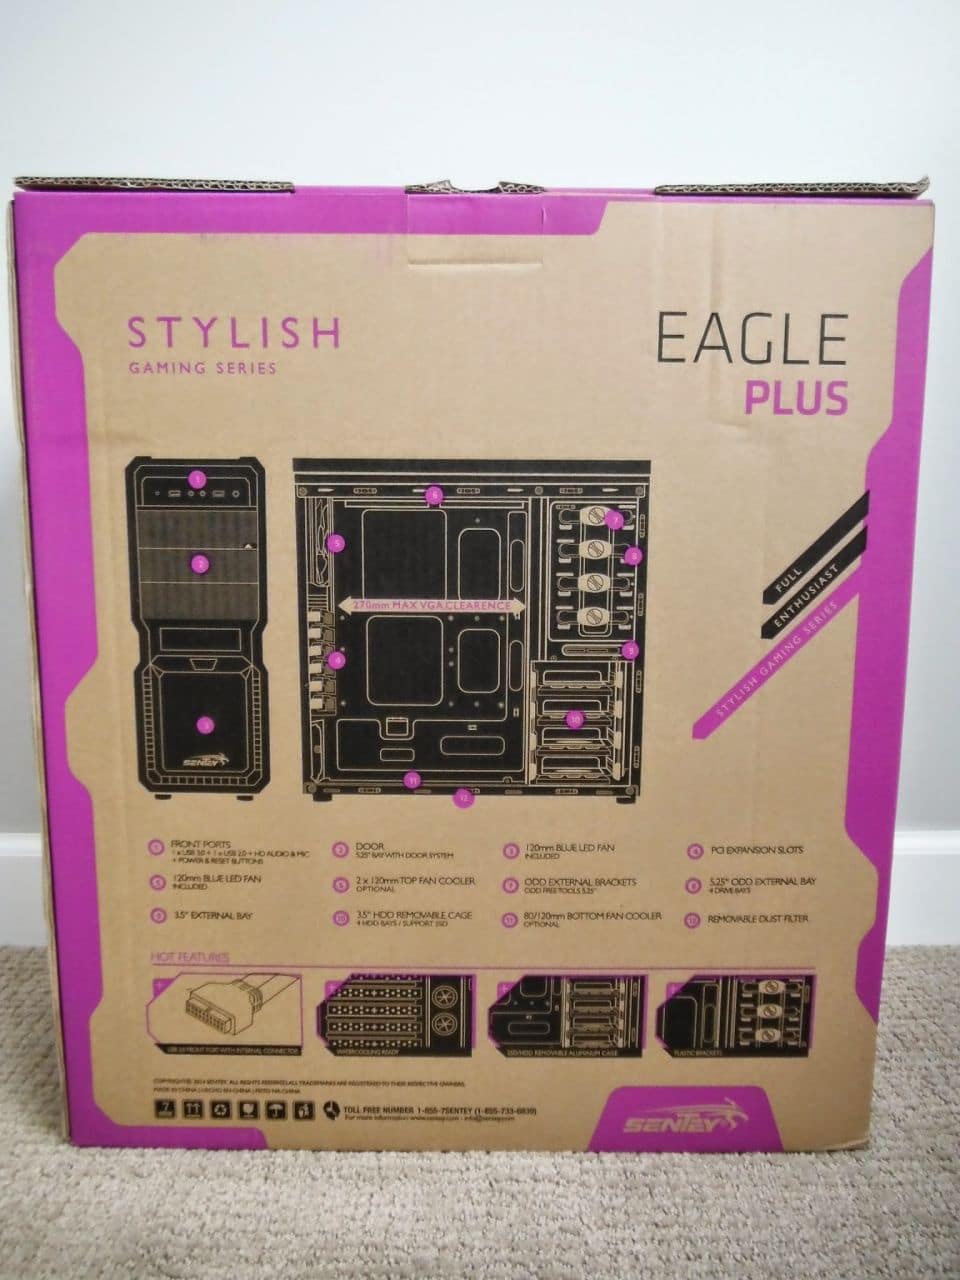
The Eagle Plus’ packaging is simple, but provides a quick list of some of the features to be found inside. The back of the box gives a more detailed layout and guide to the case.
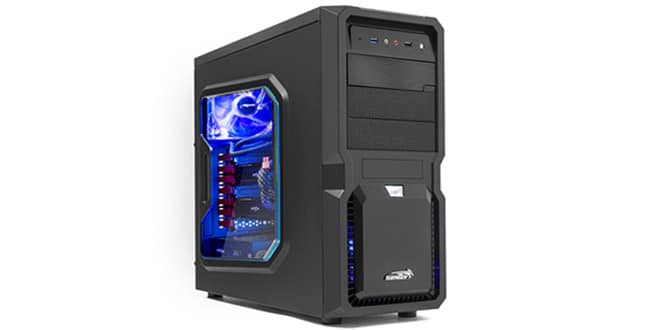
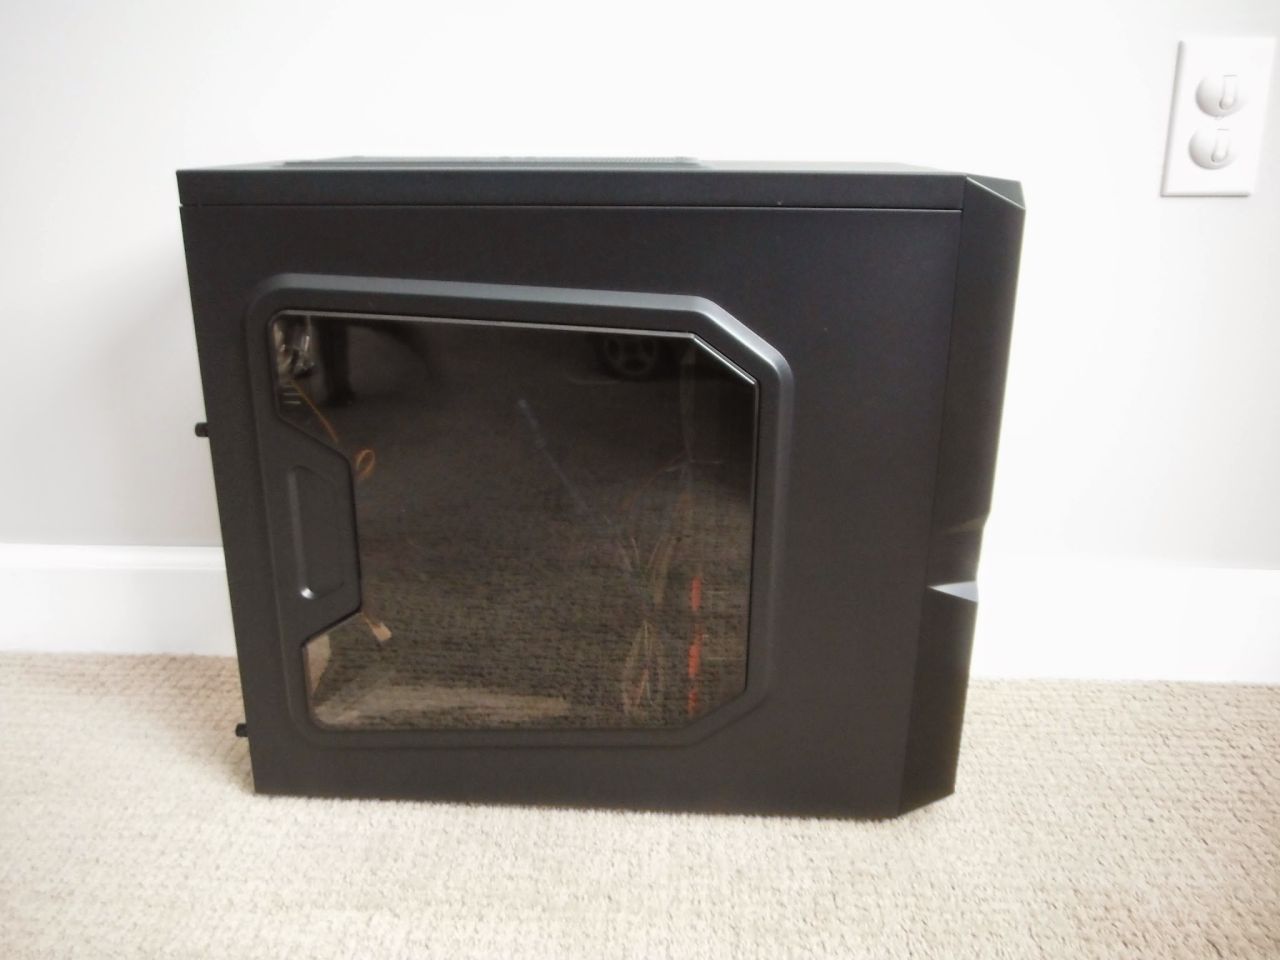
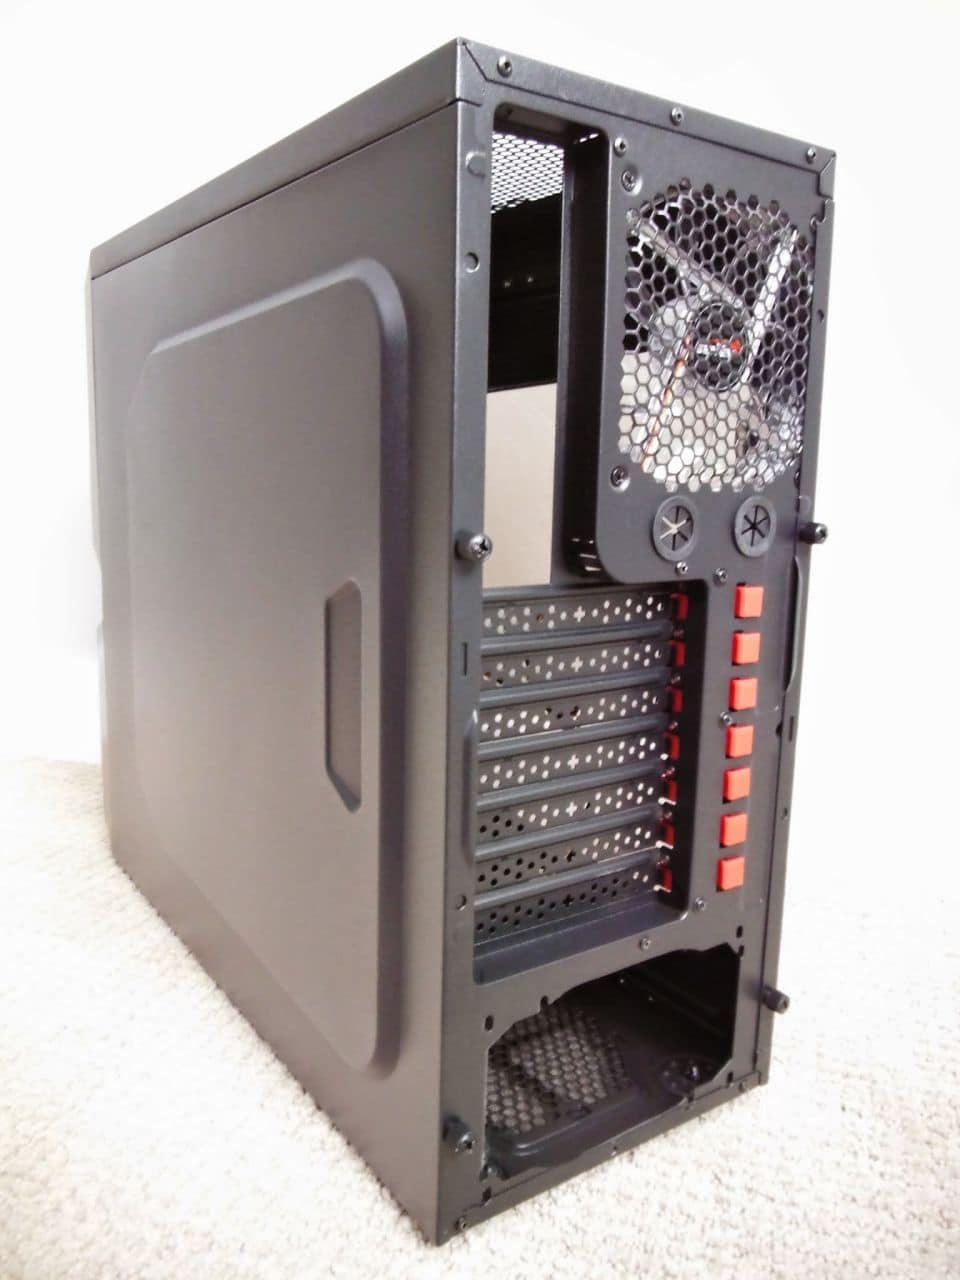
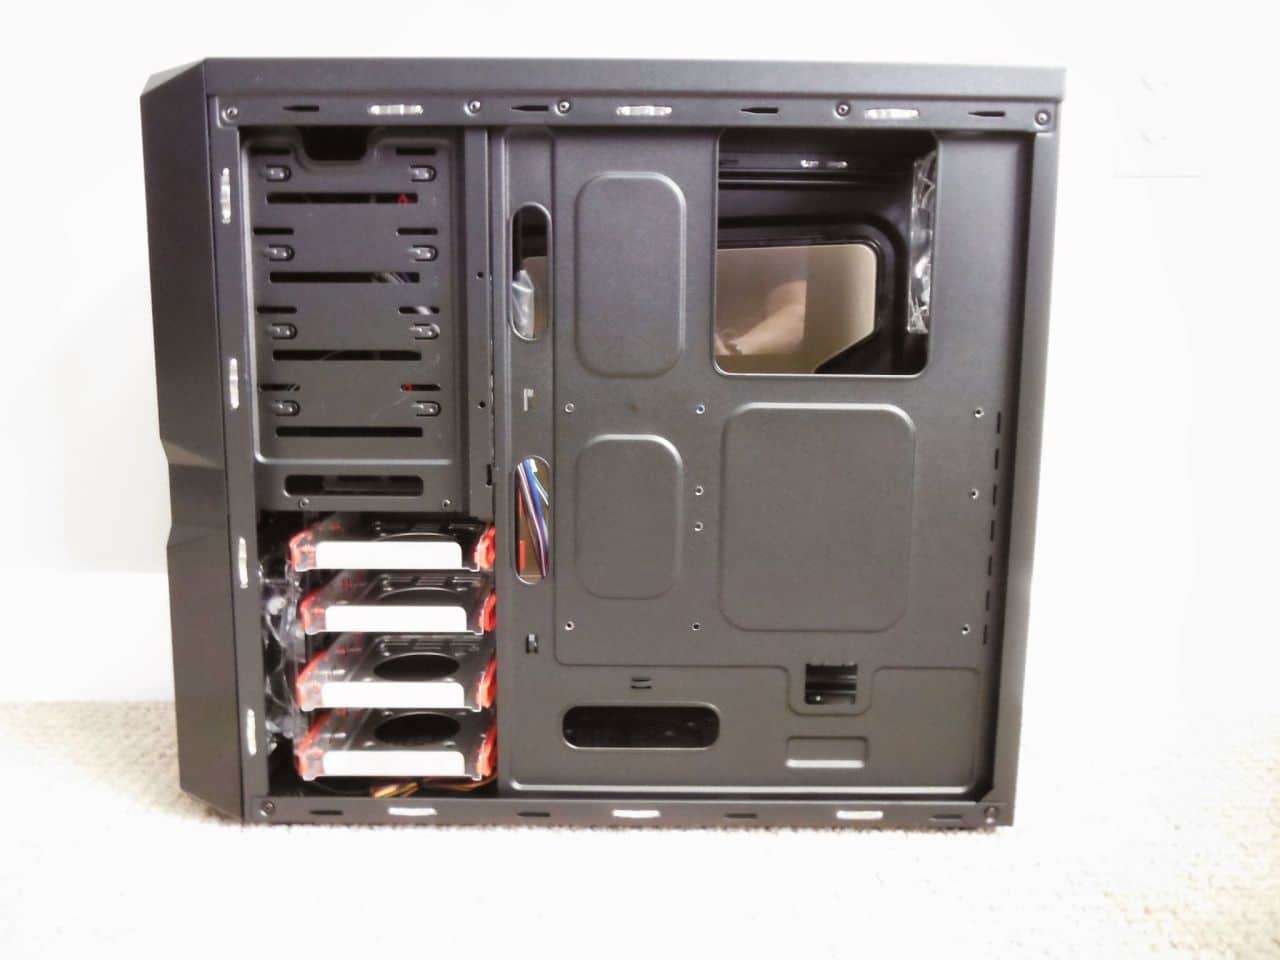
Once out of the box, we see that this case features a tinted side window to show off the components mounted inside the case. This window is slightly bumped out from the rest of the side panel, helping to accommodate those 150mm CPU coolers. The entire steel chassis of the case is painted a nice textured matte black color that keeps most fingerprints at bay. The “back” side panel also features a bumped out section to help with cable management. Both side panels are secured by two thumb-screws for easy access to internal components.

The top of the case is home to a honeycomb patterned mesh grille that also allows for the mounting of two 120mm fans. Without fans mounted here, hot air from the inside is free to escape on its own.

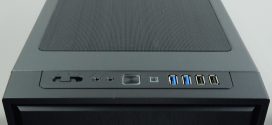
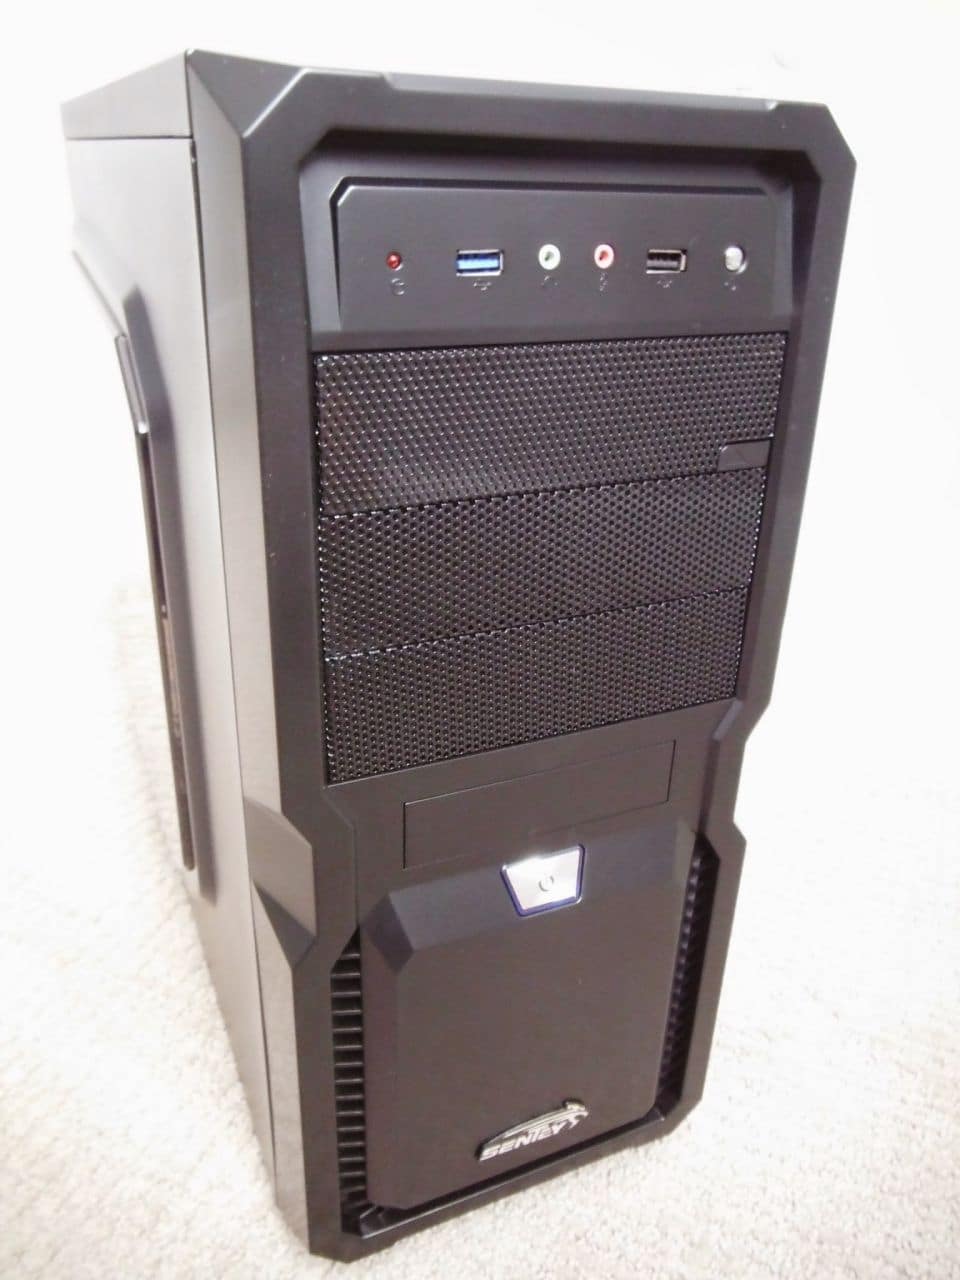
Towards the top front of the Eagle Plus is a single USB 2.0 and USB 3.0 port, as well as a headphone and microphone jack. The hard drive status LED light, as well as the system reset button also adorn the top panel.
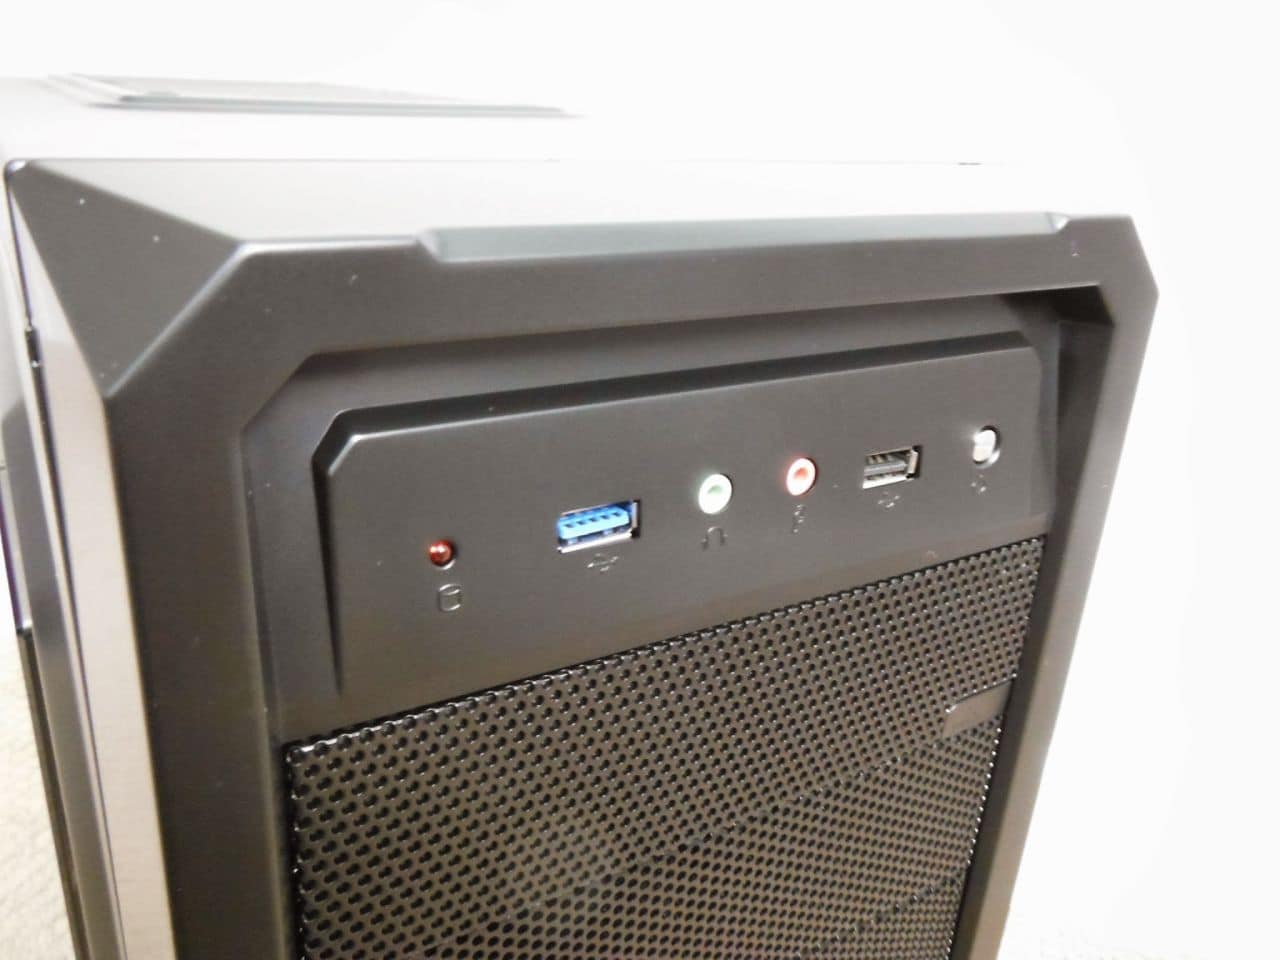
Just below the top panel is a “stealth” optical drive bay that can conceal a 5.25″ optical drive. This panel folds down when the drive tray is extended, and folds back into place when the tray is closed. Two additional mesh panels, each with a foam filter behind them, make up the rest of the front expansion slots on the Eagle Plus. Just below is a blank-out for an optional 3.5″ drive. Powering the system on is as simple as pressing the silver power button, which glows blue when the system is on. Below the power button is a smooth facade surrounded by venting for the included 120mm blue LED front fan. A Sentey logo badge rounds out the front panel.
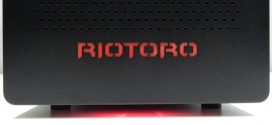
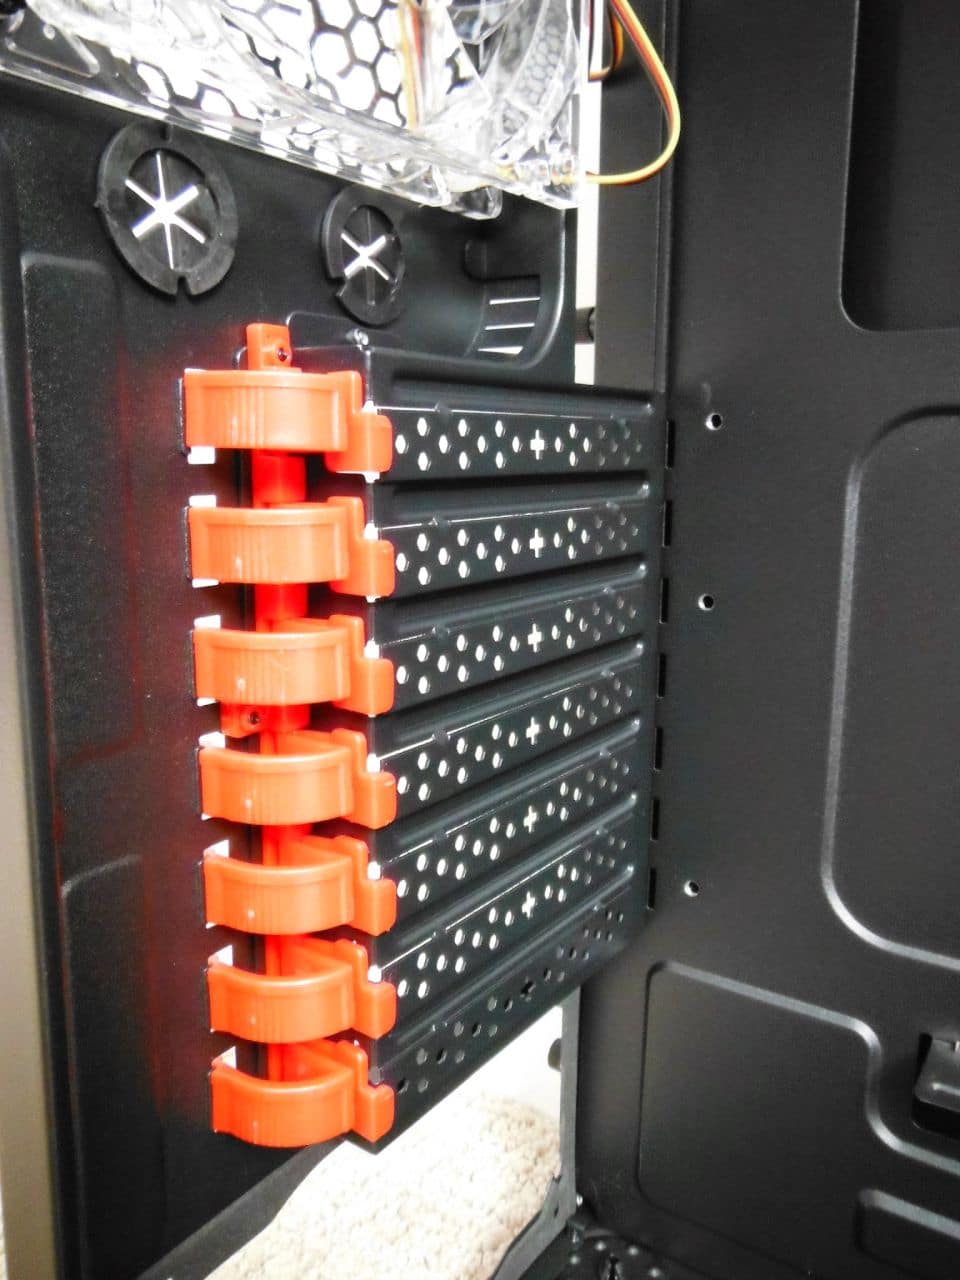
The back of the Eagle Plus is home to the second included 120mm blue LED fan, as well as two holes for routing watercooling components. The blank expansion slot covers are perforated to allow for passive flow of air in and out of the case, and these expansion slots also employ the use of a tool-less design that we will cover later on. The Eagle Plus features a bottom-mounted power supply location that can take advantage of the filtered intake grille directly below.
Taking a look at the bottom of the case, we see a removable filter for the optional fan mount and power supply grille, as well as a grille for the use of optional 60mm fans on the internal drive trays.
Once inside the case we can see that all of the metal edges have been rolled or folded to keep you safe when working inside.

Sentey touts the Eagle Plus as having tool-free expansion slot installation, but we found that their solution does not work in all cases. The rotating plastic clips did not allow for any non-standard mounting brackets found on many videocards with extra reinforcements. When installing our videocard, we had to unhook the plastic clips and use standard screws to keep it in place.
There are a total of four cable management spaces that help keep the interior of your case tidy, while also allowing for an easier installation process. The space behind the CPU and cooler is left open to allow you to swap coolers without removing the entire motherboard.
Sentey makes installing 5.25″ devices a breeze with their easy drive locking brackets. One thing that is puzzling however, is that there are 4 included brackets, when there are only 3 available 5.25″ bays.
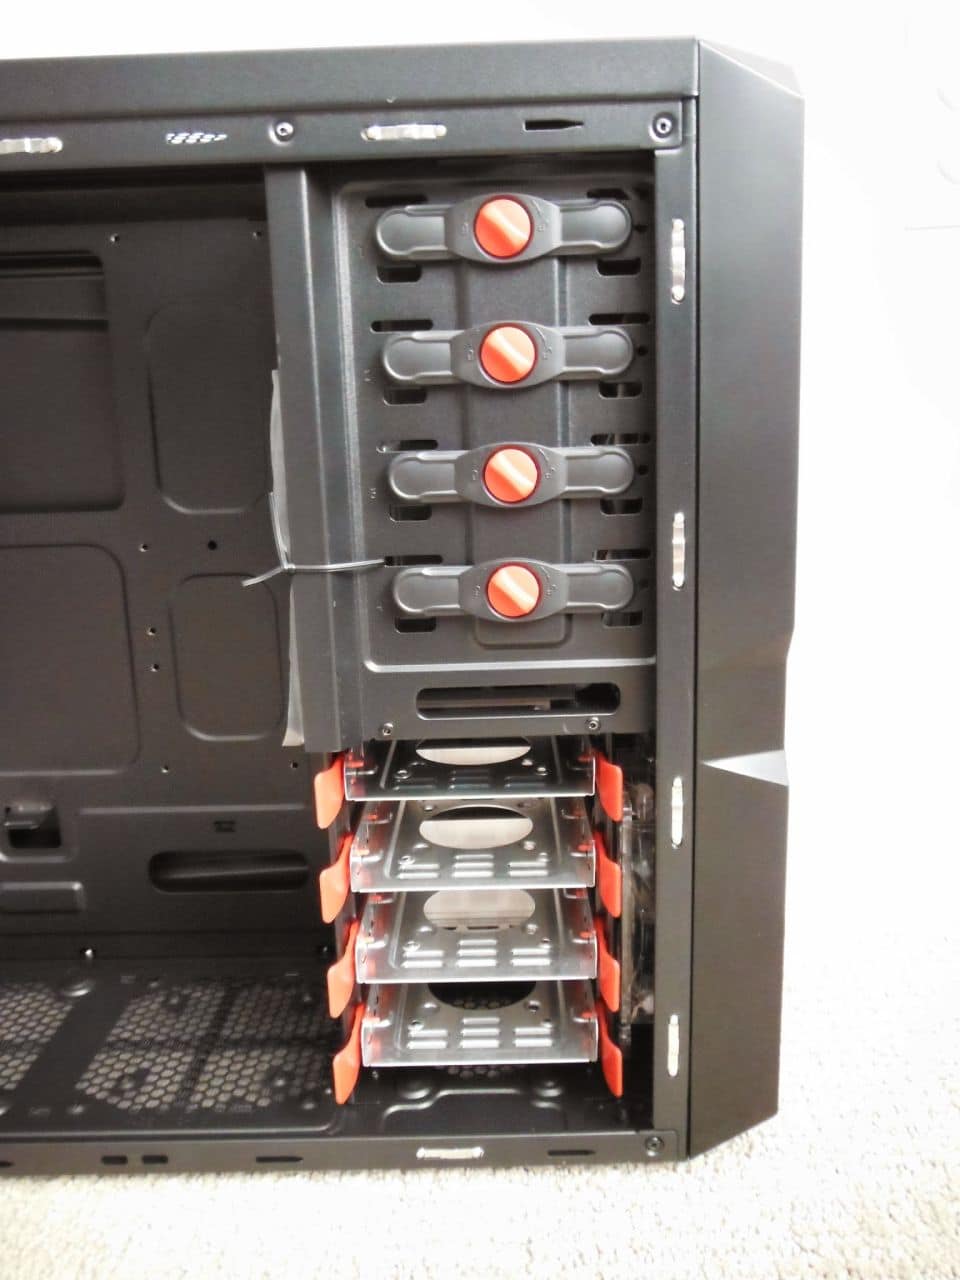
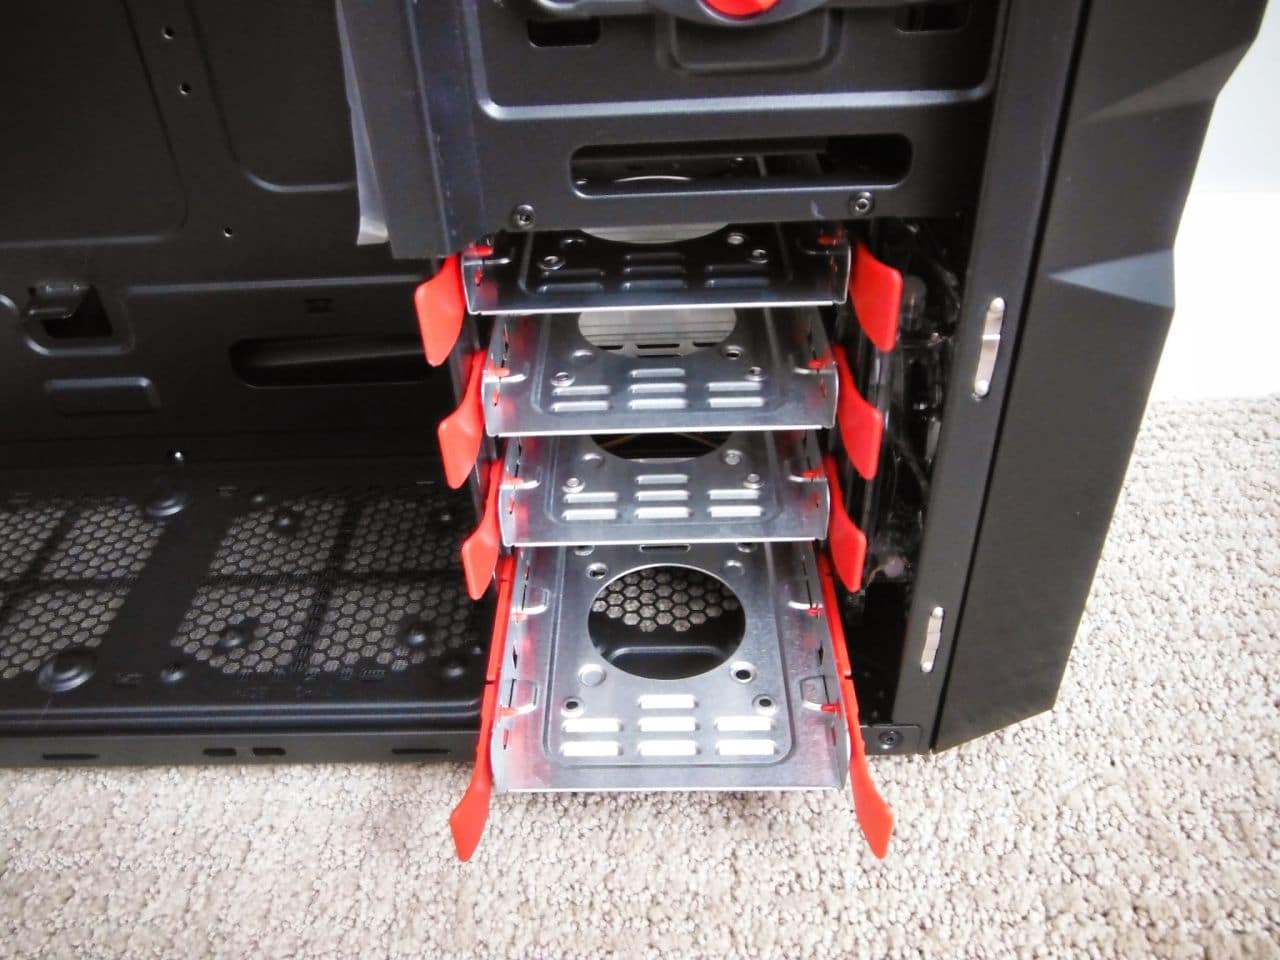
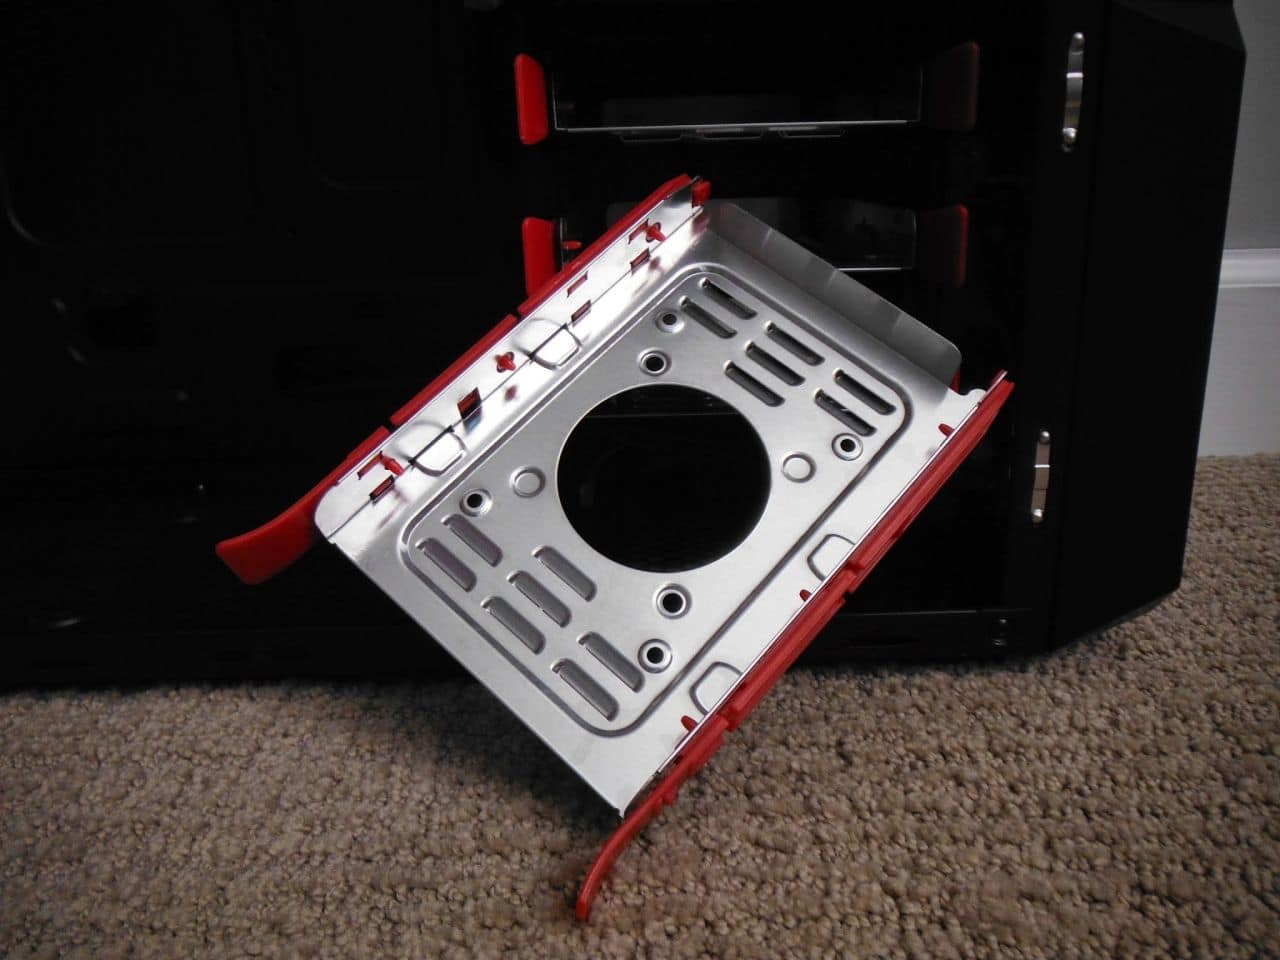
Just below the 5.25″ bays are 4 removable aluminum drive trays for mounting 3.5″ and 2.5″ HDDs and SSDs. These drive trays feature removable plastic clips that make installing drives quick and easy. Each drive tray has a mounting spot for an optional 60mm slim fan.
INSTALLATION AND TESTING
For the most part, migrating my system from its current case to the Eagle Plus was a pretty standard procedure. There were a few issues that came to the top during the build that may throw someone new to PC building for a loop. Thankfully, in my years of being a PC guy, I have encountered many cases and builds with a wide range of components, so I know how to work my way through a build with no-to-ideal conditions. That being said, this case from Sentey provides a nice body for your PC’s guts.
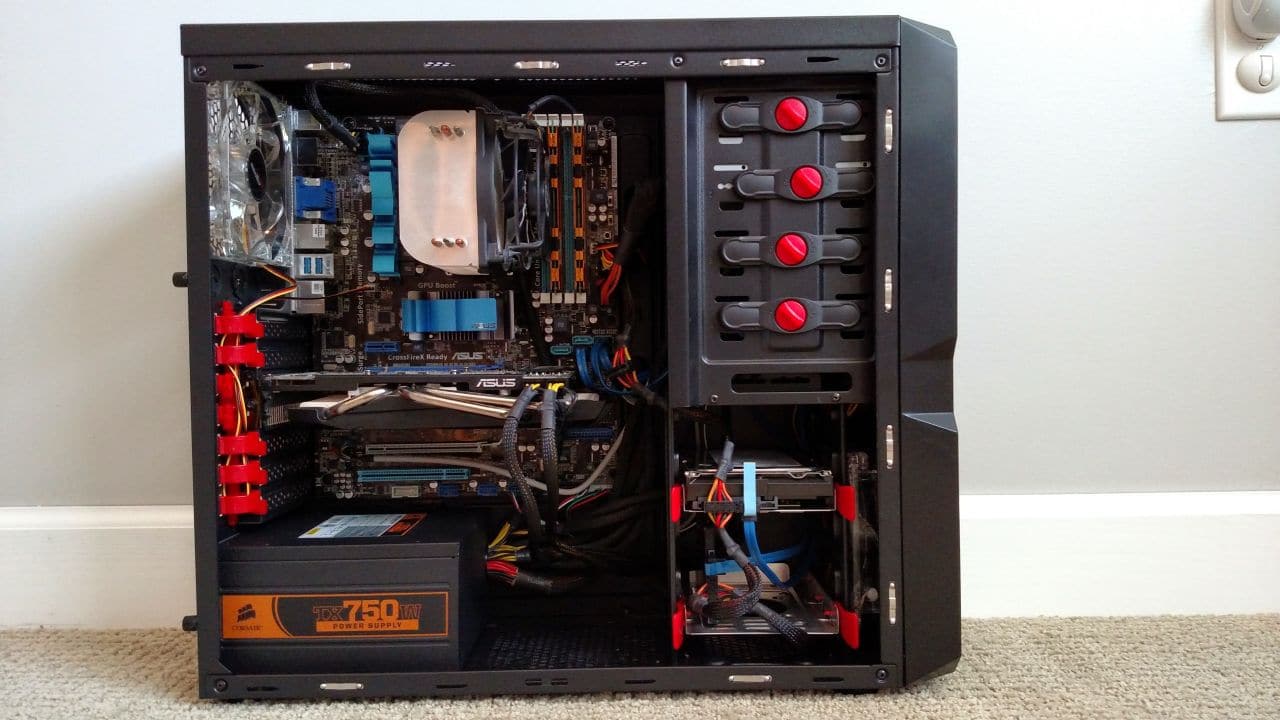
Power supply installation was simple, and the cable management holes allowed me to route power to my motherboard and drives easily. The PSU used in this build is non-modular, so the unused bundle of cables was bundled up and placed in the unused 5.25″ drive bays. We would have liked to see another routing hole above the motherboard for connecting the 8-pin EATX 12V line so that we didn’t have to route the cable around the edge of the board.
Installing the motherboard is just like with any other build. The included motherboard stand-offs and screws are simply placed on the tray to match your motherboard and you are good to go. All of the front panel connections are labeled well and make connecting the USB and audio easy. The USB 3.0 connection from the front panel uses a 20-pin plug, so depending on your motherboard’s features, you may need an adapter for this port to work.
When going to install our video card, we came across two problems that will likely present themselves to most users. First, when going to remove the expansion slot covers, we found that they are still attached to the case and must be wiggled from side to side in order to break them off from the rest of the case. This is not an ideal situation as it leaves small tabs of sharp metal around the expansion slots, and can cause small slivers of metal and paint to drop down into the case. However, we do realize that this case is more on par with a budget build, so some corners must be cut to meet that price point. The second issue we found was that we were not able to use the tool-less clips for the expansion slots. Their design did not allow for our 2-slot videocard with its additional reinforcement bracket. We ended up using two standard case screws to hold the card in place.
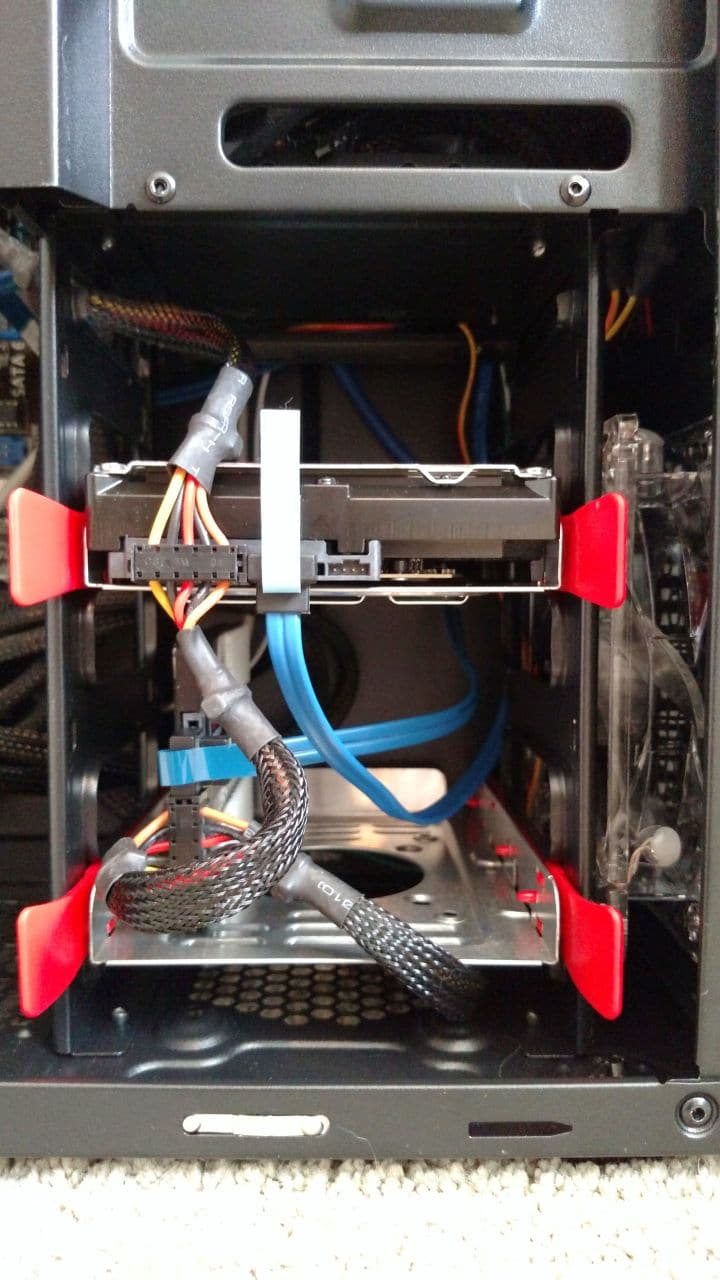
Our build uses a 2.5″ SSD for the OS install and some applications as well as a 3.5″ HDD for media files and storage. Installing the 3.5″ HDD in the removable drive trays is very easy. Just remove the tray, remove the plastic side clips, put your drive in the tray, clip the sides back on, then slide the tray back into its slot. Installing an SSD on the other hand, is not as simple or even feasible. While there are mounting holes for an SSD on each drive tray, their placement does not allow the power and data connectors to properly connect, as the drive is secured too far back on the tray. To work around this issue you can take matters into your own hands and get a little creative. We opted to mount our SSD vertically using the mounting holes and two screws. While it gets the job done, we wouldn’t recommend this as a permanent solution, as the SSD is vulnerable to being hit and broken in this configuration. Taking this route also sacrifices a second drive tray, but with only two drives in our build, that wasn’t a huge loss. The other easy option is to use something like a 3M Command Strip to flatly secure the drive to the tray, but also allow for easy removal if needed.
Many cases on the market feature a removable front panel, but the Eagle Plus is not one of them. Again, we are working with a budget-priced case, so we get some budget-priced features. Typically a removable front panel allows 5.25″ drives to be installed easily, but without one this made things a bit tricky. To remove the blank front panels, you have to reach inside the case and through the 5.25″ bays to bend two small tabs on each metal panel. Once removed, you can then slide your drive in from the front. We had some trouble getting our optical drive to fit far enough back in the front panel to make use of the stealth cover, which is a shame, as it looks good when installed.
Once our components were all installed, we fired up our rig and right away the glow from the two blue LED fans lit up our desk. The tinted side panel window has just the right amount of transparency to get a bit of a look at the internal components, basking in a nice blue glow. Acoustically, this case emits a reasonable amount of system noise with the two fans, but we predict that filing the additional three empty fan locations could increase the noise output, depending on the fans chosen. Temperatures were all within reason, and placing a hand above the top grille only hints at a little bit of heat when the system was under load. This tells us that the two included fans are doing their job of moving cool air in from the front and exhausting it out the back, without much excess heat escaping through other means.
CONCLUSION
While “Extreme Gaming” is mentioned a few times in the marketing materials from Sentey, the Eagle Plus has a few hurdles to overcome before it truly earns that distinction. An MSRP of $70 places this case within the budget build category, so we have to make sure we take that into consideration. The overall build quality of the Eagle Plus is pretty good. The case feels pretty sturdy and the side panels did not feel flimsy when removed. Whether it was having to physically break off the rear expansion slot covers or mount our SSD in a non-standard way, there were a few quirks that hold this case back. The lack of any real installation manual doesn’t help either. Taking everything we found into consideration, the Eagle Plus is still a nice case with some great features for a budget build.
Review Overview
Value - 7.5
Performance - 7
Quality - 7.5
Features - 7.5
7.4
All things considered, the Eagle Plus from Sentey is a nice case with some great features for a budget build.