
The Raven RV01 Build
I find it a little pretentious to name a Chassis section “Testing and Methodology” since the only test for a chassis is building a computer into it. We have seen a rash of dry Chassis reviews where they just show off the chassis and never show the built machine. The only way to truly test a chassis is to build into it and any rating of any chassis without a build in it is questionable at best.
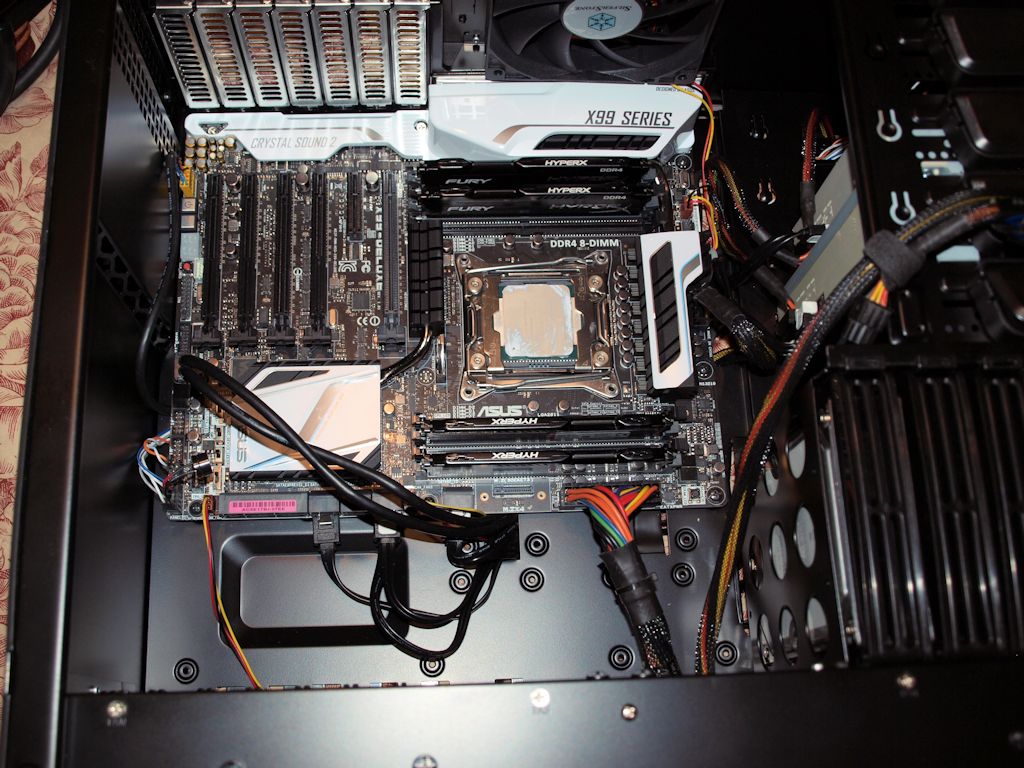
We threw a bunch of hardware at the Raven so here’s a table of the components.
| Test Rig “Hexzilla” |
|
| Case Type | SilverStone Raven SST-RV01B-W |
| CPU | Intel Haswell E 5820k 3.3GHz |
| Motherboard | Asus X99 Deluxe |
| Ram | Kingston Fury 32GB 2400MHz (15 – 15 -15) |
| CPU Cooler | Noctua NH-D15 |
| Hard Drives | Kingston M.2. SM2280S3 120GB M.2. SSD 2 x Crucial MX 100 SSD 1 x Two TB Seagate Platter Storage Drive |
| Optical | Asus Quiet Trac BR Liteon DVD Burner |
| GPU | EVGA GTX 960 SSC |
| Case Fans | 2 X 180mm 700 RPM 18dBA 1 x 120mm 950 RPM 18dBA |
| Docking Stations | None |
| Testing PSU | SilverStone 1500W |
| Legacy | None |
| Mouse | Razer Lachesis |
| Keyboard | Razer BlackWidow Chroma |
| Any Attempt Copy This System Configuration May Lead to Bankruptcy |
|
As we mentioned earlier that’s 10 Cables for the drives alone, one mainboard 20 + 4, one 8 pin CPU, one 8 pin PCIe, one USB 3.0. one front audio cable, one Firewire, two for the hot swap bay and a front panel light all told including the ones we missed about 21 wires that need to be tucked away.
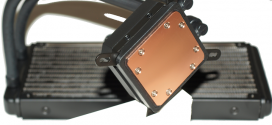
There’s the build minus the CPU cooler given the sparse wiring amenities with this magnitude of a build that’s about as good as it gets. Reviewers have special needs and a little slack has to be left in the wiring so if we have to switch motherboards we have a little slack to do that.
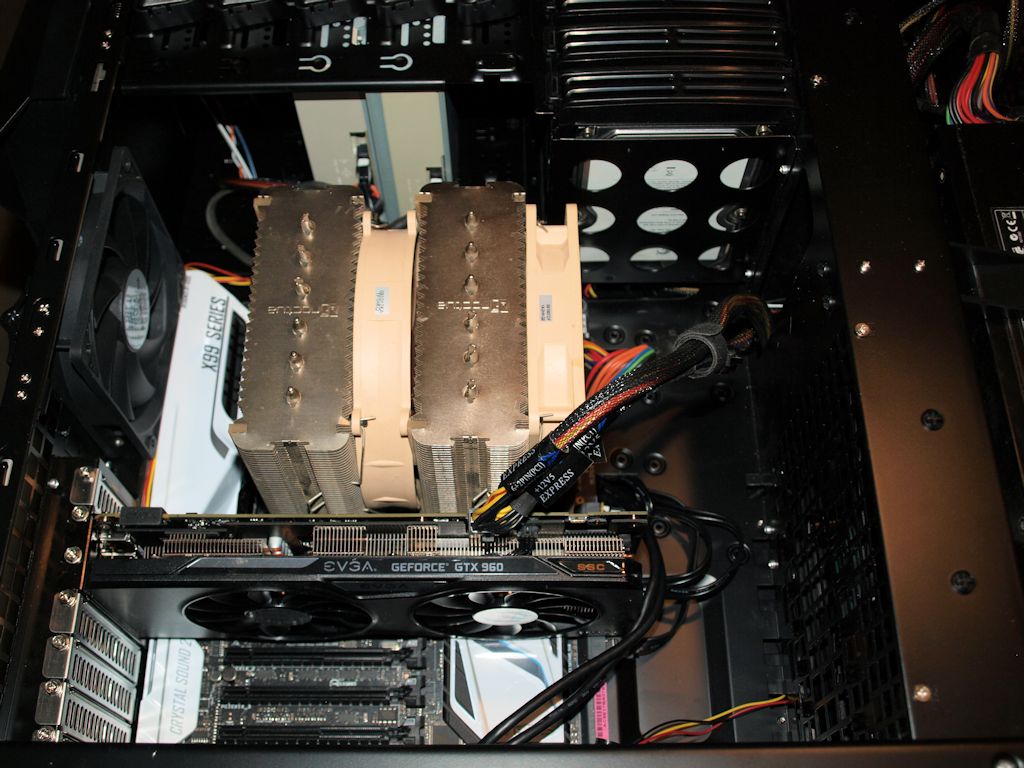
Now throw in a massive dual tower Noctua CPU cooler and the USB 3.0 fromt panel connector is stretched around the end of the GPU barely reaching the internal header so soon I’ll be fishing that one wire out and looking for a reroute.
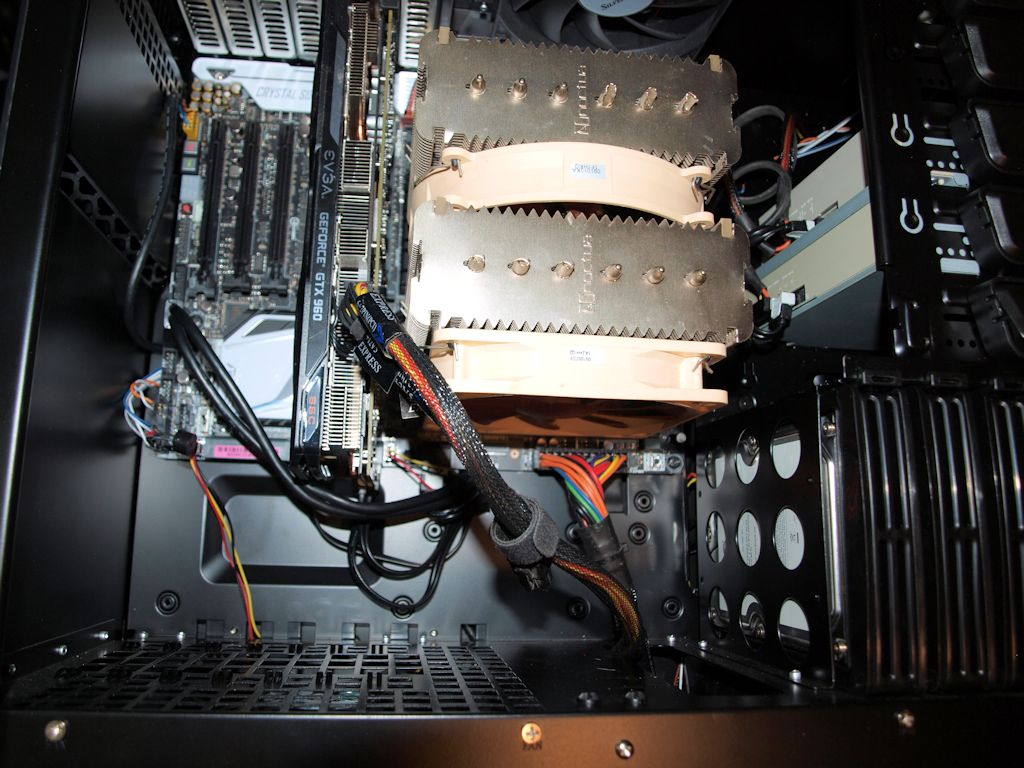
I posted this picture so you can flip back and forth from the labeled one below so I can give you some hints on wiring one without all the trial and error.
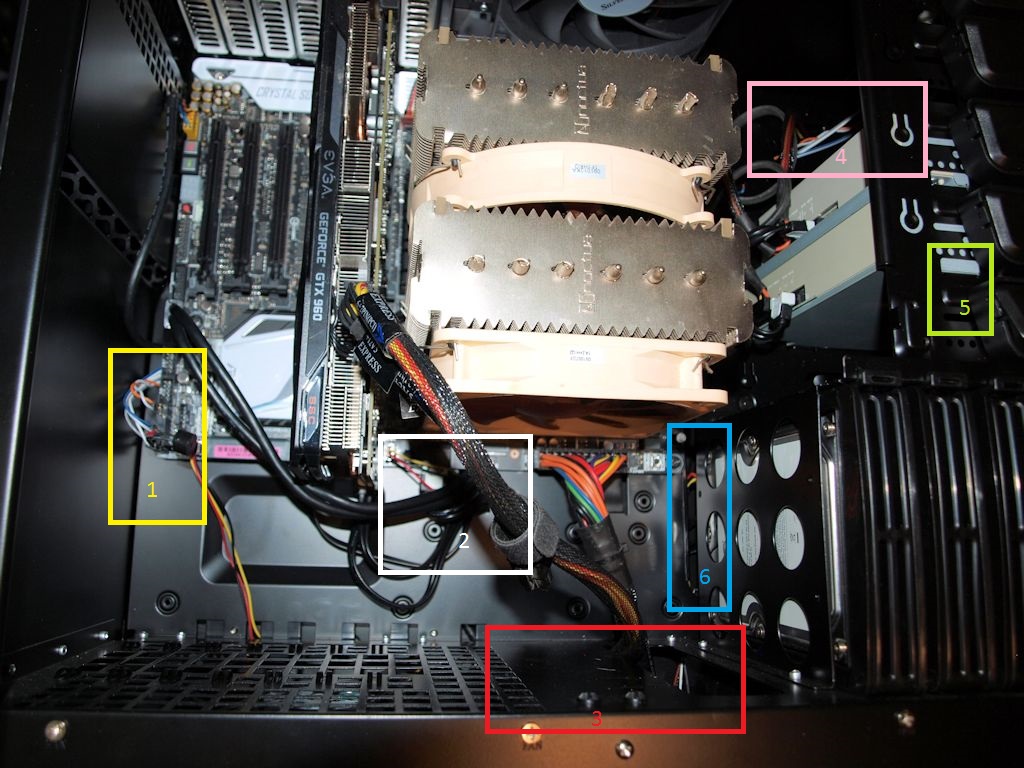
Area 1 in Yellow, don’t put in the 3 corner screws by the front panel header and that will give you a little play to pull the board up (gently) and feed those wires up through the slot obscured by the motherboard. We doubt the USB 3.0 wire will fit there without leaving out a screw or two and potentially warping the Asus X99 Deluxe.
Area 2 in White is your honey hole for SATA cables and the USB 3.0 front panel connector and what we had to do was use one of the cabling tabs by bending it back a bit feeding a mass of wires through then bending it back into place. We would suggest masking taping that depressed square between area 1 and 2 and Dremel cutting it out completely then fitting in a universal grommet. Modding a new case immediately isn’t an ideal situation but it would make cabling much easier.
Area 3 is the open spot between the PSU chamber and the 24 pin Main connector and the PCIe GPU wires have no option but to run through it leaving them exposed. Avoid using that slot as much as possible as it will trail wires a sizable distance.
Area 4 in Pink is where we routed the knot of chassis wires we showed you earlier, in order to do so we had to resort to bending a flap of metal that holds an optical drive in place. You have 5 optical drive slots and frankly the top one has so many wires hanging down into it;’s space it’s hardly usable without bending wires at a 90 degree angle. What we are telling you is grit your teeth, bend the flap on the motherboard tray side then have a few shots of Red Bull to steady your nerves. Once we resorted to that a mass of wires were covertly fed through the created opening.
Area 5 in Green look for small openings you can take advantage of to run behind the motherboard tray.
Area 6 the tool-less drive bays feed the SATA connectors to the back of the motherboard tray so take advantage of that and feed the two molex connectors back there as well.


This information is worth everyone’s attention. How can I find out more?